

If you are a caregiver for a loved one, you could use a little help getting the medications and daily routine organized. Sometimes it is a daunting task. Believe me, I know, I’ve been there. Anything that helps us and makes our loved one feel more independent is worth the effort. Creating a medical journal could be the tool you need.
The Need is There
My mother takes several medications and her vitals twice a day. It would be difficult for anyone to keep up with but, with the journal, she has no trouble at all. Having a medical journal is just another tool to help organize the day to day needs of your loved one. You will find it to be life changing!
Putting a Plan in Place
I struggled to put together a plan to help her maintain her independence while still being able to keep up with the medications and daily routine. In the end, I came up with a daily medical journal that is tailored for her needs. It helps her stay organized and reminds her of what is needed on a daily basis.
Your medical journal will probably be revamped many times before you get everything you want covered for your loved one. The journal could have a place for morning and evening tests, a place to check off treatments and medications taken. You want to make sure to have a section for notes at the bottom. Appointments or issues of the day can also be listed in that area. Make sure your loved one brings their journal to all the doctors appointments. It gives them a much clearer picture of what is going on with their health. The doctor will appreciate the journal!
Keep the Medical Journal Positive
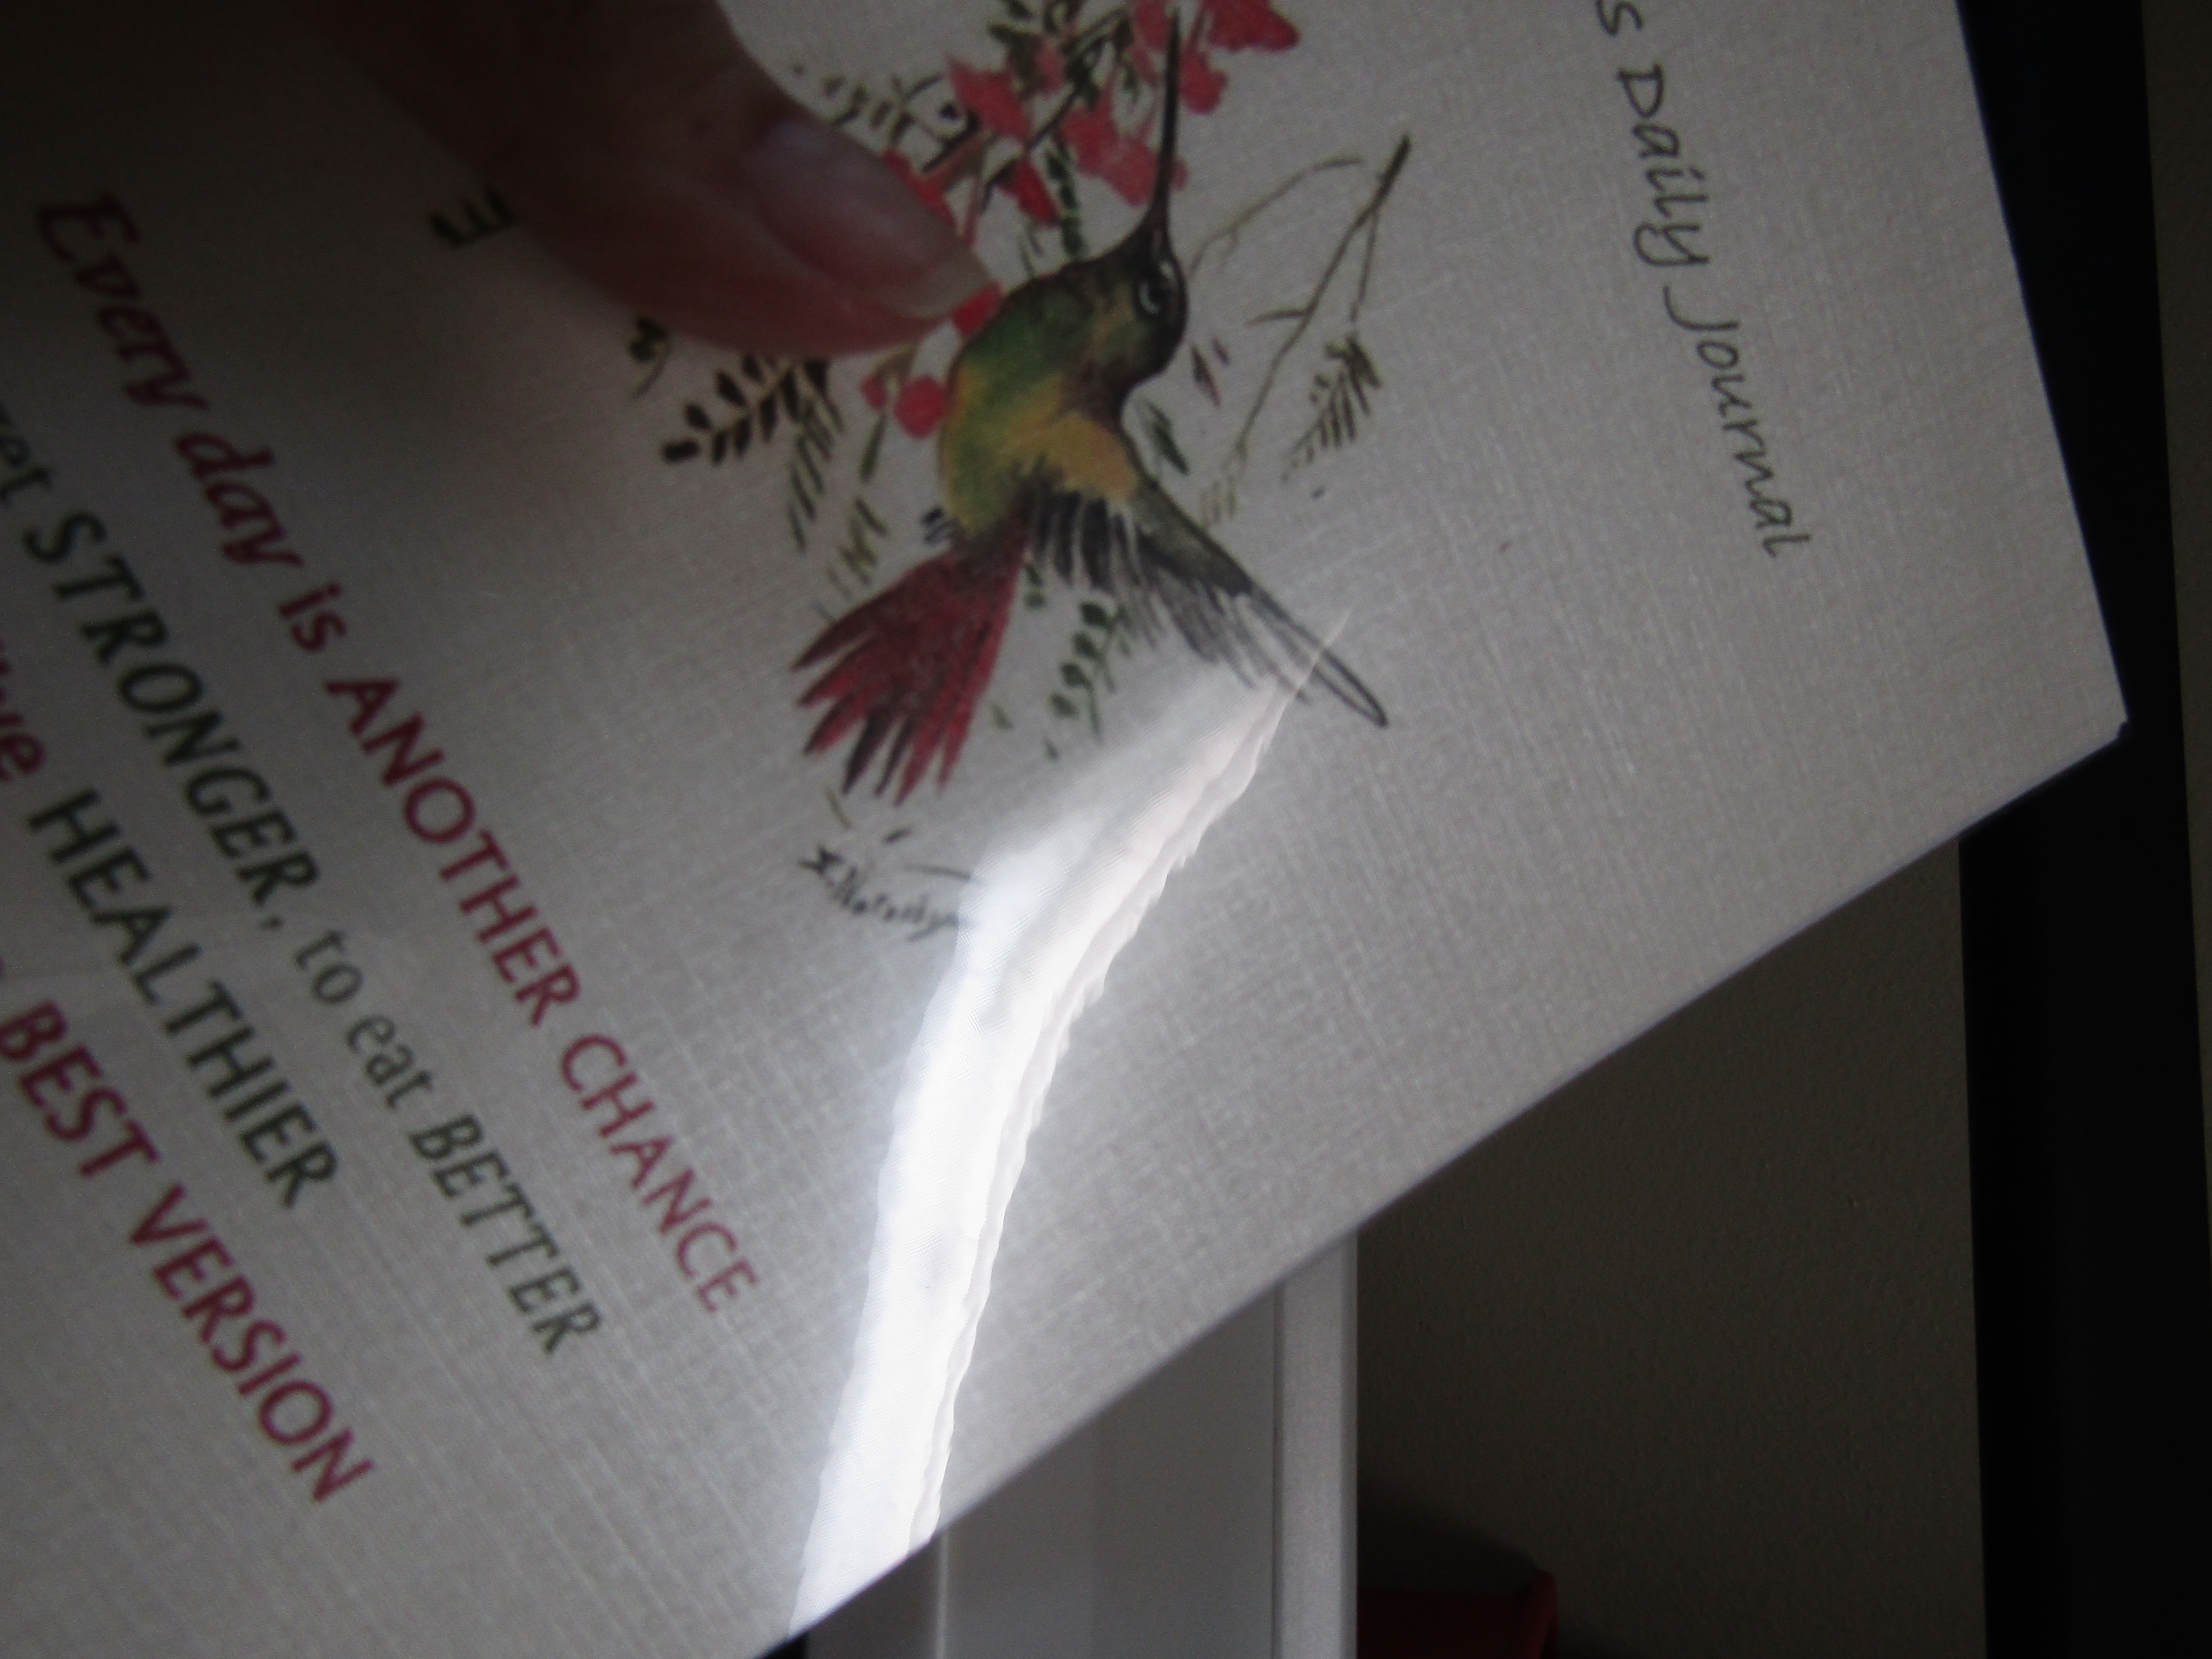
Design a cover that has a positive message. Using Word is a good way to design the cover. I added a positive message and a picture of a humming bird, which is my mother’s favorite. Print the cover on card stock. There are all kinds of colors and textures to choose from. Of course, you will design yours to your loved one’s taste. It is nice to have a little inspiration since they will be looking at it every day!
Keep the Size Small so it is Manageable
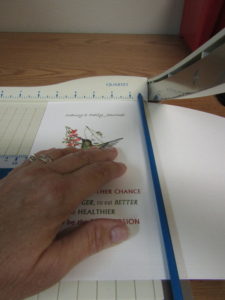
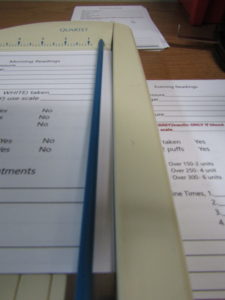
You can use an old school cutter, like mine, or one of those new fancy slide cutters to cut the pages to size. Use the regular letter size of 8.5 x 11 so it is smaller and will be easy to carry. Make sure to print enough pages so the journal lasts for 3 months. This takes a little time to put together, you don’t want to have to do it every month. A coil is best to bind the journal because, with a coil, it can be laid flat for when they are filling it out. For our journal, the page to the left is the morning and the right is evening. You may be able to put the entire day on one page.
 It is is best to print on the front and back of your paper so be sure to use paper that is the right weight for that.
The pages are cut in half at 5.5 inches so your finished book will be 5.5 x 8.5. I’m not showing the exact pages for my mothers privacy, but I’m sure you get the picture.
Binding the Medical Journal
At this point, stack everything up, making sure the pages are set up correctly. In the past I took it to Office Depot to bind it with the coil. Of course, that is still a good option, if you don’t have the equipment to do it yourself. Recently, I purchased the equipment to do it myself.
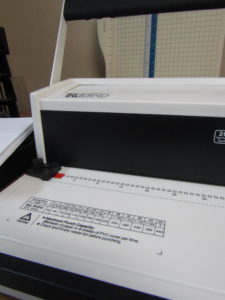
Coil Binders are the Best for this Project
I do all the marketing books for our business and was taking them to Office Depot to bind for years. It was costly so I had been looking for a used binder. All I could find were binders for the combs. Not the same and in my opinion, not as nice. I finally found this coil binder on Amazon. It is new, but I could not be happier. It’s already paid for itself and I’m binding Mom’s journal myself now.
Don’t you think this would also be great to make cute photo books for children or diet journals or maybe a journal for daily organizing? The possibilities are endless. I really love this thing! Sorry, I got a little distracted from the task at hand. I really like this binder!
Time to Put Your Medical Journal Together
Before you start, make sure the book is stacked correctly and then start punching. You can just use card stock for the cover but it stays nicer if you add a clear cover. It’s a good idea to punch the front printed cover, the clear cover and back of the journal together and then do all the pages. A black poly cover works well for the back because it holds up better. You can still just use card stock if you prefer. It’s your book. The most important part of this process is to make sure each of your pages is put into the binder correctly so all your holes match up in the end.

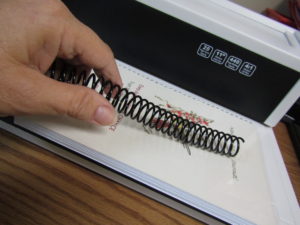

You will find that a 5/8 inch coil works great for this project. Once all the holes are punched and the coil is put in and crimped, you are done and ready for your loved one to enjoy their book.
You could even add extra page after each day for today’s thoughts. It might be something worth cherishing some day.


Leave a Reply