


It’s Time for a Refresh!
Hello again, thank you for stopping by. We have been busy getting the yard cleaned up for the summer fun. This year that will include fixing up our outdoor Tiki bar. I have so enjoyed sitting there, enjoying a glass of wine and keeping Tom company as he is grilling.
Right after we grouted the tiles a few years ago.
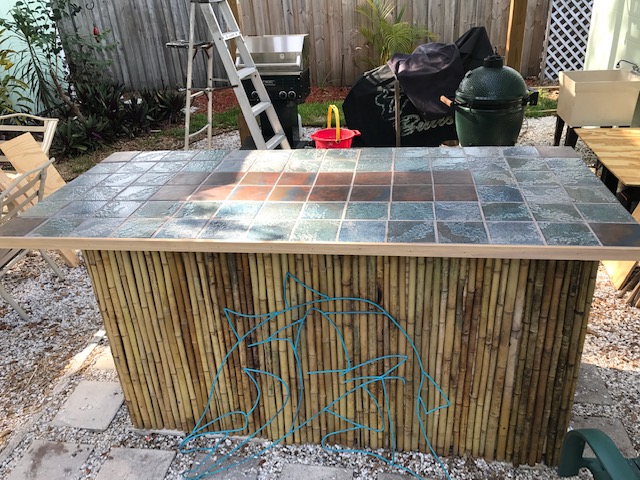
Time has not been kind to our cute Tiki bar counter. The hot Florida sun and pouring rain have taken its toll. Luckily the top was the only part that had to be replaced. There was no salvaging it because the wood under the tile was completely rotted. We considered reusing the beautiful tiles but, we have not had great luck with tiles so we decided on something different.
This bamboo also needs some sprucing up! For Sure!
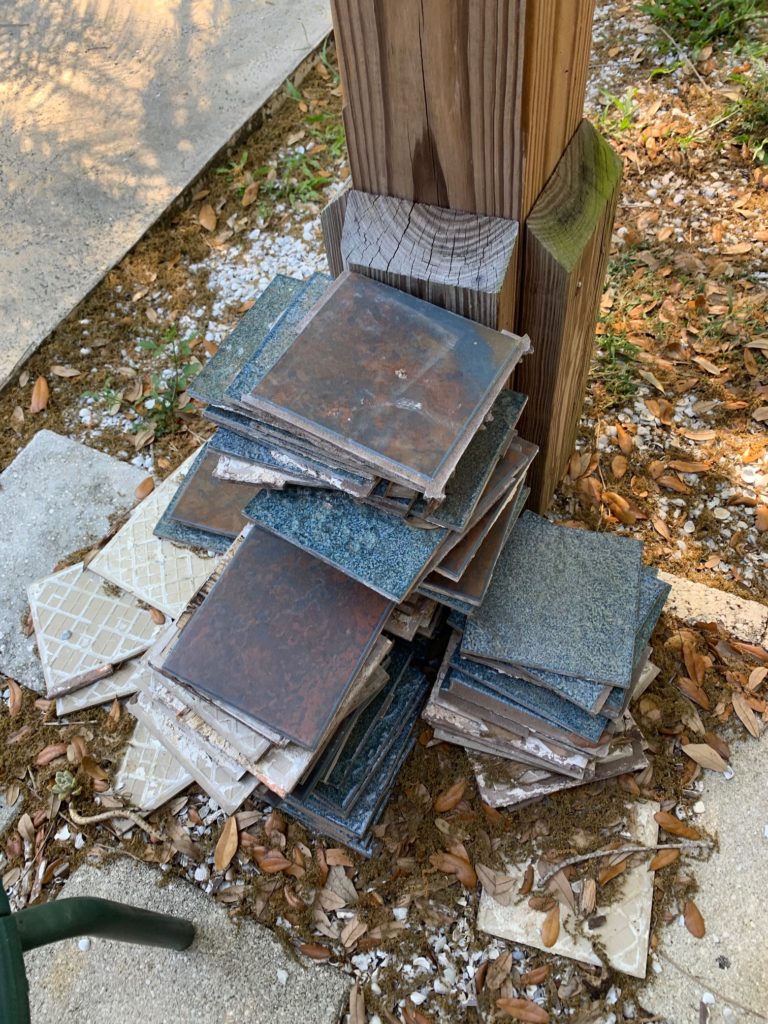
I will definitely find a place to repurpose my beautiful tiles.
Fluid Art to the Rescue
A couple of years ago I tried a few dirty pour art pieces and I really enjoyed the technique. Recently I have been seeing tutorials on making a beach scene and I thought, this would work as a bar counter. Adjusting from a canvas sized project to a 36 inch by 76 inch piece of plywood shouldn’t be difficult, right? Wrong!

I think this got bigger and heavier as we brought it in.
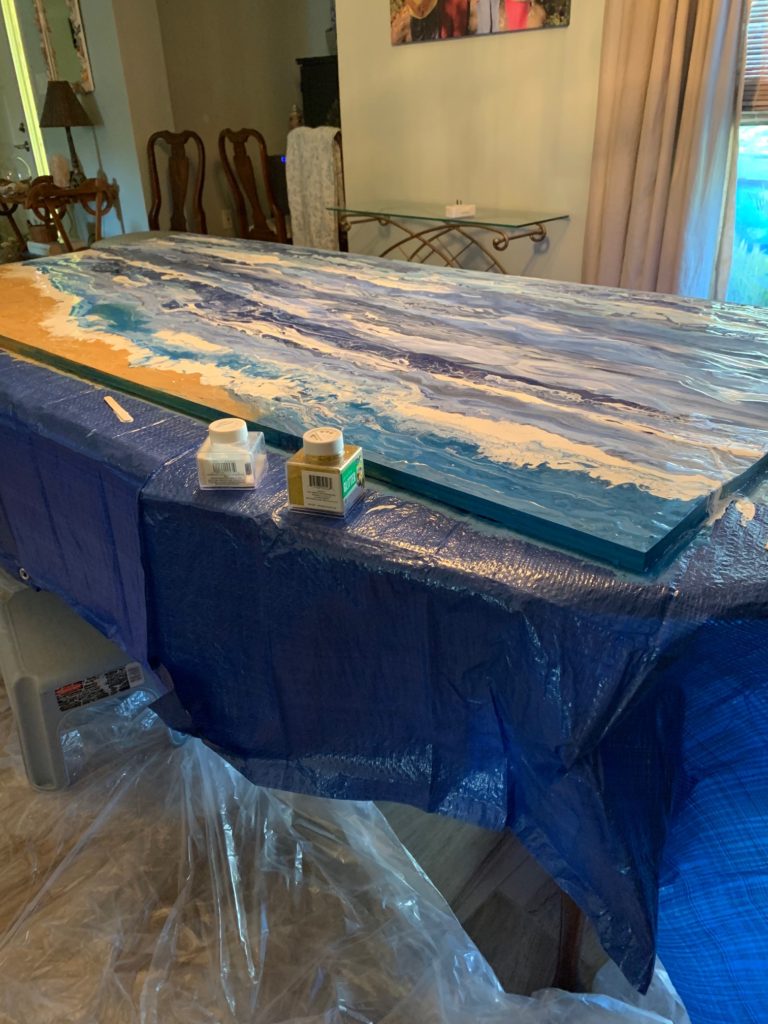
Tom cut my 3/4 inch plywood to size and I must say, this board is HEAVY! I decided to seal the top and bottom with spray paint I had bought on clearance. Quick tip, painting the top and bottom helpes to prevent the board from warping. I’m sure there was a better product to use but, I had this on hand. After it was completely dry, I brought it in the house.
Pollen, oh Pollen!
It is pollen season here in Florida and we have 2 huge oaks. There was no safe place to do this huge project other than my dining room table so I guess there will be no dinner parties in the near future. No worries, I covered the table with a few tarps and the floor with several drop cloths.
Mix Lots and Lots of Paint
Once the board was positioned on the table and the protection was placed, I started mixing my paint. I mixed 1:1 Floetrol (make sure it’s for acrylic paint) to acrylic paint, a little water and added a few drops of silicone for cells.
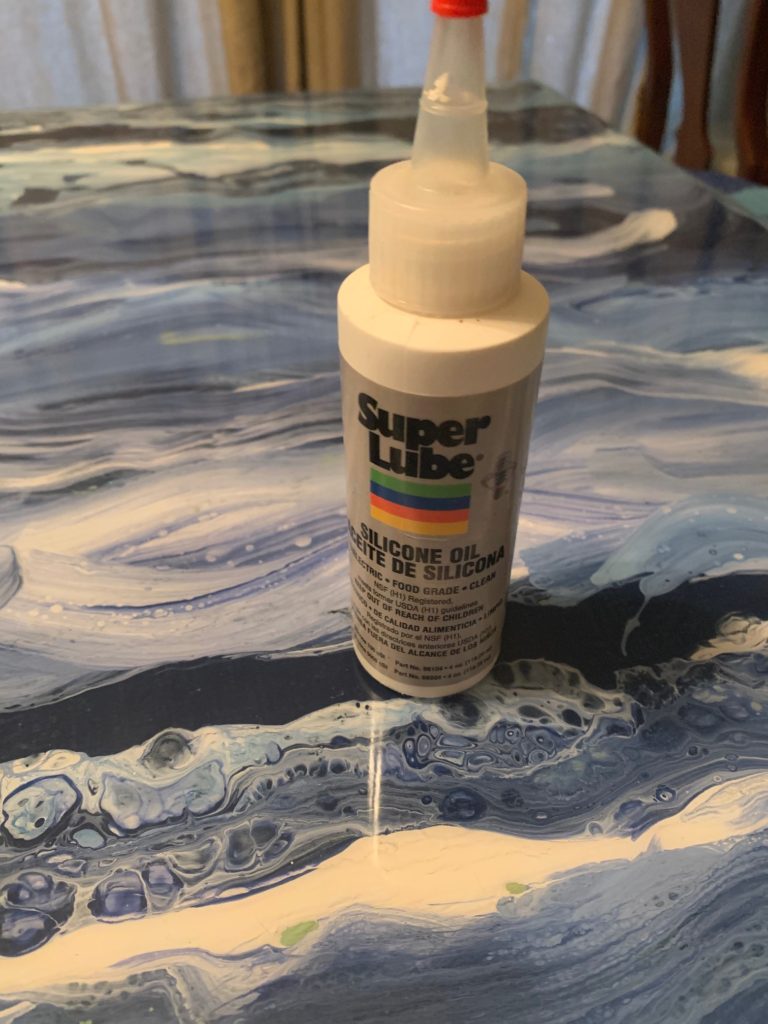
If you were wondering, this is what I used. A few drops of this and I got some beautiful cells.
I made several cups of paint. A couple shades of light brown and pale yellow for the sand, white for wave caps and several shades of blue for the ocean. I bought extra paint and thought I was in good shape. NOPE! This was a huge project and I needed way more paint. I poured all my fresh paint across the board and Tom and I tried lifting each end and tilting to let it work its magic. It was flowing but it became clear right away, I needed way more paint and I did not have time to run to Michael’s. What do I do now?
Time to get Creative!
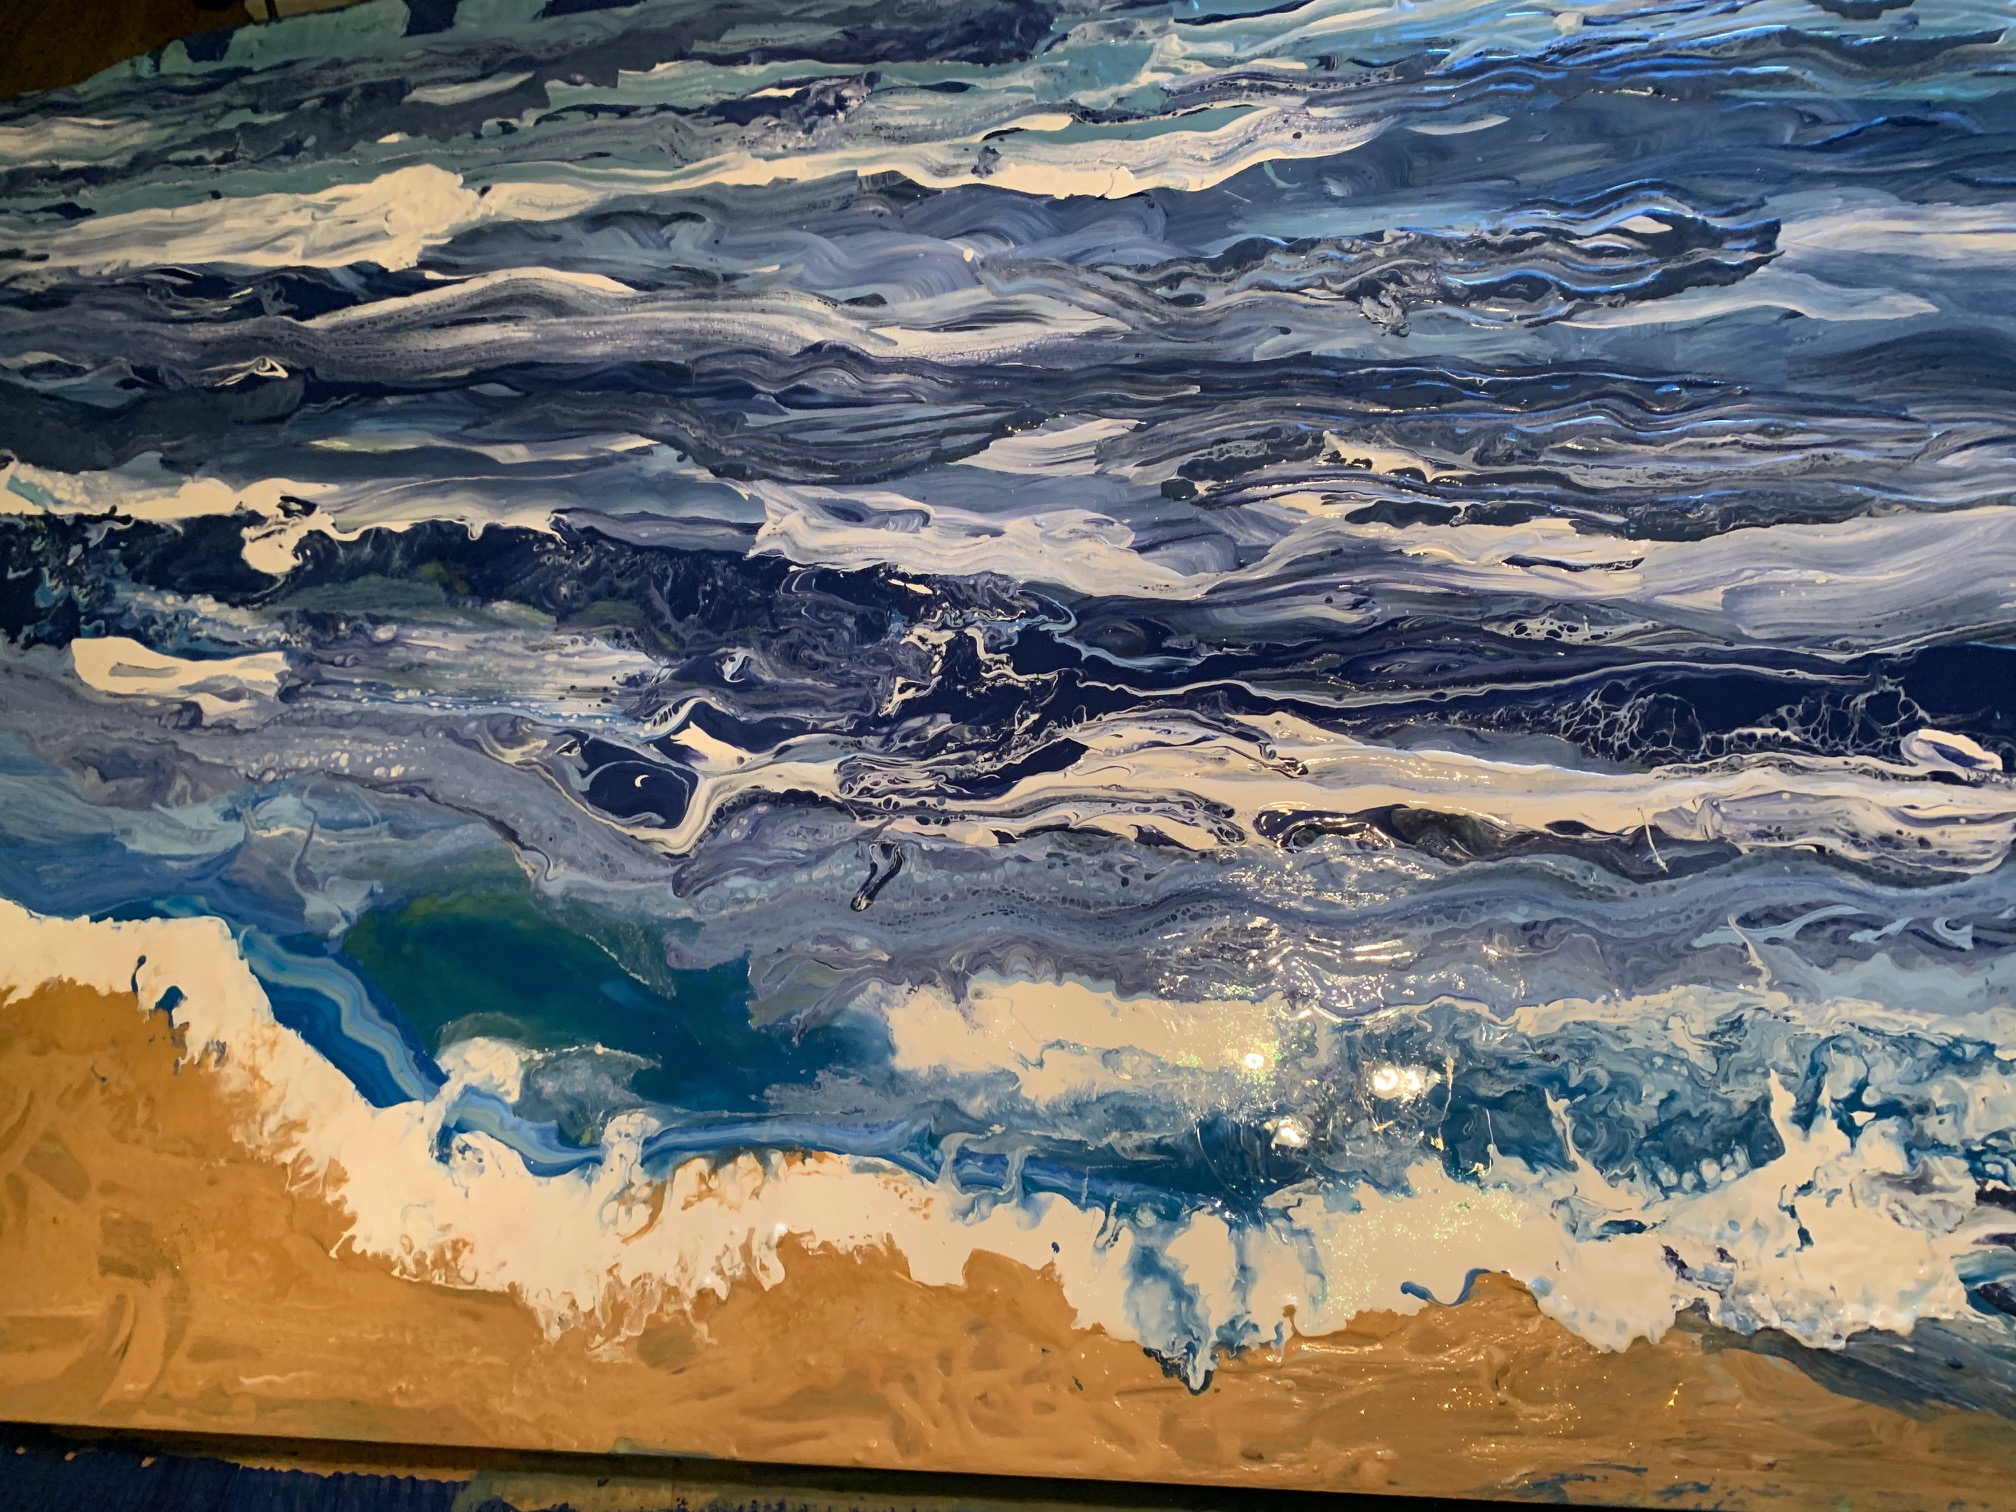
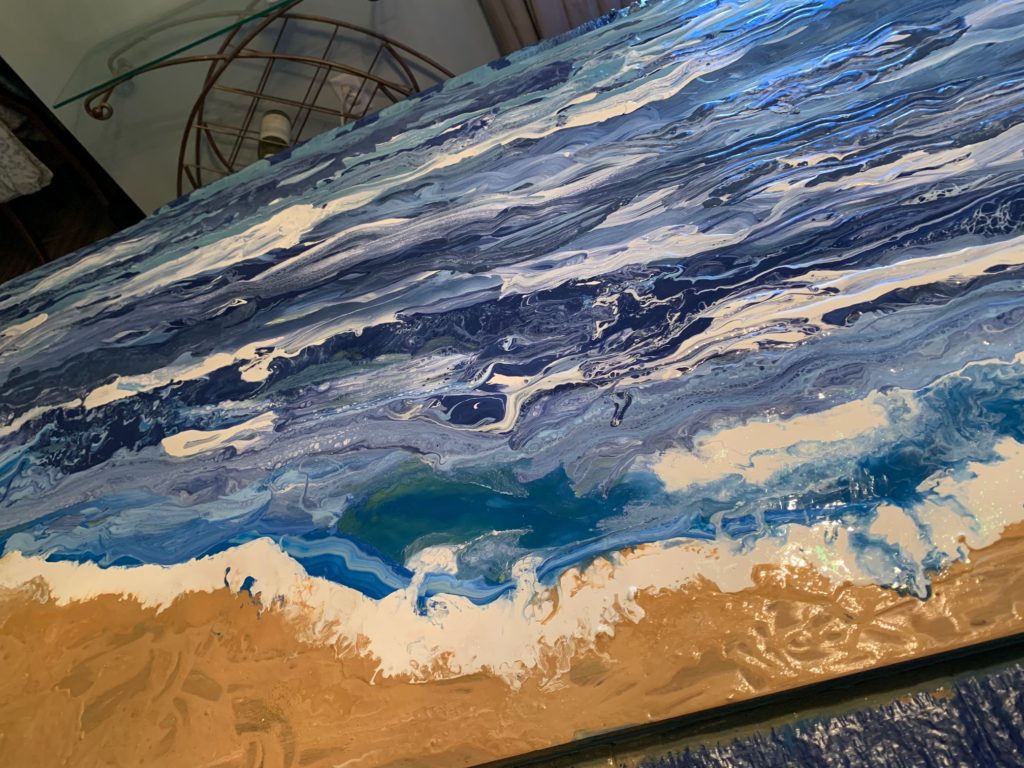
I ran to my stash of paints and grabbed every blue, teal and aqua I had. Everything I had was mixed and poured onto the board but it was still not flowing together. Desperate, I got a 2 inch trim brush and started dragging it across the paint, pulling it over the edge. After the sand and water was spread, I carefully poured some white for wave caps, cleaned my brush and dragged the brush across that. Sprinkling a little fine white glitter on the white and a bit of gold glitter on the sand finished it off. No, I did not get any pictures of this technique but in the end there was no technique. Just me desperately trying to salvage this project.
If I ever do this again, I will be better prepared. It would have worked as fluid art if I had just had more paint. In the end, It was not exactly what I was thinking and it was more like a textured acrylic painting but the colors were there. I think when I seal it with resin it will be beautiful.

The weird reflection is my vintage chandelier.
After all was said and done, this ended up being a fun project. It was not the calm beach scene I was going for. I think it looks more like an ocean during a hurricane.
Sometime Soon, Resin to the Rescue
Once the paint is completely dry, I am sealing this project with resin. I have never used it and I’m excited to learn something new. For now, I have to wait several days for the layers of paint to dry. So, between now and then, I’ll be studying some tutorials on how to do resin.
Thank you for stopping by, I would love to hear if you have tried anything like this or if I have inspired you to try this out for yourself.
Wishing you health, happiness and lots of Sunny Days!
![]()
![]()
![]()


Brianna Lofton
March 30, 2021 4:31 pmWhat a cool project! Can’t wait to read about the finished product.
SSDays
March 30, 2021 4:39 pmThank you so much. I have wanted to try something like this for a while. I appreciate your taking the time to visit my site.