

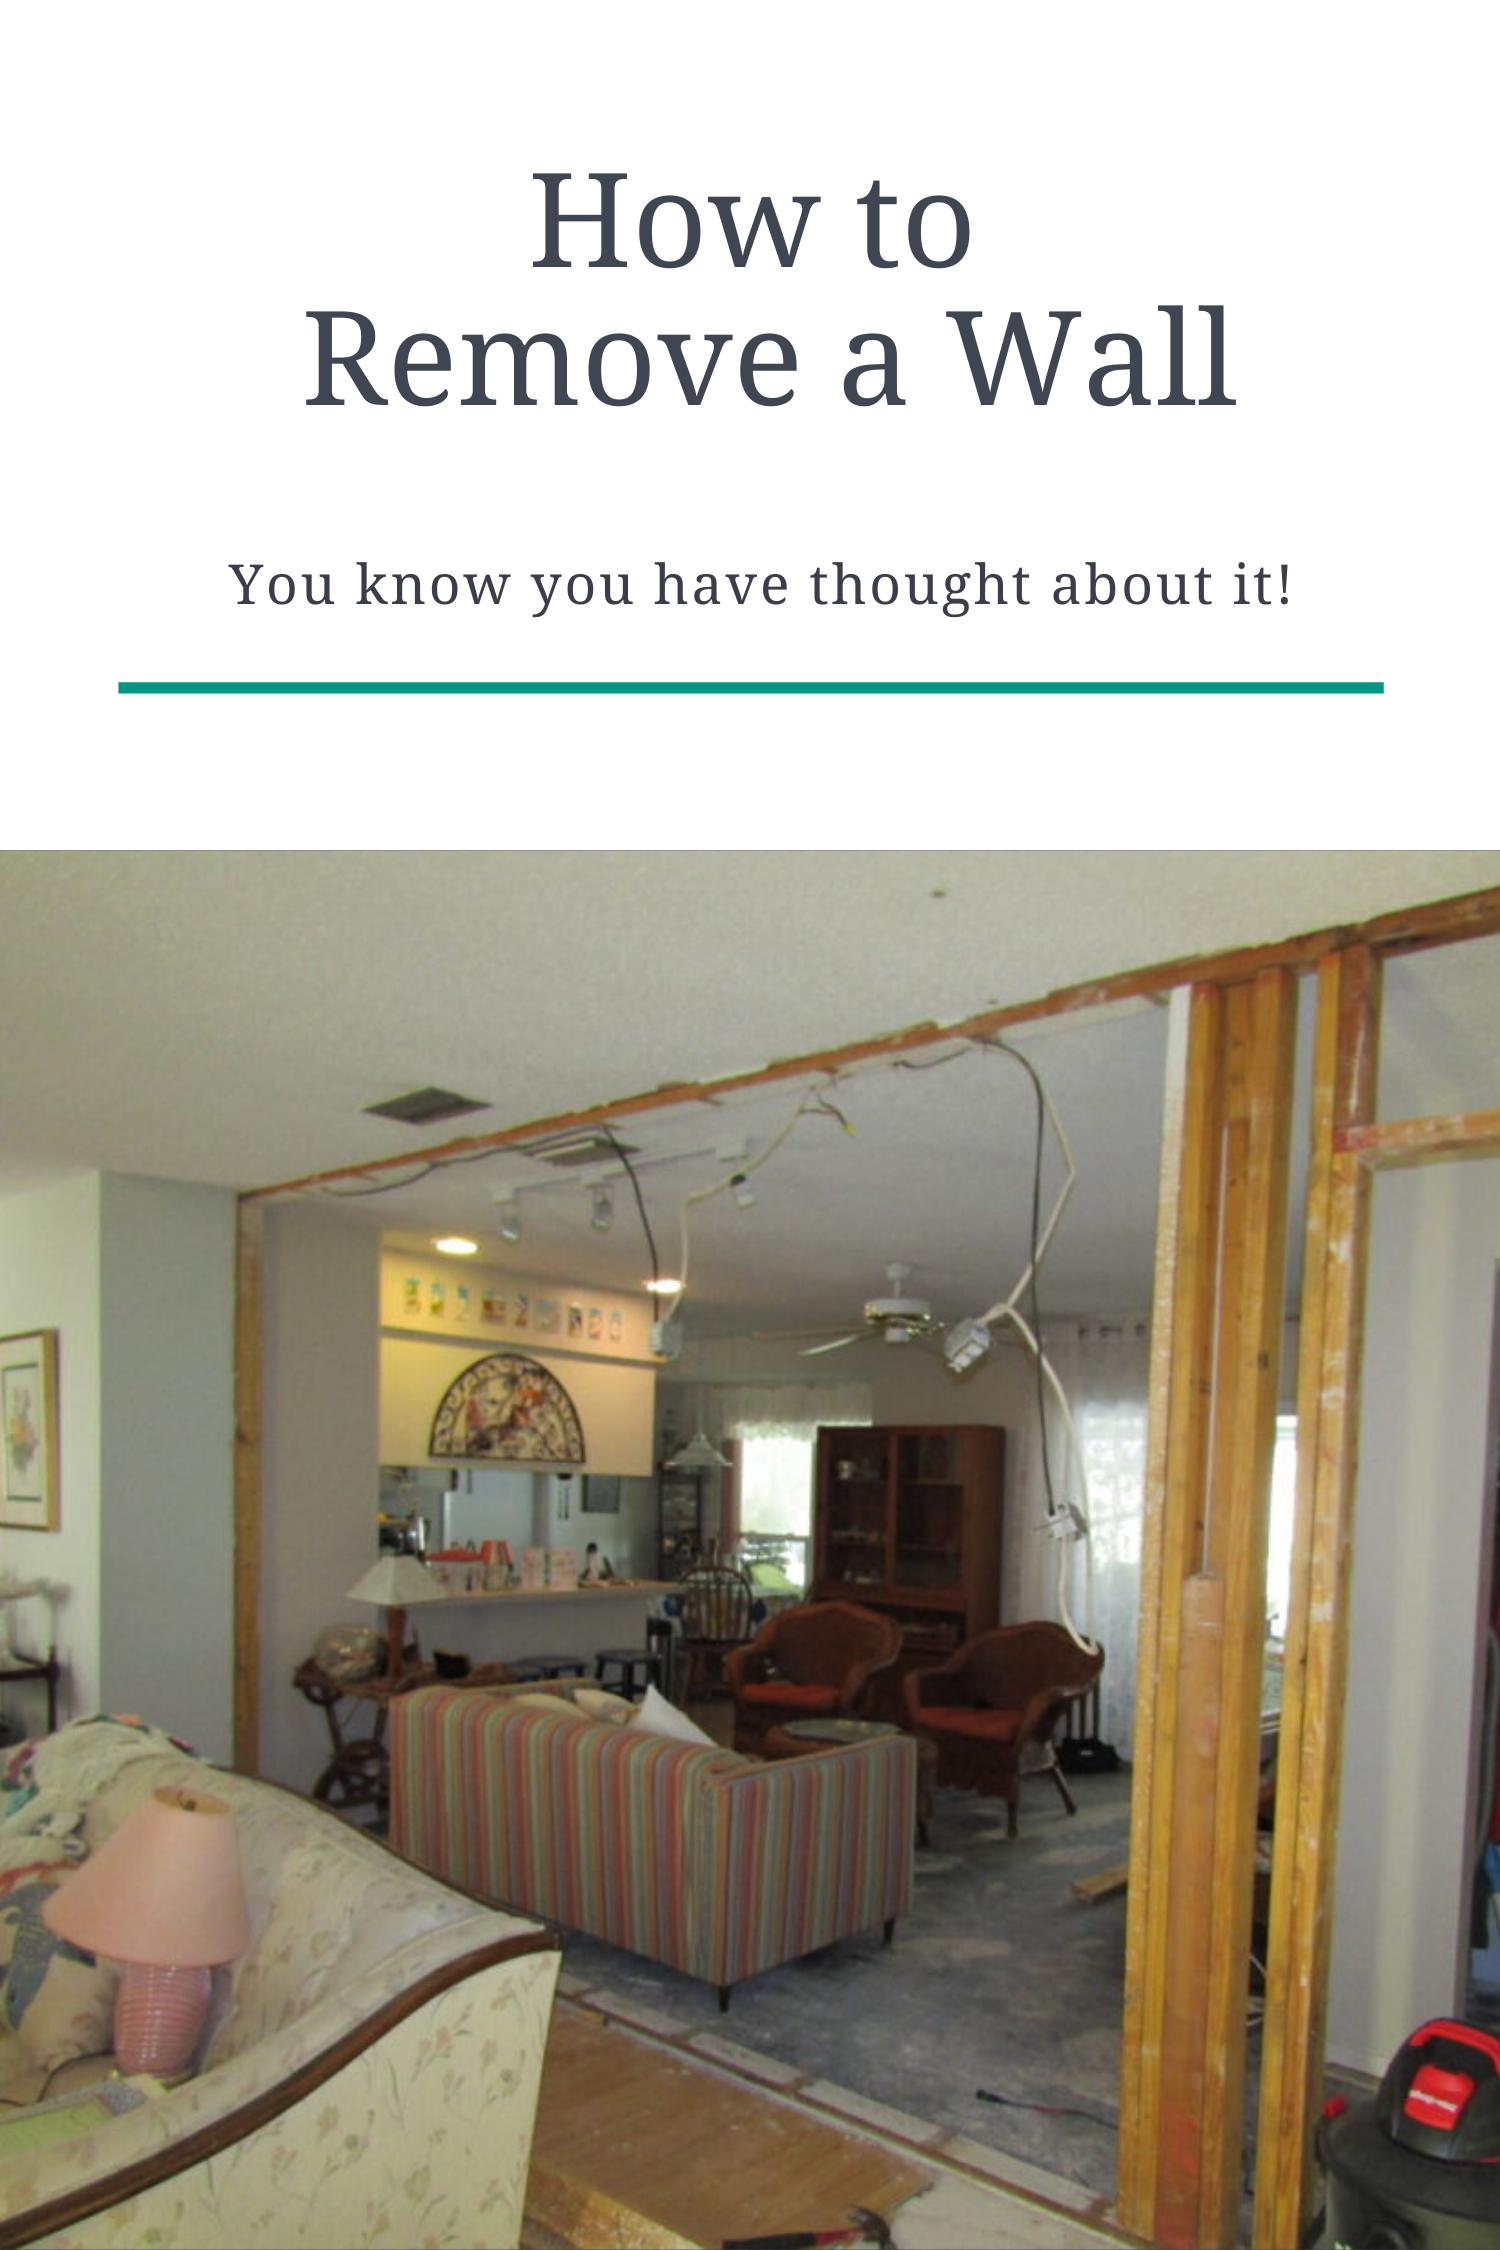
Our plan was always to remove the wall between the living room/ dining room and the gathering room. We were just not ready. For one thing removing that wall meant replacing all the flooring. We had to do a lot more saving before that was going to happen.

Have you ever had a disaster that turned out to be a positive experience in the end? That’s how I feel about, what we like to call, “The Flood of 2016”. Technically it was more of a backup than a flood but it felt like a flood to us.
A Wet Mess
On March 9th, our dog, Scout, woke us up at 4:00 am to inform us that there was water everywhere. We think he only noticed when the water reached his bed. The sewer water had backed up into our home and flooded the entire house, ruining all the flooring and damaging walls and baseboards along the way. It was a nightmare. The entire house had to be cleaned and sanitized. All the flooring had to be removed and replaced.
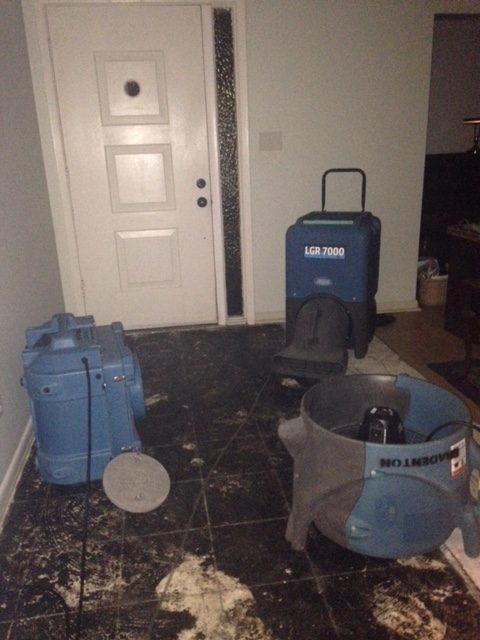
Air scrubbers sound like a plane taking off
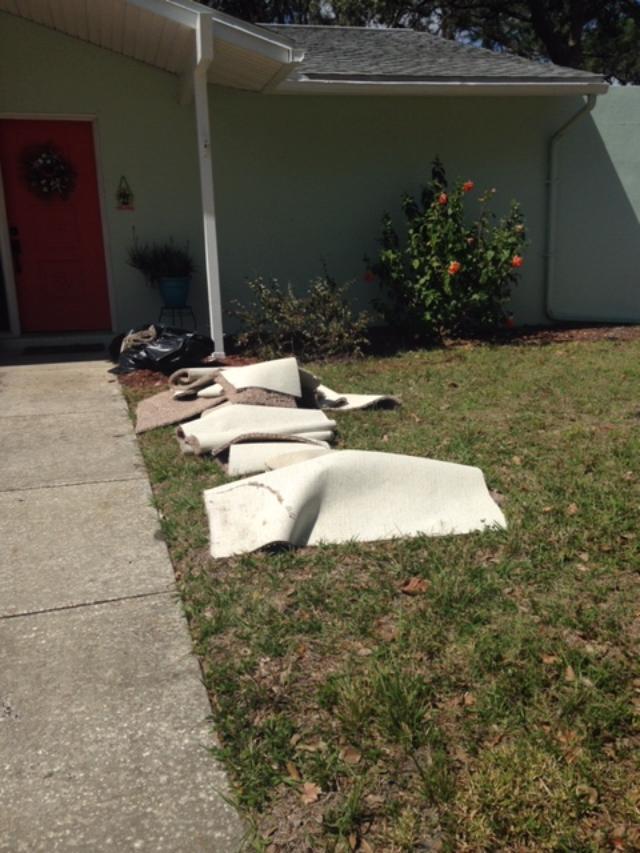
All the carpet and flooring were ruined
Let’s Remove a Wall
In the process of putting our home back together, we decided we were going to remove a wall. Since we had to get all new flooring, the time was right! It was a HUGE improvement. I want to share a little of that process and what we learned. If you have been considering it, you might want to go for it. I cannot express how happy we were when it was completed. It’s was like we got a much bigger home.
Before I get started, let me apologize for the pictures. The flood was a terrible mess for us and I’m surprised I even thought to take any pictures at all. These were taken on my old phone. I’m not sure if I even knew where my camera was at the time.
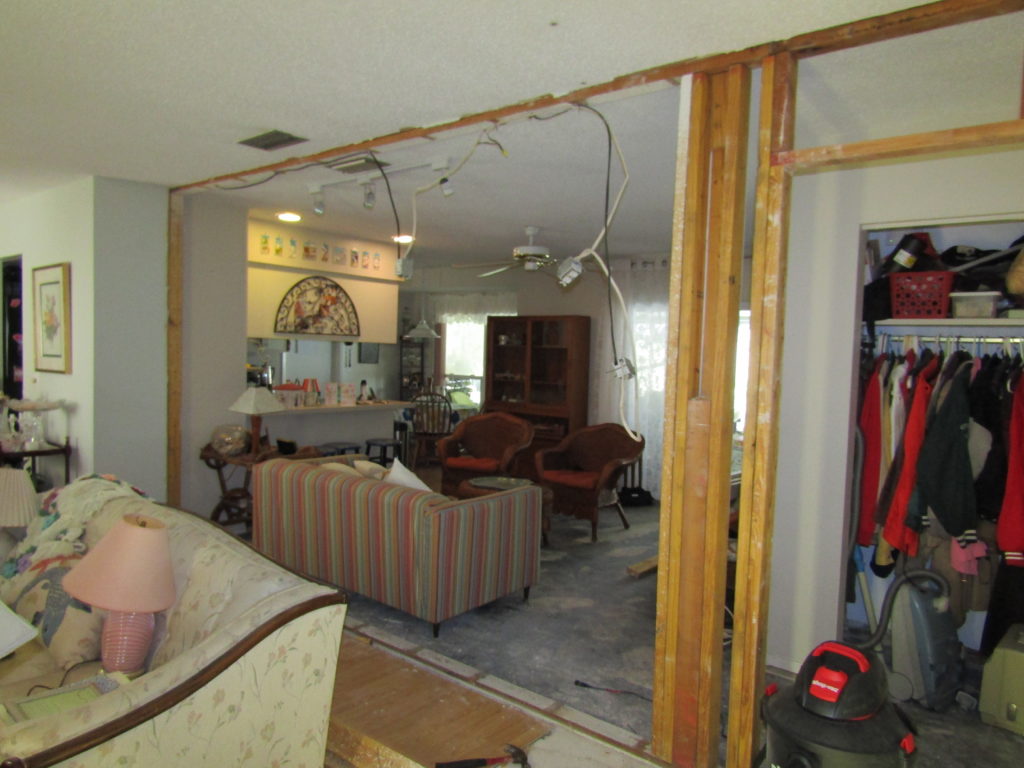
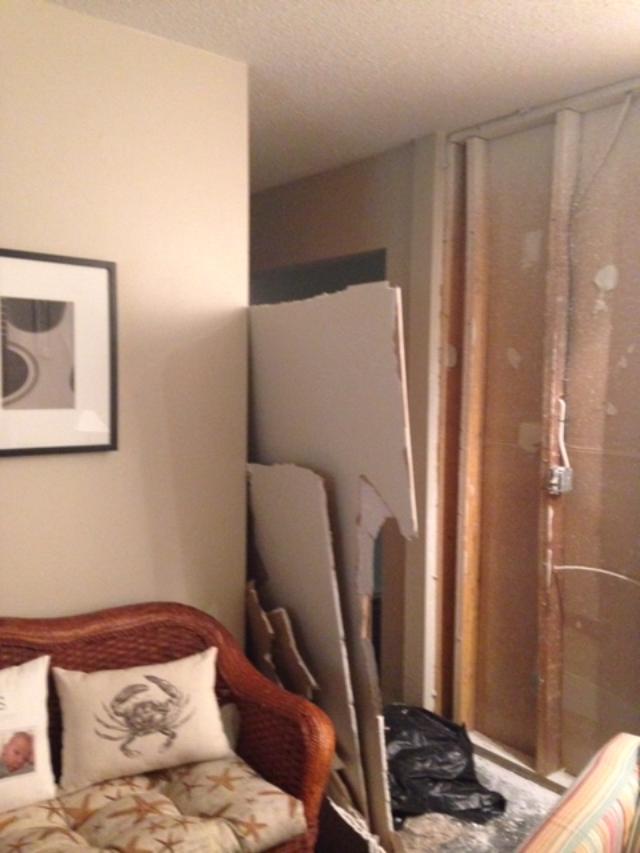
When you remove a wall be prepared for a real mess. The drywall is in bits and pieces and the pile seems bigger than the wall it came from. Just keep reminding yourself of how great it will be when it is done.
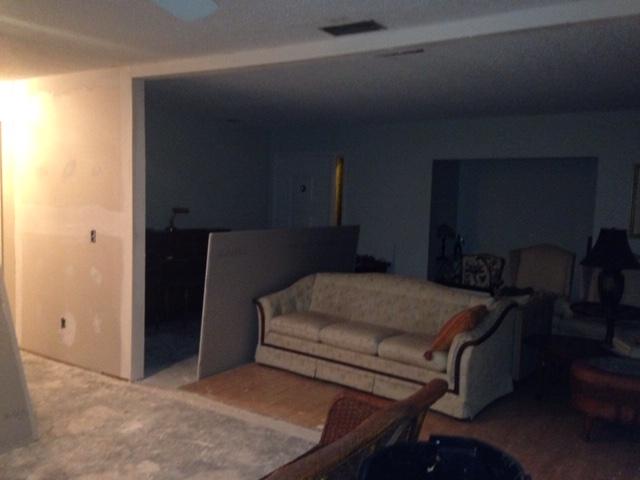
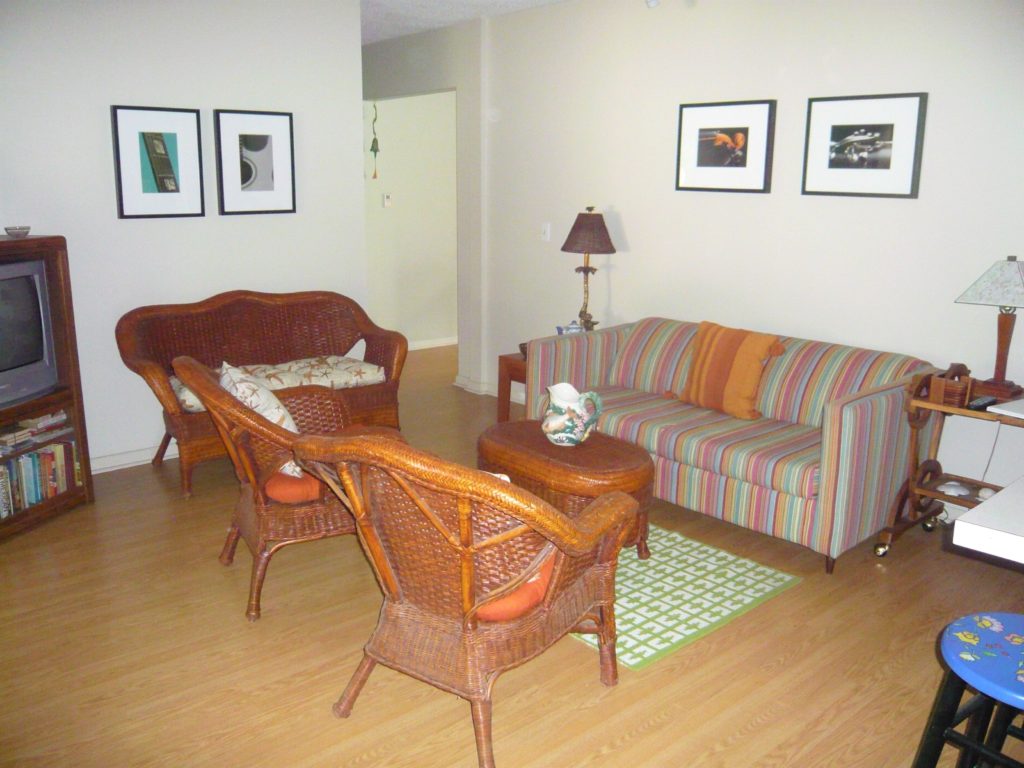
 This was the before picture. Before the flood and before we removed the wall. If you were wondering, these laminate floors do not do well with water.
Remove a Wall Just like on HGTV
We had never removed a wall before and were completely out of our element. We were fans of the HGTV shows that renovate older homes and it always looks so easy. Right? Just get a sledge hammer and go for it! It’s so easy to remove a wall. Not so fast. If your home was built before 1970 you need to check for asbestos and lead paint. Luckily, our insurance company had already tested and we were good. Next, and easily the most important thing, is this a load-bearing wall? In other words, is this wall holding the roof up? Have it checked out by a contractor you trust.
Proceed with Caution
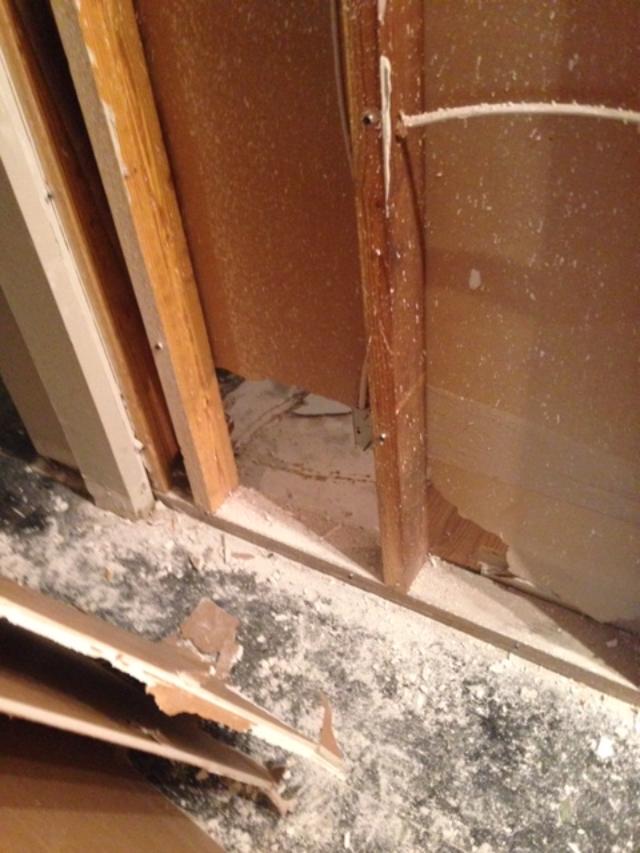
It’s a good idea to open the wall a little so you can look for wiring and get an idea about what you are going to encounter. I’m sure a contractor that does this sort of thing all the time would find that amusing but this home was built in 1969 and this would be our first time removing a wall. Let’s take our time! Another tip. There are wires and cables in those walls. If you must, you can use a sledge hammer, but cautiously. I know, I know, everyone wants to use the sledge hammer.
And so it begins. Carefully remove the drywall without damaging the wiring in the wall.
You can see all the wires outlets and cables. Those had to be relocated. We hired an electrician for that because we also added some lighting and outlets.
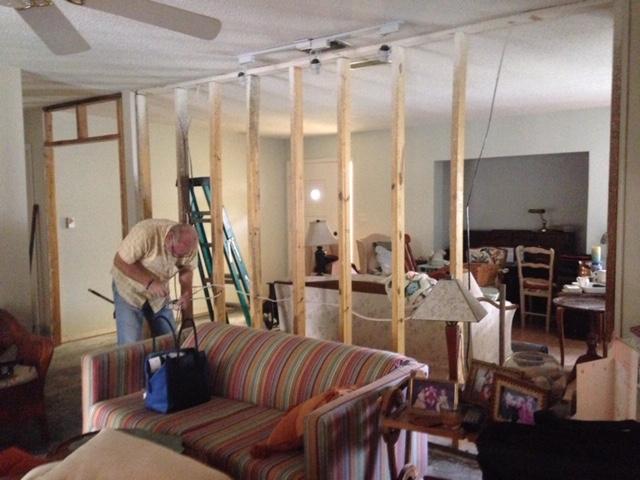
Tom removed those boards to open it up.
It already looks so much bigger!

We closed in the old opening to the hall way.
Voila! This is how to remove a wall!
Time for the Electrical Work
You can see the wires and boxes hanging down. All that has to be cleaned up and you will get your electrical work done before the drywall goes back up. This would be a great time to add outlets or can lights in the ceiling. It is much easier for an electrician to do the wiring when they can see what they are doing.
Walls Going Up
Full disclosure, Tom removed the walls and framed where the new walls were going but we had a friend do the drywall. We know our strengths and that is not one of them.
We were already thrilled with the open concept. It really made our home more functional and it looked so much bigger!! At this point though, no work had been started on repairing our home. They had just dried it out, removed sections of damaged drywall, baseboards, flooring and sanitized. It was about a month before anything else was done. I am told that is normal but it’s hard to be patient when your home is turned upside down. I was freaking out!
Finally the Work Begins
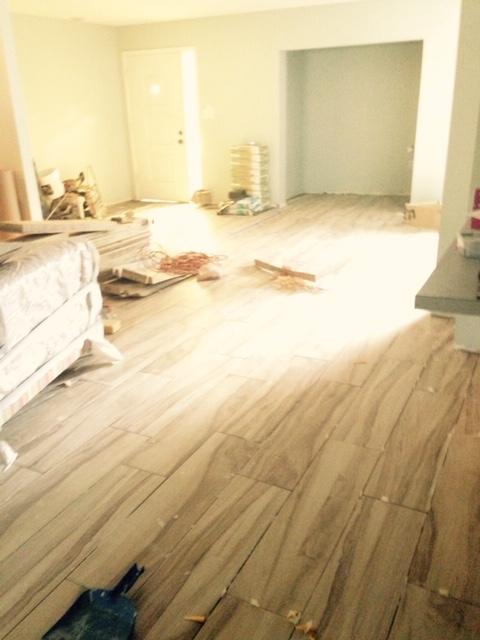
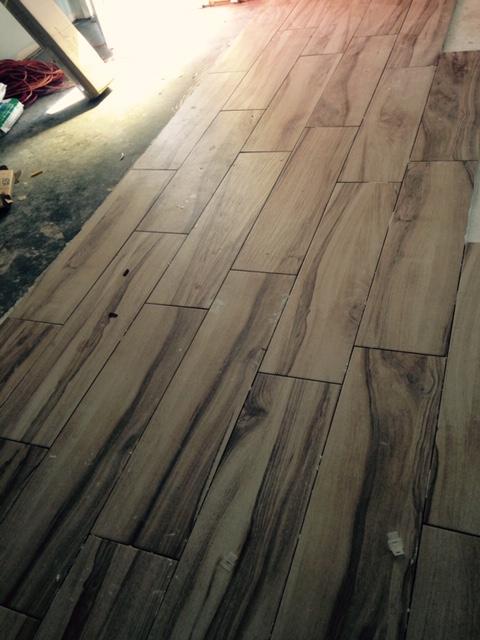
After about a month, they took all of our furniture out to a storage container on the driveway and the work began. We had crews of people in our home every day, repairing drywall, putting in new floors, replacing all the baseboards and painting. Around the first week of May, the work was complete. It was overwhelming and inconvenient but in the end, fabulous.
Making Lemonade out of Lemons
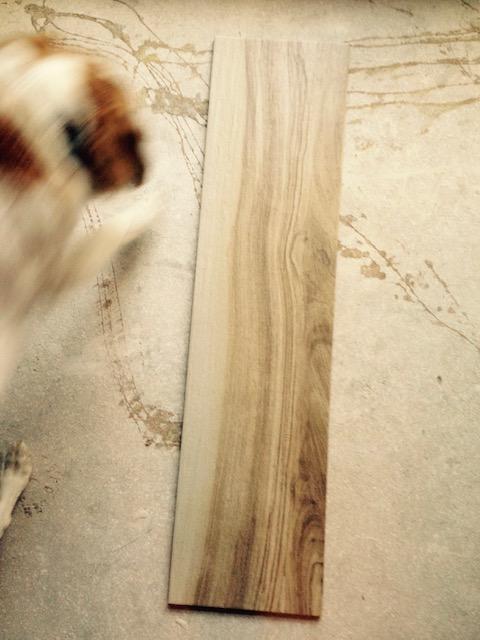
One of the other changes we made was the flooring. The only flooring that survived was the ceramic tile in the bathroom. We decided that tile was the way to go and now have it throughout the house. We don’t ever want to go through this again, plus with the pool, we don’t have to worry about our grandchildren’s wet feet.
The floors and walls looked fresh and new. To clean up some more of the old, we replaced all the beige light switches, outlets and plates with white. We also replaced all the door knobs. Little details make all the difference.
So there you have it. Our home was finished the first week in May and the second week of June our family started arriving to celebrate my husband’s 60th birthday. It was a whirlwind trying to get the furniture set up and things unpacked. Somehow we made it work.
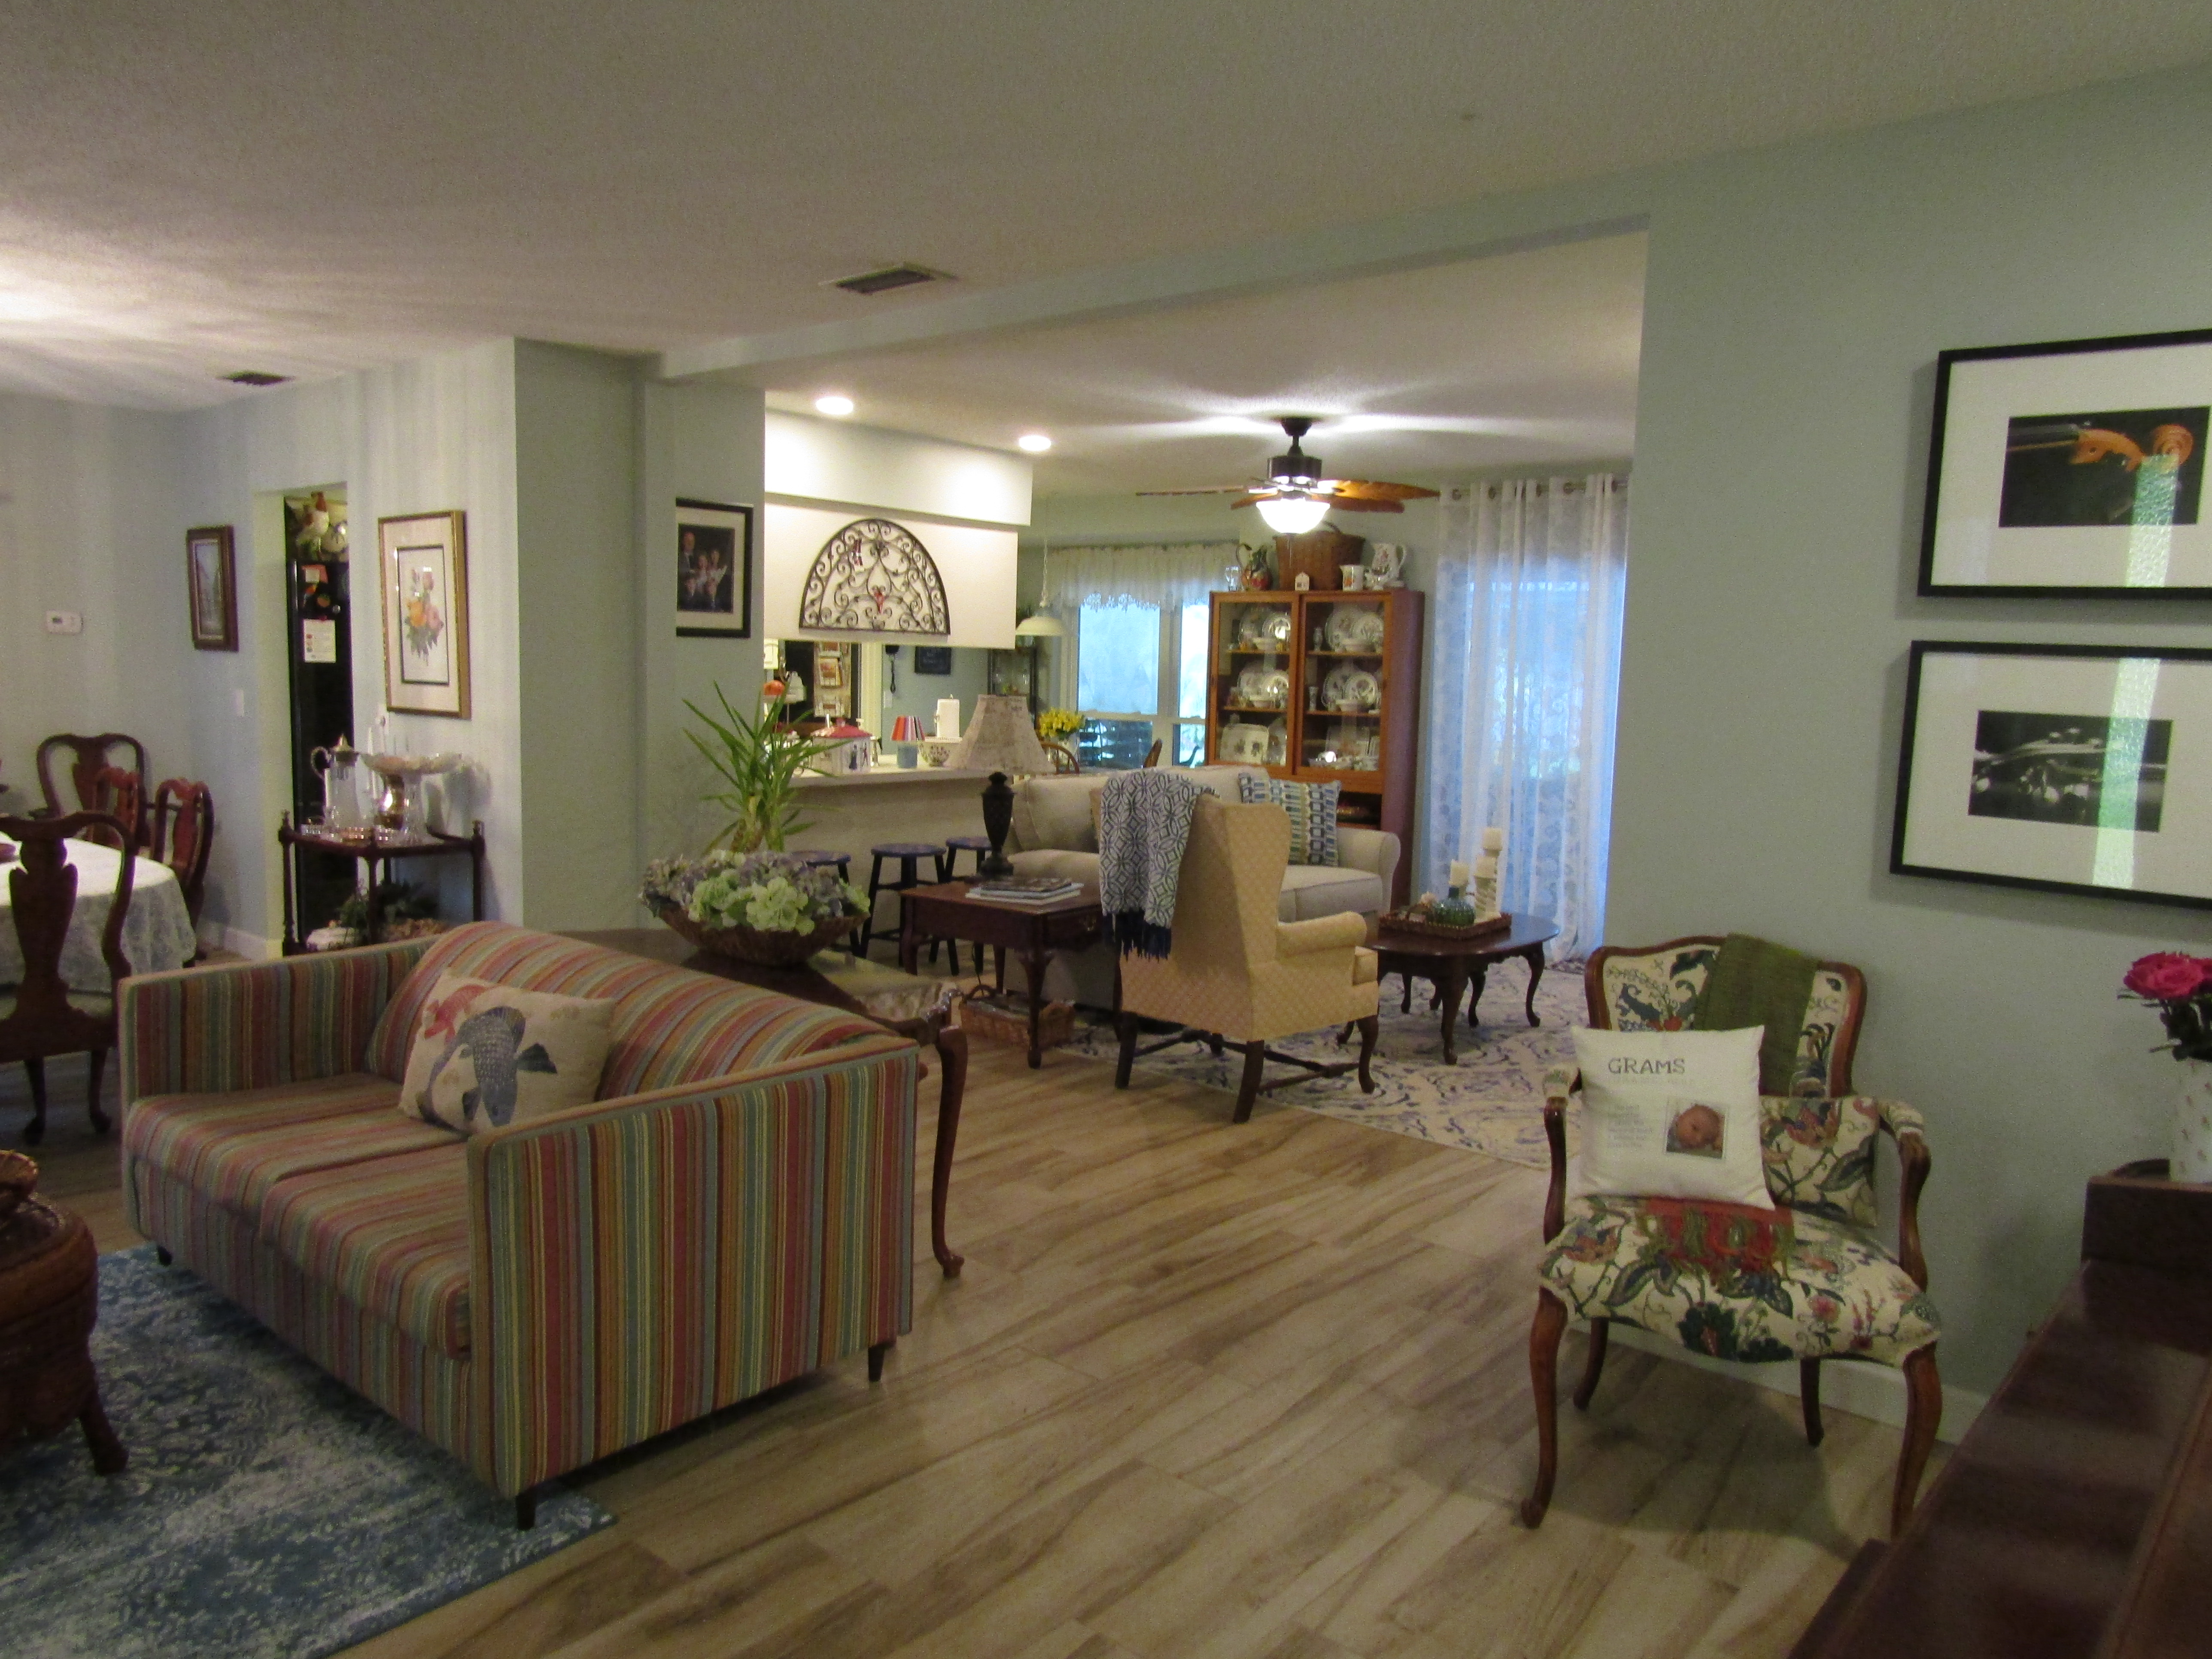
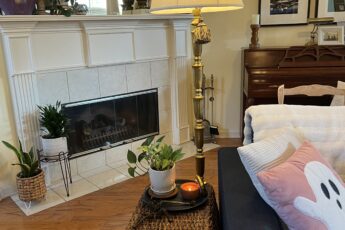
Before…
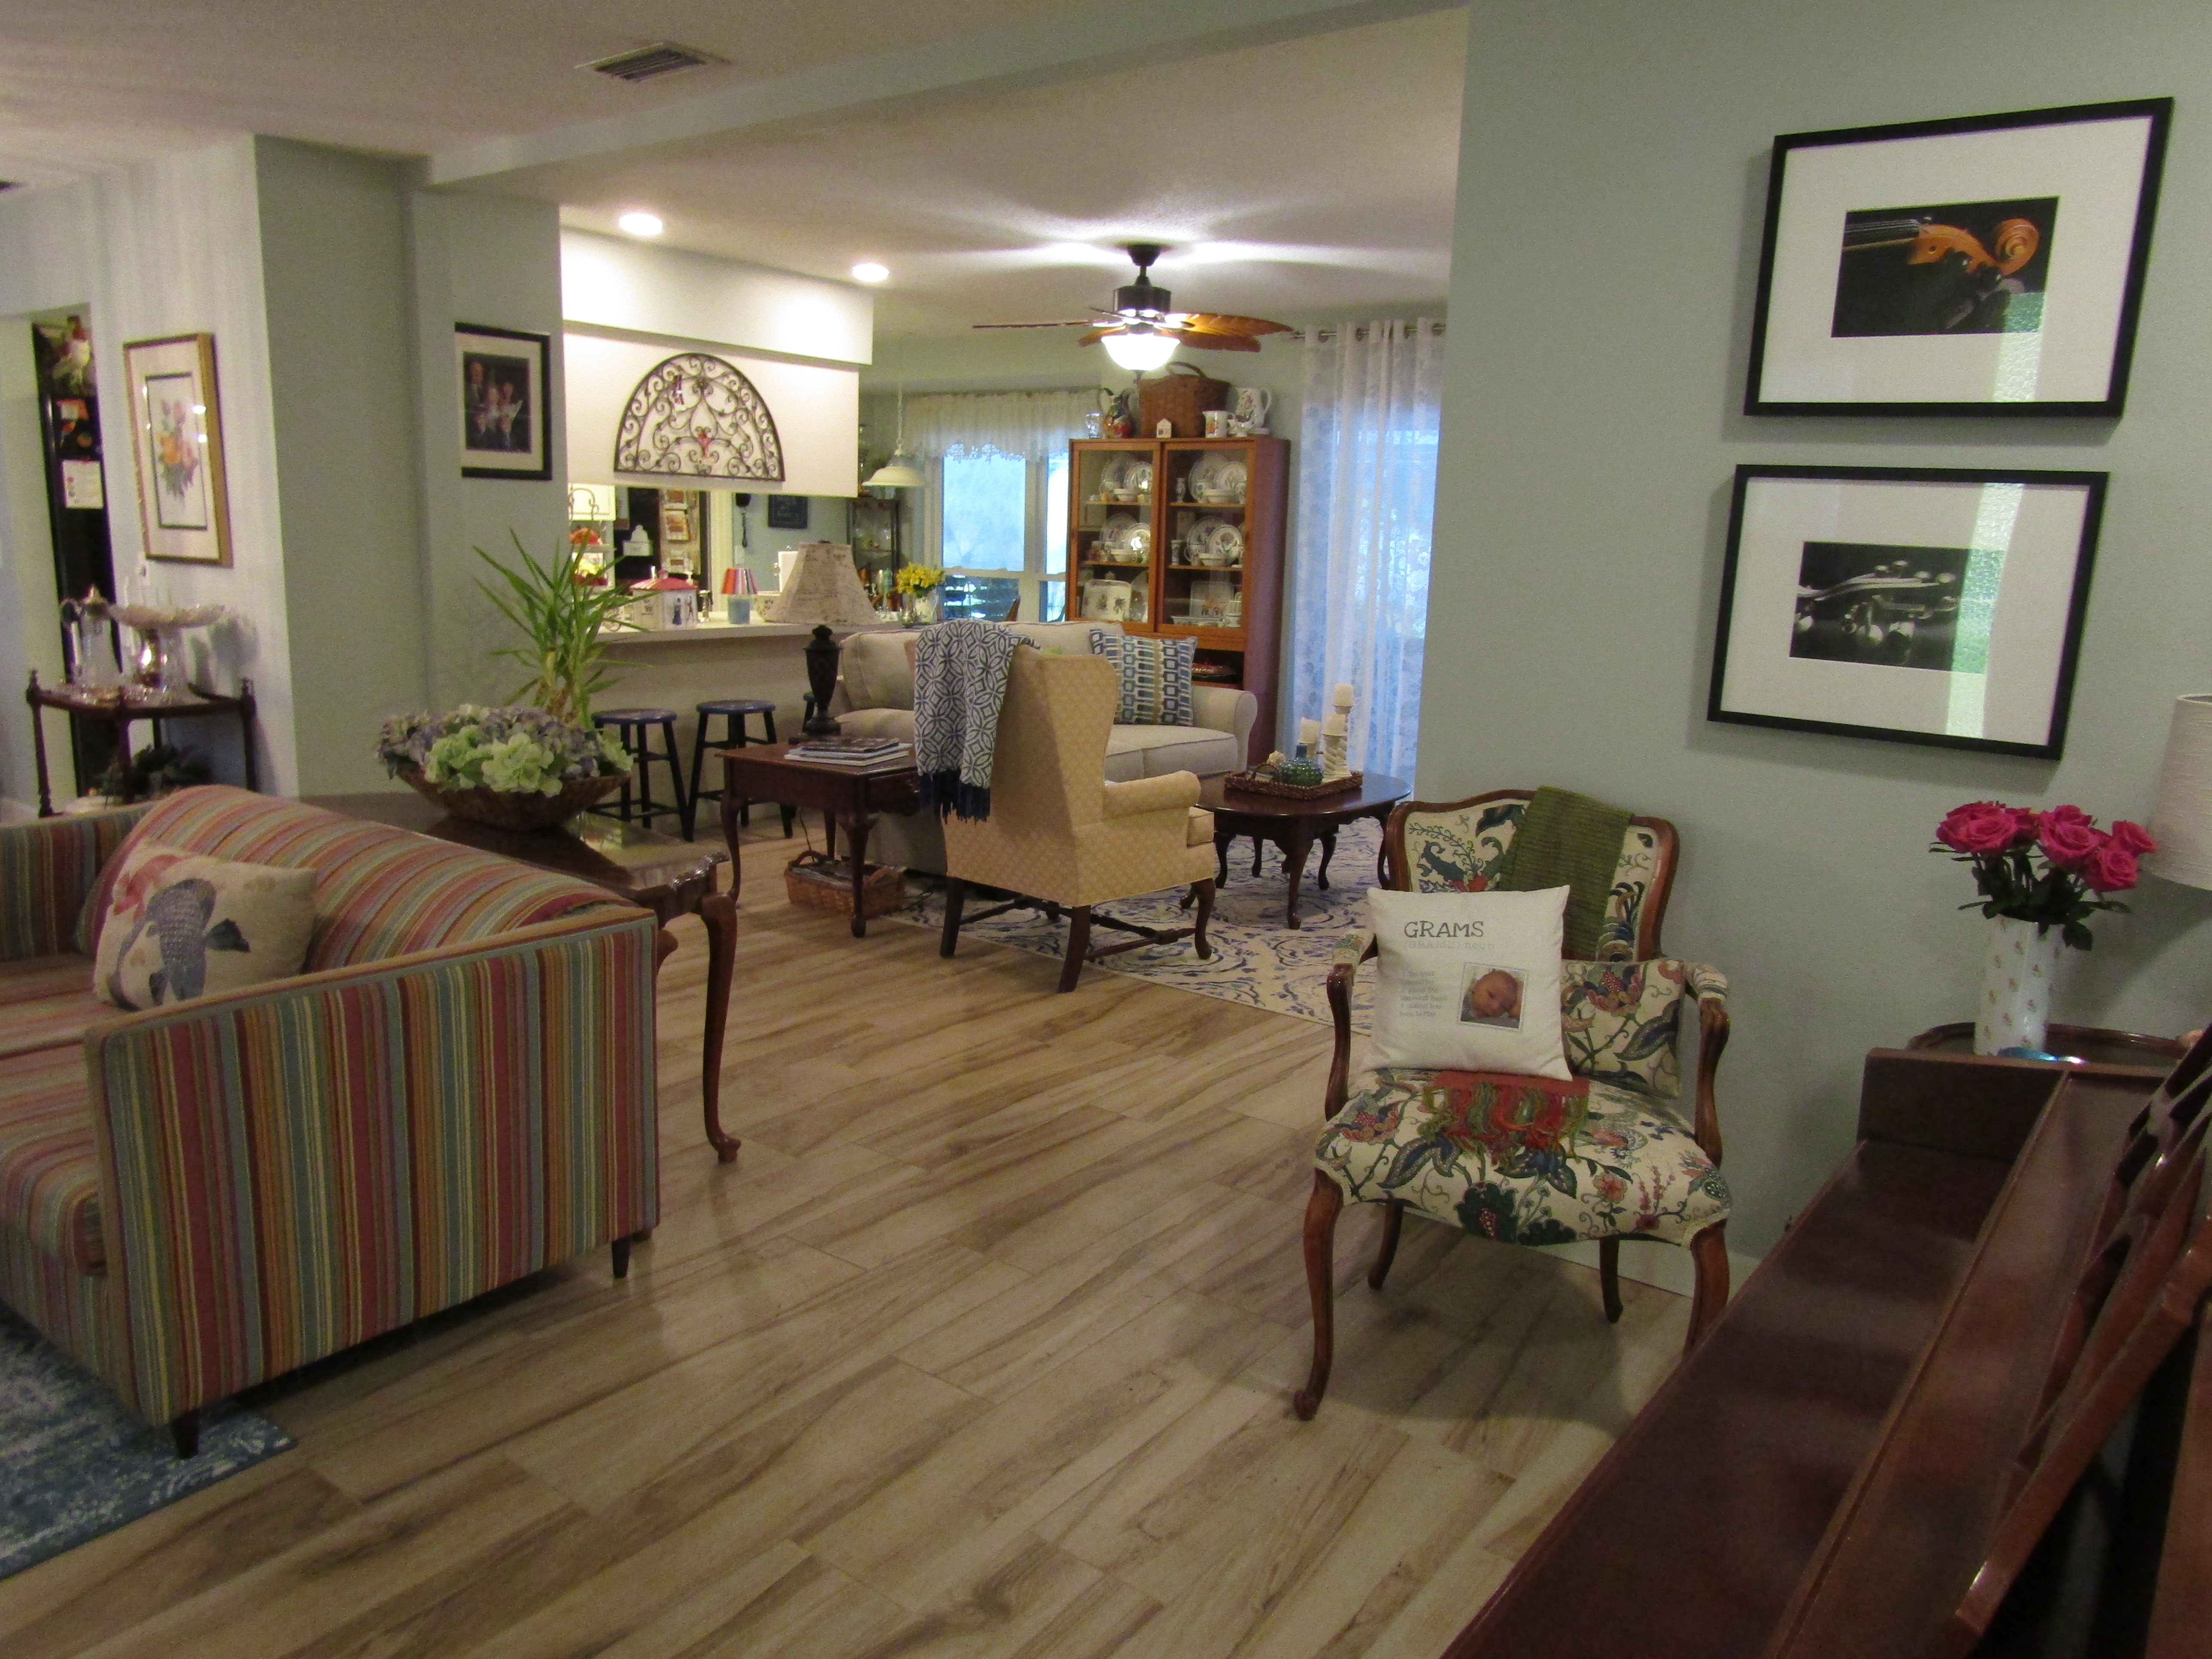
…and after. Much more open now and a much better flow for entertaining.
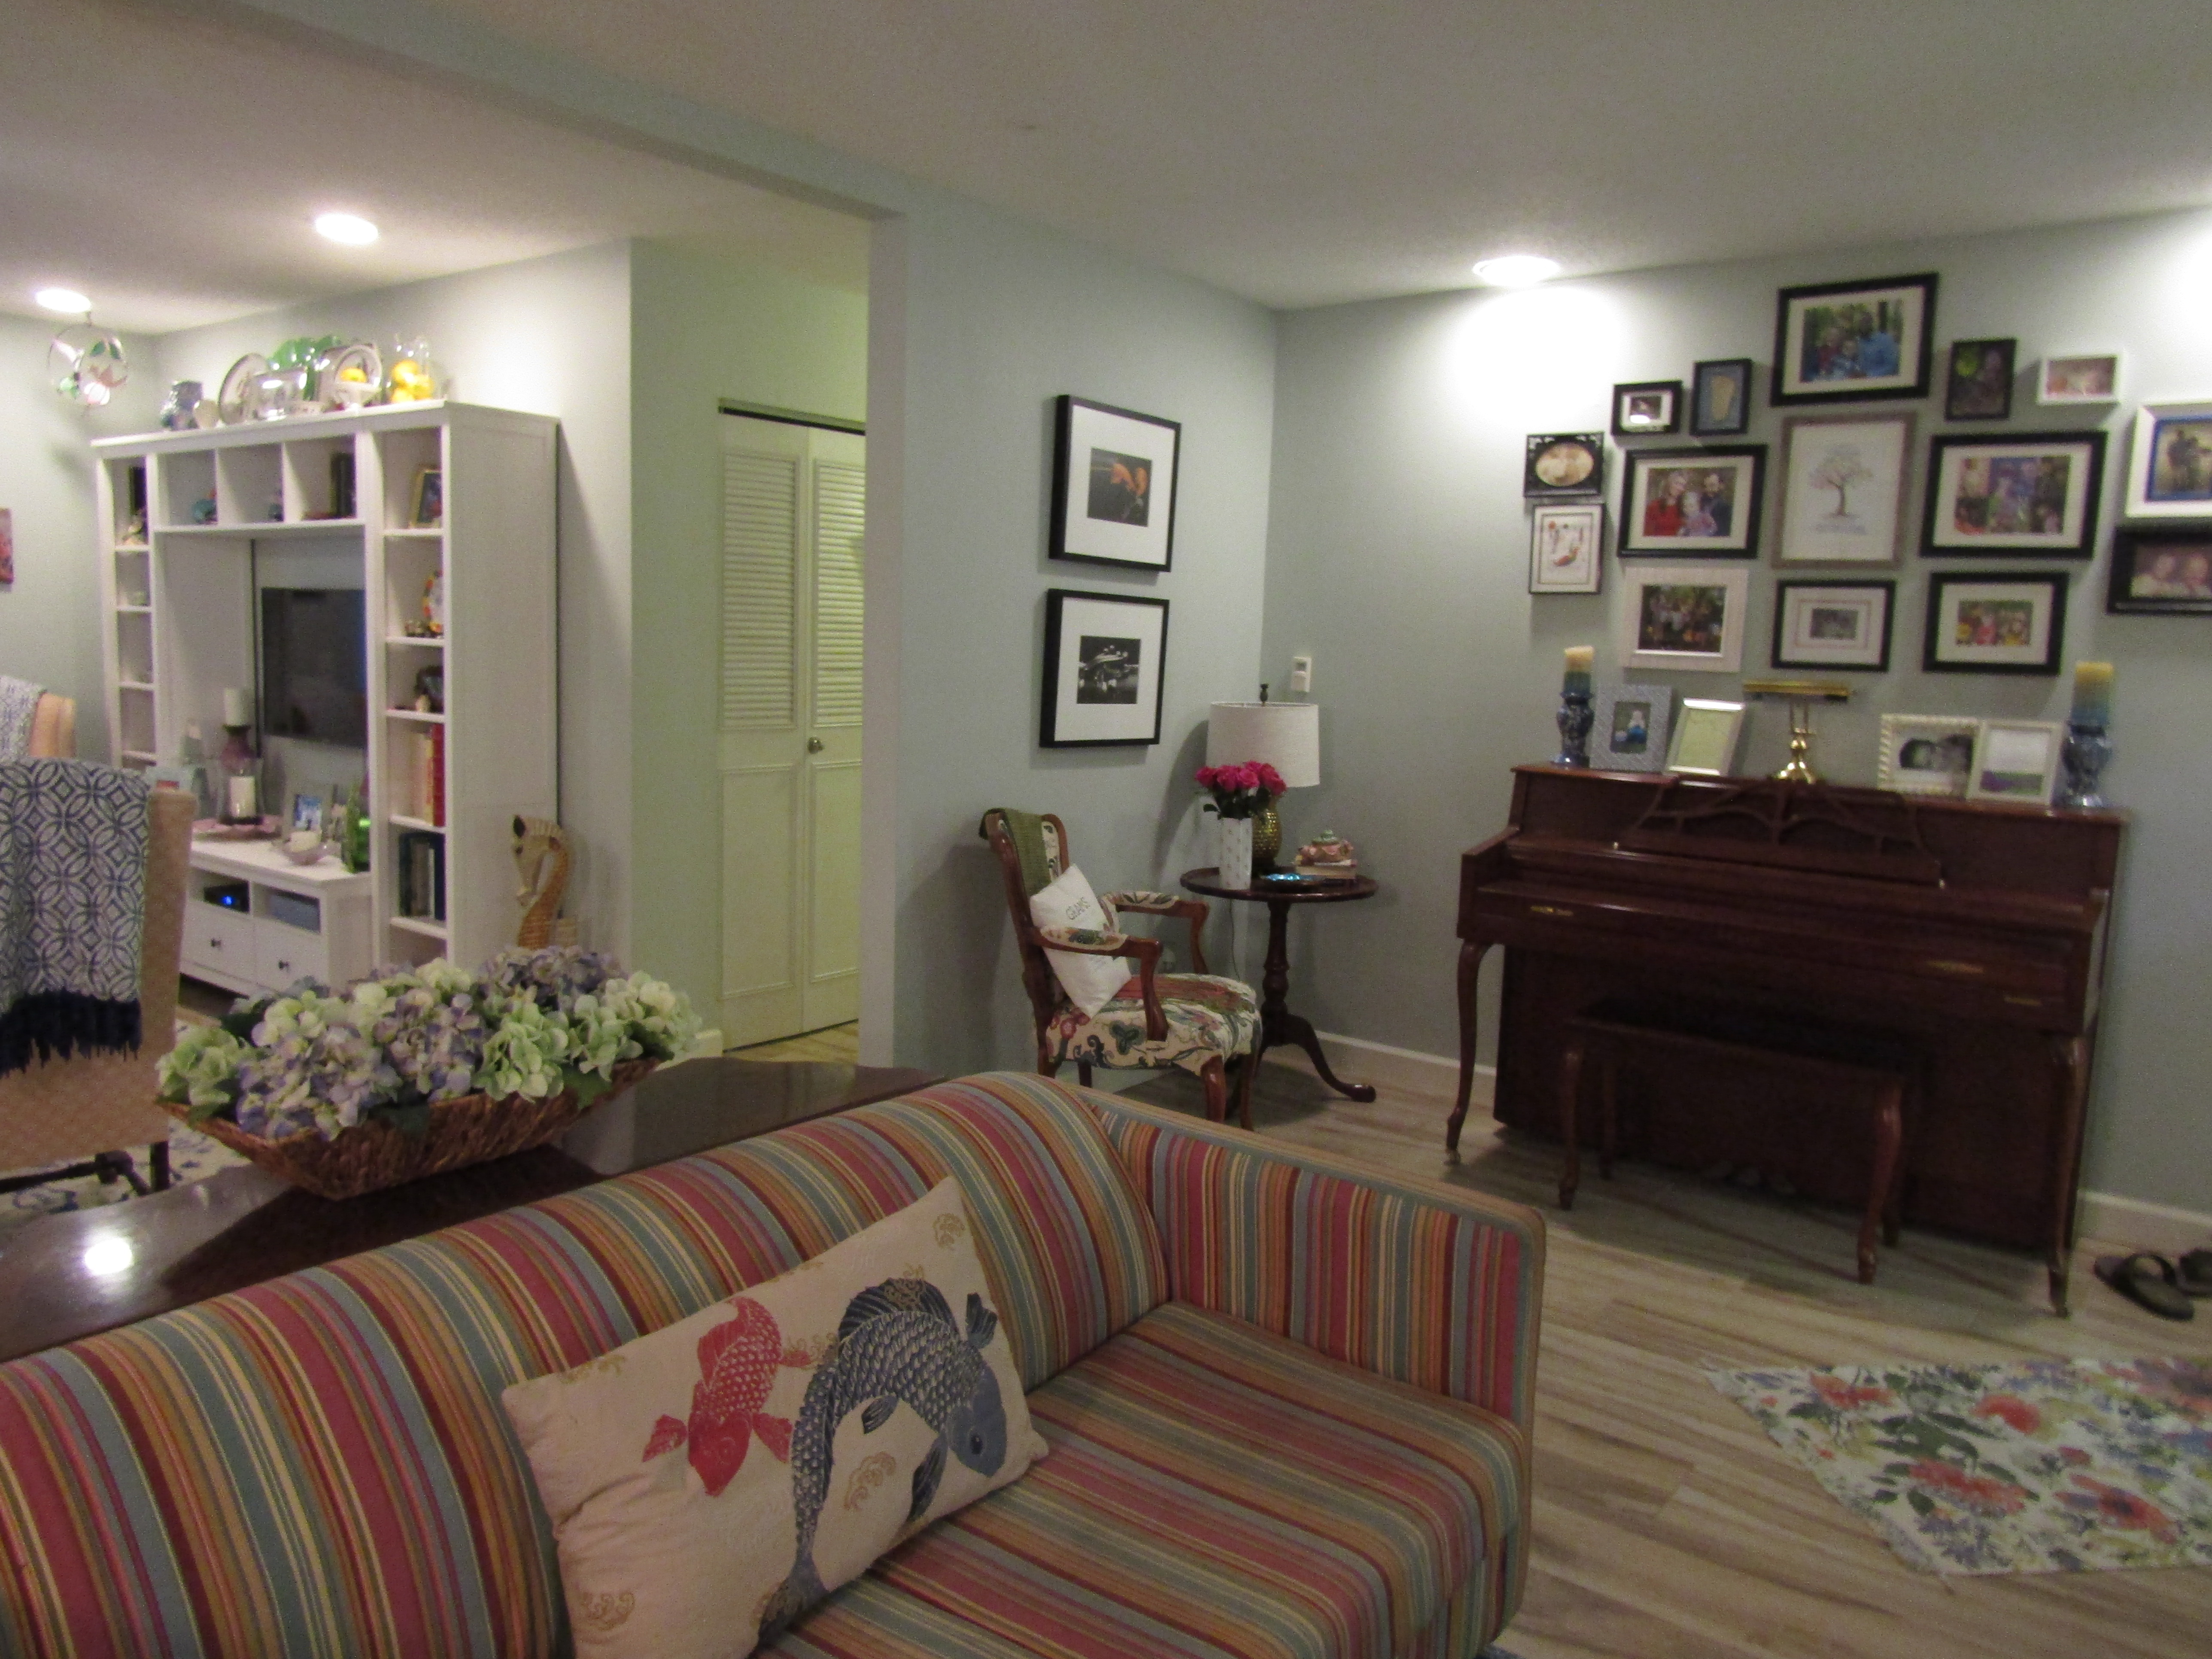
We decided to wall in this corner area. We felt it was cozier and it is a perfect place for our Christmas tree!
Thank you again for stopping by. If you liked this post or have any questions, I would love to hear from you.


Leave a Reply