


Resin to the Rescue
I have been working on a pretty big project for a few weeks. I started out painting a beach scene on a huge piece of plywood. You can check out how I did it here, https://llt.wfv.mybluehost.me/diy-amazing-tiki-bar-counter-top/.

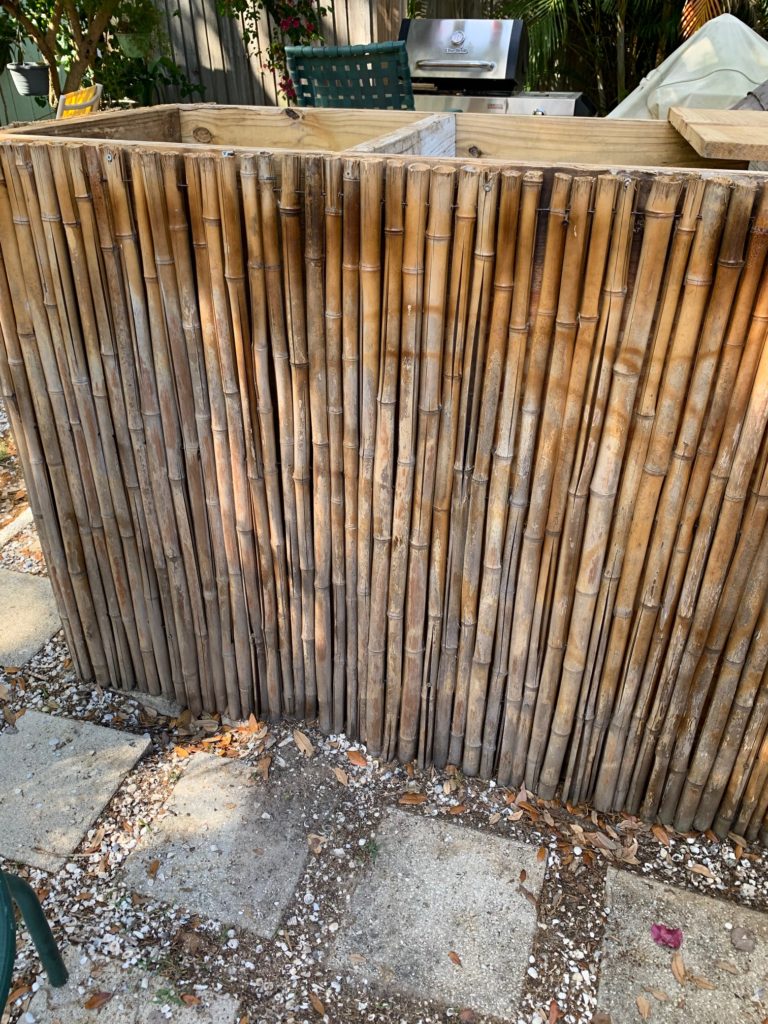
Our outdoor bar has seen way better days. The top was completely rotted and the bamboo front needed to be sealed again. The frame is still in good shape so, let’s salvage this bar!
After a week and a half, the paint on my board was completely dry. Resin time!
Resin Tips
Before doing a project I am unfamiliar with, I research and research until I am comfortable beginning. Here is what I learned about resin.
- Clean the painting of dust, dog hair (no judgement please) etc. and if you used silicone, you will need to wipe it down.
- The resin I used was Art Resin, their handy chart made it easy to know how much resin I would need for this project, I needed almost a gallon.

Gather Your Supplies
- I Purchased a bucket at the Dollar Tree, a spreader for the sides and more drop cloths to protect my table and floor. I also got a squeegee to spread the resin.
Isolation Coat
- One tuterial I read said to have a isolation coat between the painting and the resin. It also keeps the silicone from being a problem if you did not clean it enough. I used Golden Soft Gel Medium Gloss.
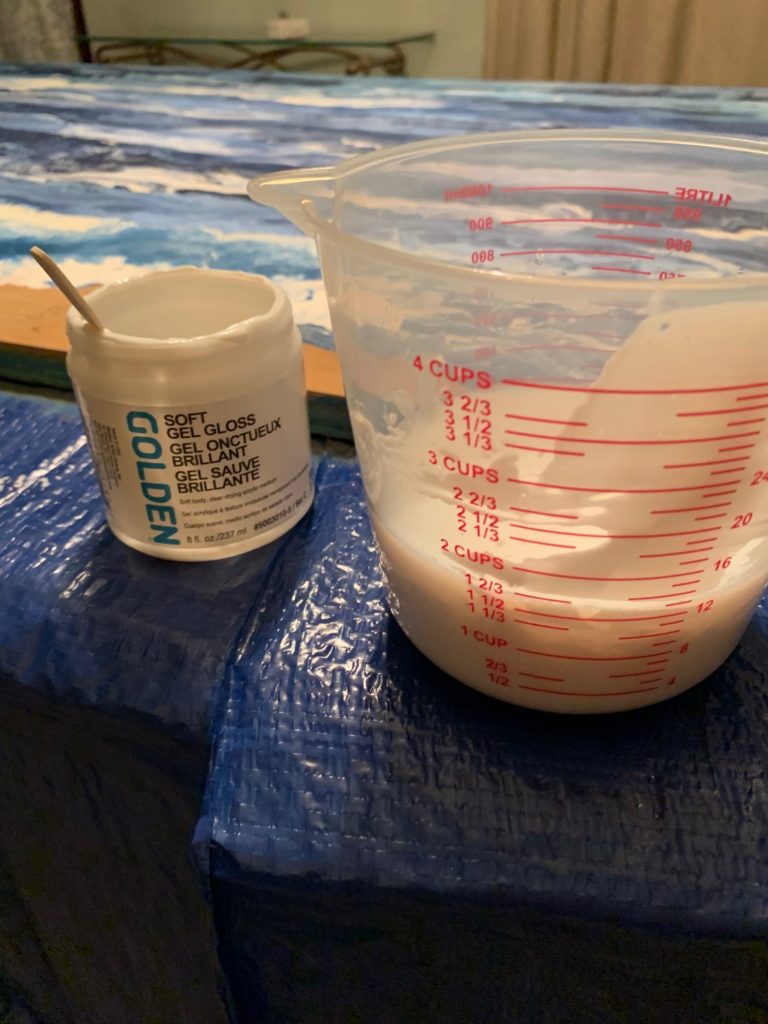
- I mixed 2 parts gel with one part distilled water. Made sure the surface of the painting was clean and dry then used a clean brush to spread the product. For this project I used the entire jar.
Mixing the Resin
- I waited another couple of days to apply the resin. Before mixing and pouring the resin I put pieces of wood under the board to raise it up off the table, making sure it was level.
- I did not have to measure the resin since I needed a full gallon and each bottle was half a gallon. Measuring 1:1 is very important for the curing process.
- I poured both bottles into the bucket and mixed for just over 4 minutes. The instructions say at least 3 minutes, scraping the sides as you mix.
Easy Bubble Removal
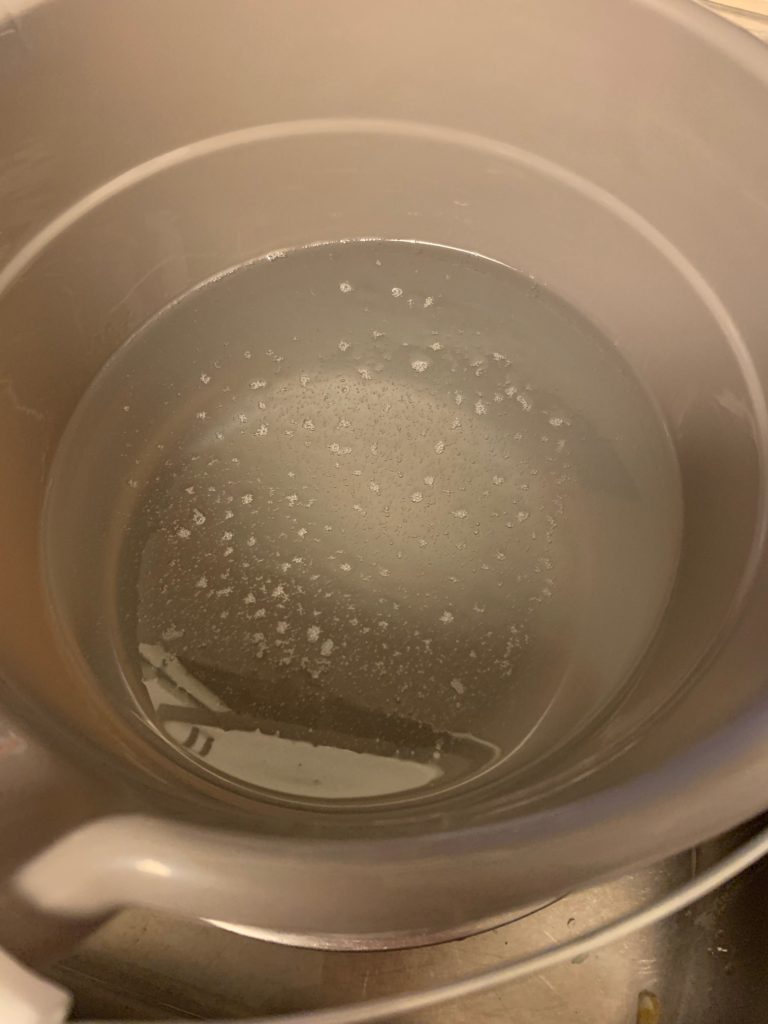
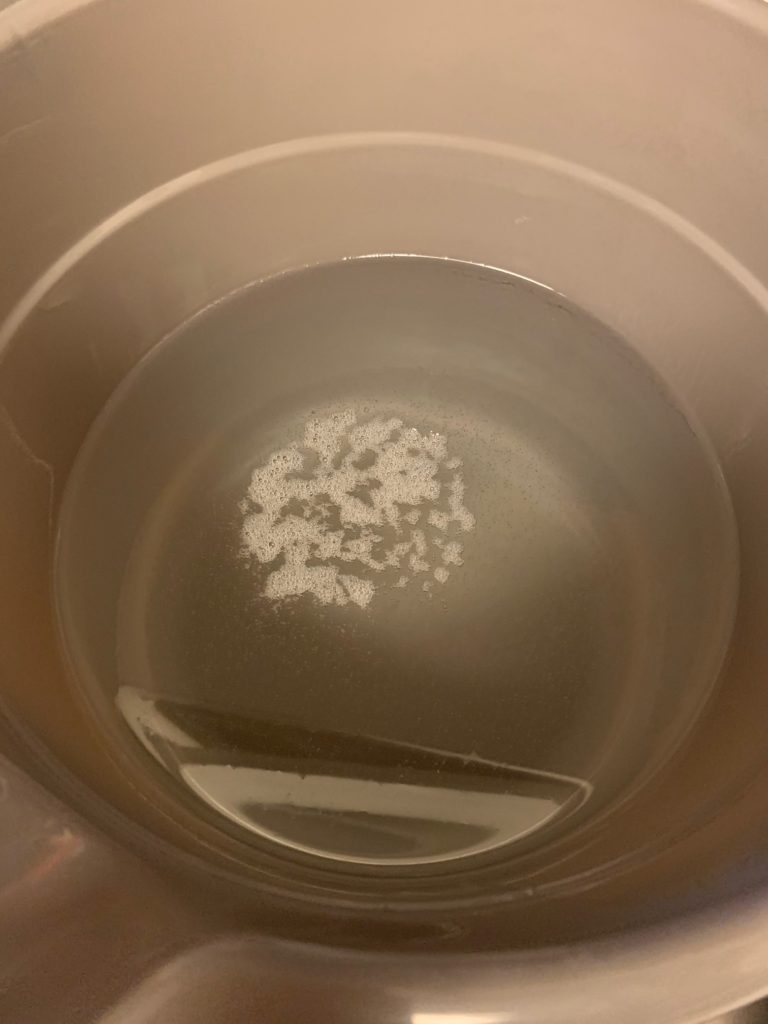
- See the bubbles? An easy way to get rid of most of these is to warm the resin and they will rise to the top and pop. Keep in mind you have 40 minutes to work with the resin. I filled a large bowl with very hot water and put the bucket into it. DO NOT GET THE WATER INTO THE RESIN!
- I left the bucket into the hot water for about 15 minutes and voila!.
- Look over your project one more time to make sure nothing like dust or hair are on it. You don’t want that sealed into your art. I poured 3 puddles on my board and started spreading with my squeegee.
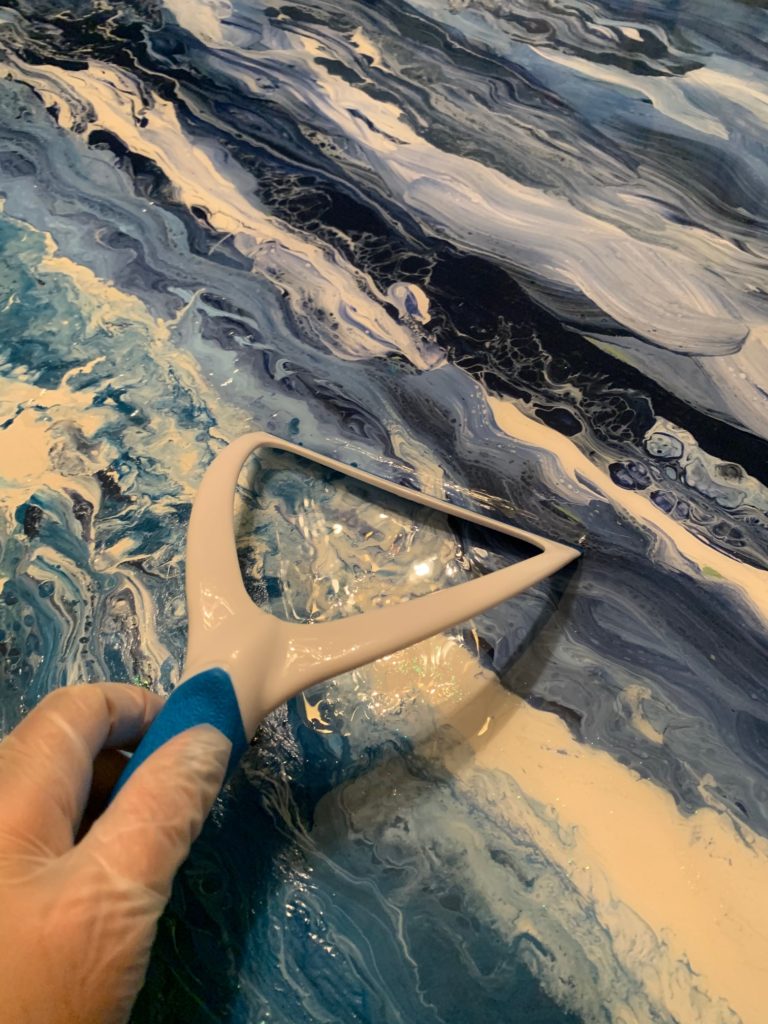
- Pull the resin across the board and over the edges. The resin is self leveling so spread it as evenly as you can and it will level itself as long as your art is level.
- I know it is recommended to use a heat gun or torch to deal with any bubbles. Since I did not have either, I used my blow dryer on the hot setting, low blow. It worked fine.
- Wait 24 hours for it to cure to the touch and 72 hours for it to cure completely. I decided to wait for a week before installing it.
Happy Results
The biggest fear I had was that it was not going to cure and I would end up with a sticky mess. I think the correct mixing and the temperature is very important. The resin I used had no odor so I was able to do it indoors. I closed the vents in the room to help keep the area clean and dust free.

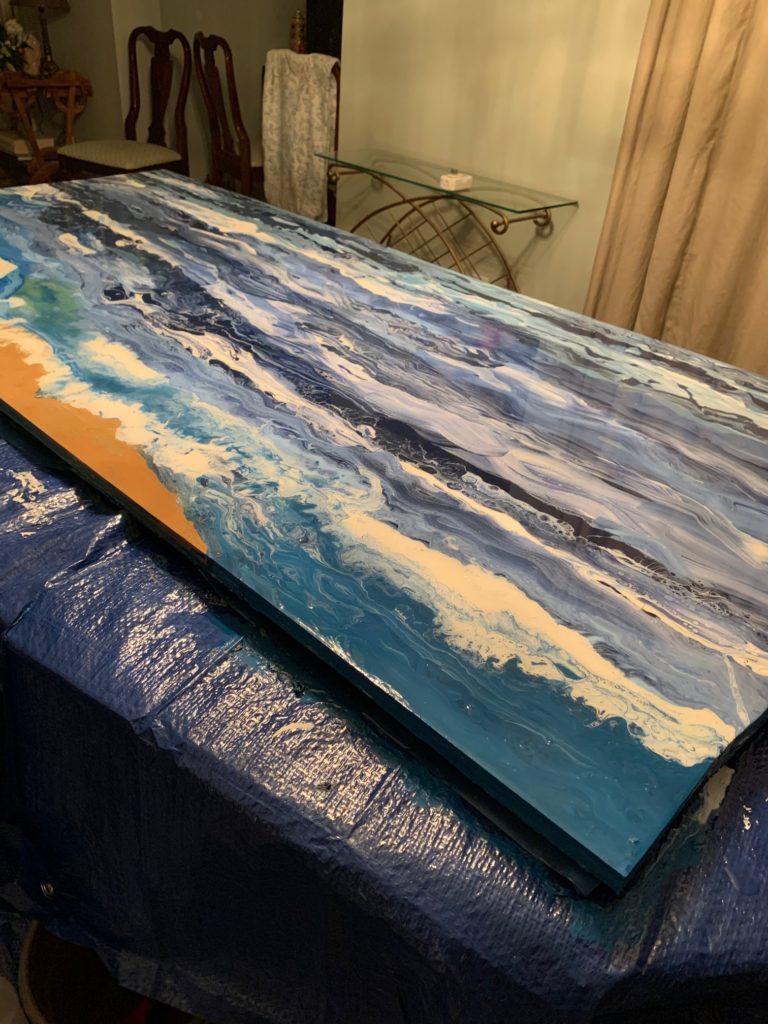
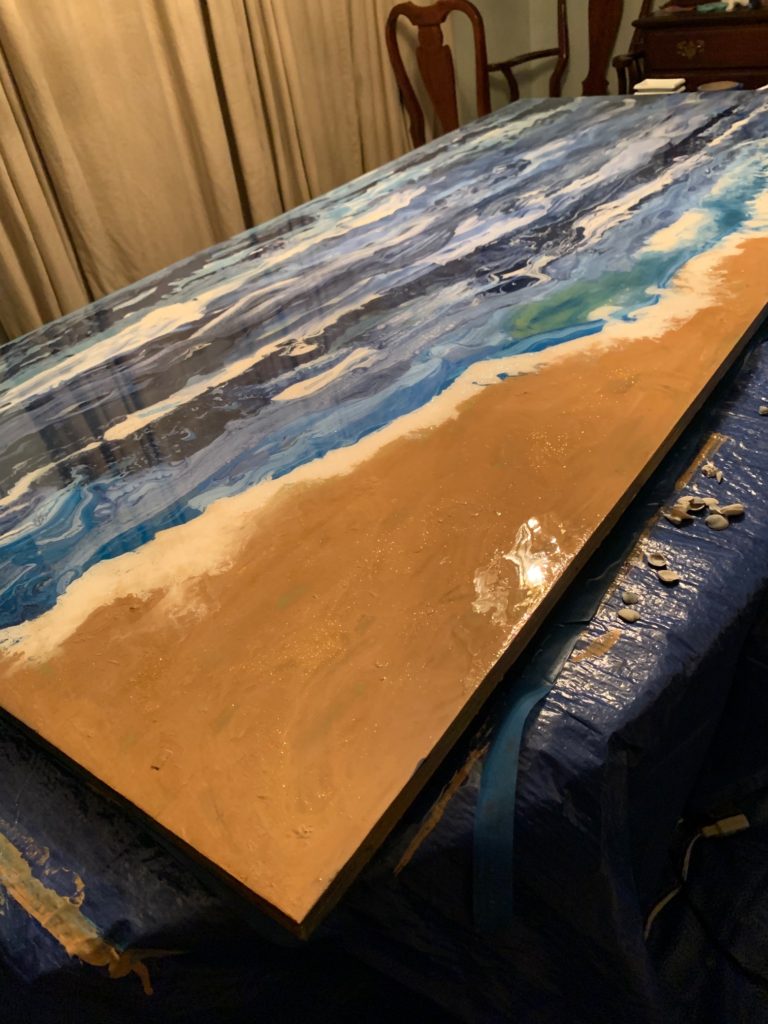
If I did this again, I would have sanded the painting smoother. I thought the resin would be a lot thicker to cover those bumpy areas but it didn’t. That being said, I still love it. For our outdoor bar, it’s going to be perfect.
This was a big project and I found out resin is not so difficult if you follow the directions. I will be using it again.
Almost Time to Finish the Tiki Bar
Once the bamboo is cleaned and stained it will be time to add the counter. I can’t wait to finish this project and get my dining room back!
Hopefully this has taken some of the mystery out of working with resin and you will use it on some of your projects.
Wishing you health, happiness and lots of Sunny Days!


Leave a Reply