


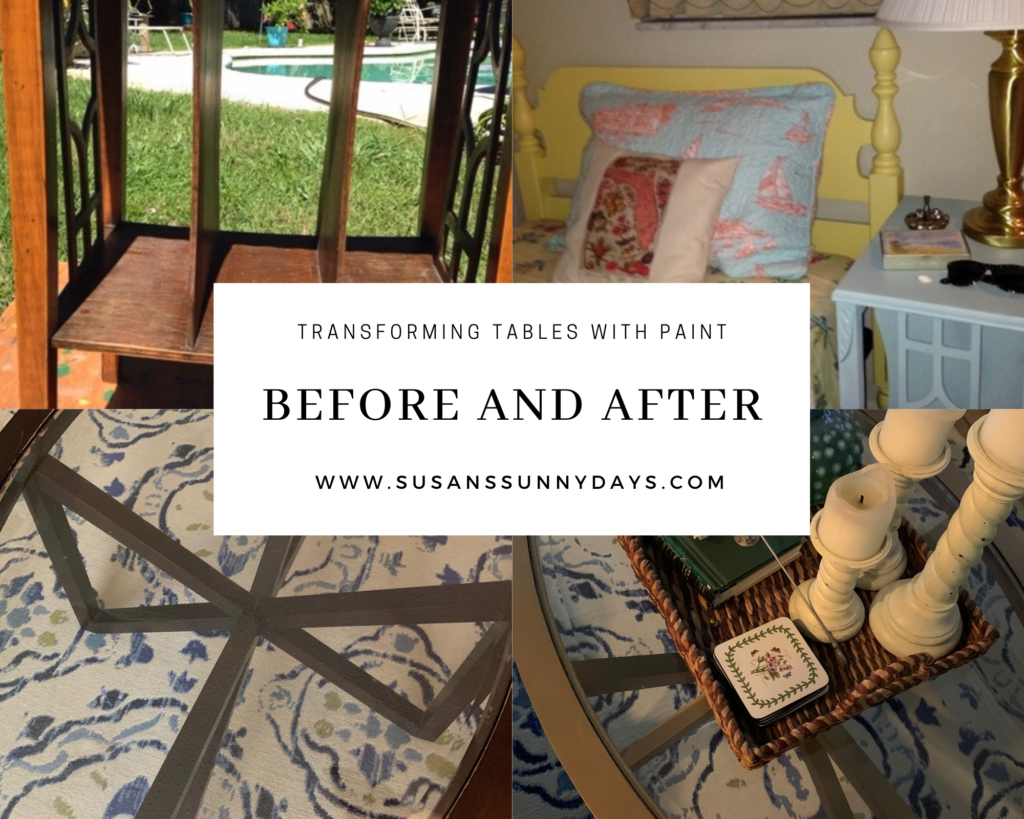
Easy and Quick Transformation
Changing the look of a worn out table is so easy with a little imagination and a can of paint. Finding a piece of ugly furniture and transforming it into adorable is very satisfying. I don’t always paint furniture with spray paint but these 2 projects were perfect for spray paint. It was easy and quick and I was thrilled with the results.
First Up!
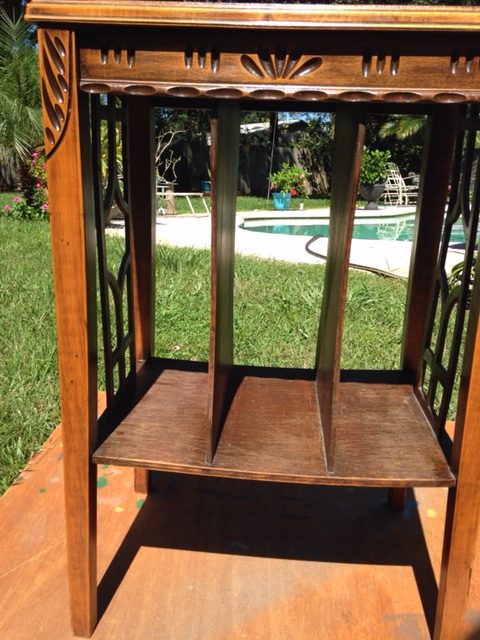
This rather worn table was found at a garage sale for $2.00. Unfortunately, I started sanding it before taking the first picture. Before sanding, there was dripped paint all over it. The goal was to give this cutie a coastal feel for one of our guest rooms so I went with a light blue/ green color.
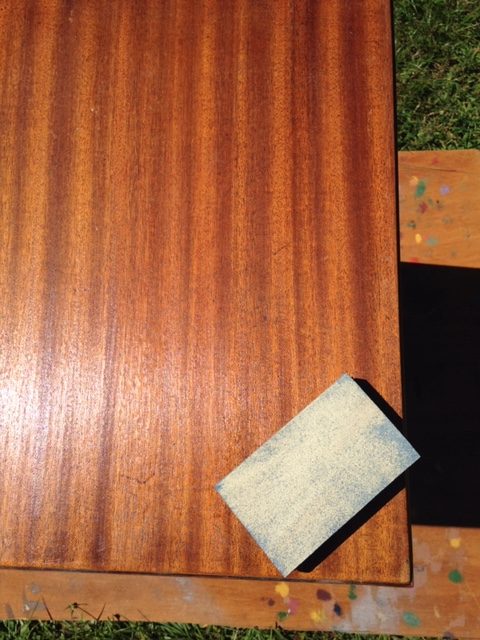
Not bad after sanding off all the paint splatters. Too bad the rest of the table was in not so good shape and the paint would go better with the guest room.
Time to Paint!
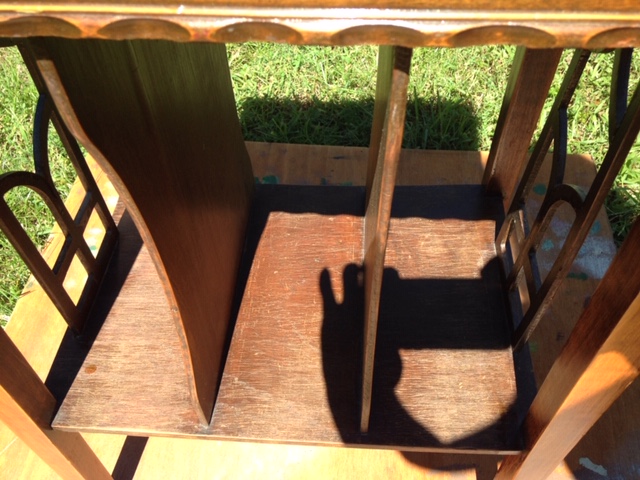
After sanding, I wiped down the table to remove the dust and I’m ready to go! We are all tired of hearing to wear your mask but, wear a painters mask before you start.
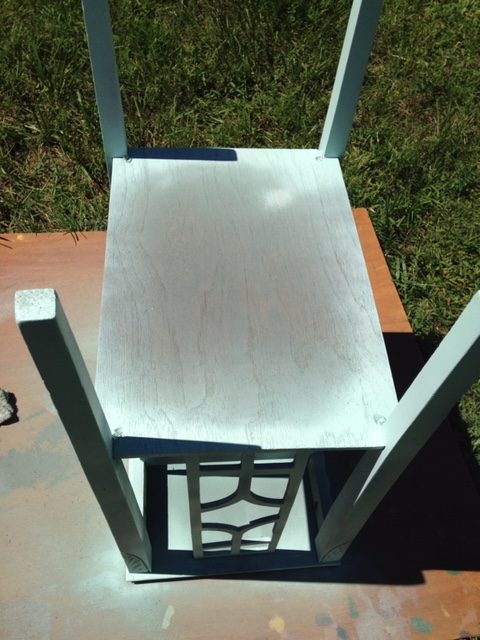
After spray painting many things in my life, I have found, if I can flip it over, I paint the underside first. The great thing about spray paint is it can easily get in all the little nooks and crannies. Once you do 2 light sprays and everything is covered completely and dry, flip it. Now its time to paint the top side.
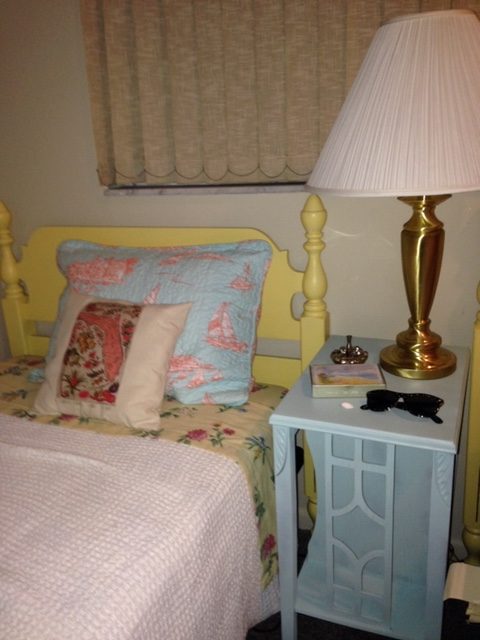
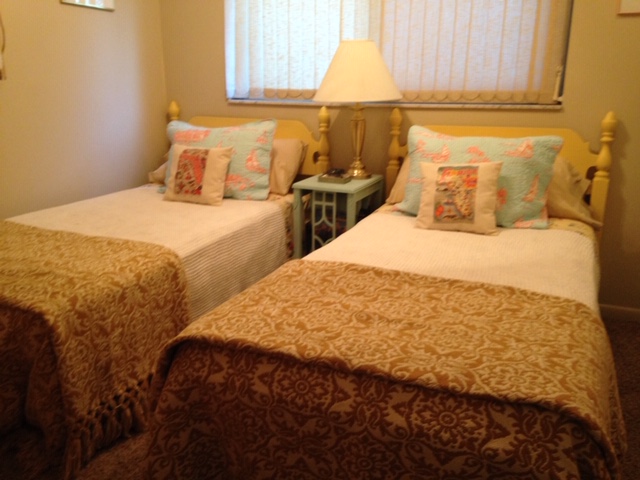
This is a tiny room so a small table was in order and this one fit the bill perfectly. Not bad for $2.00 and a can of spray paint!
Table Number Two
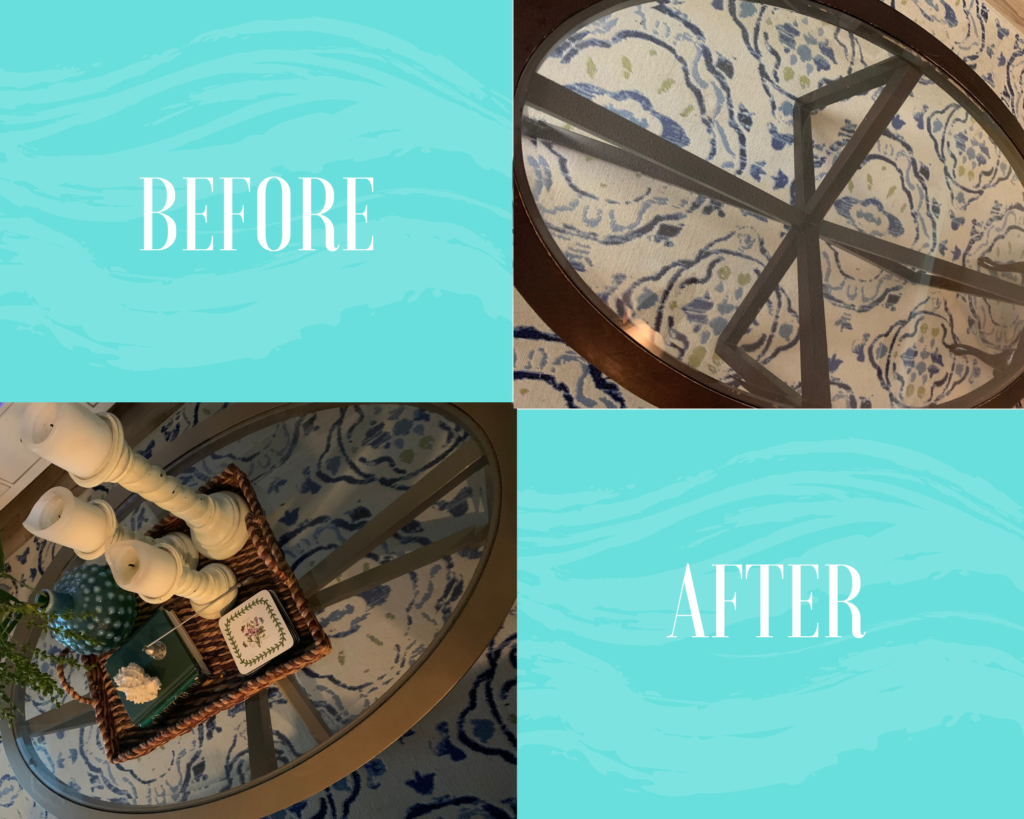
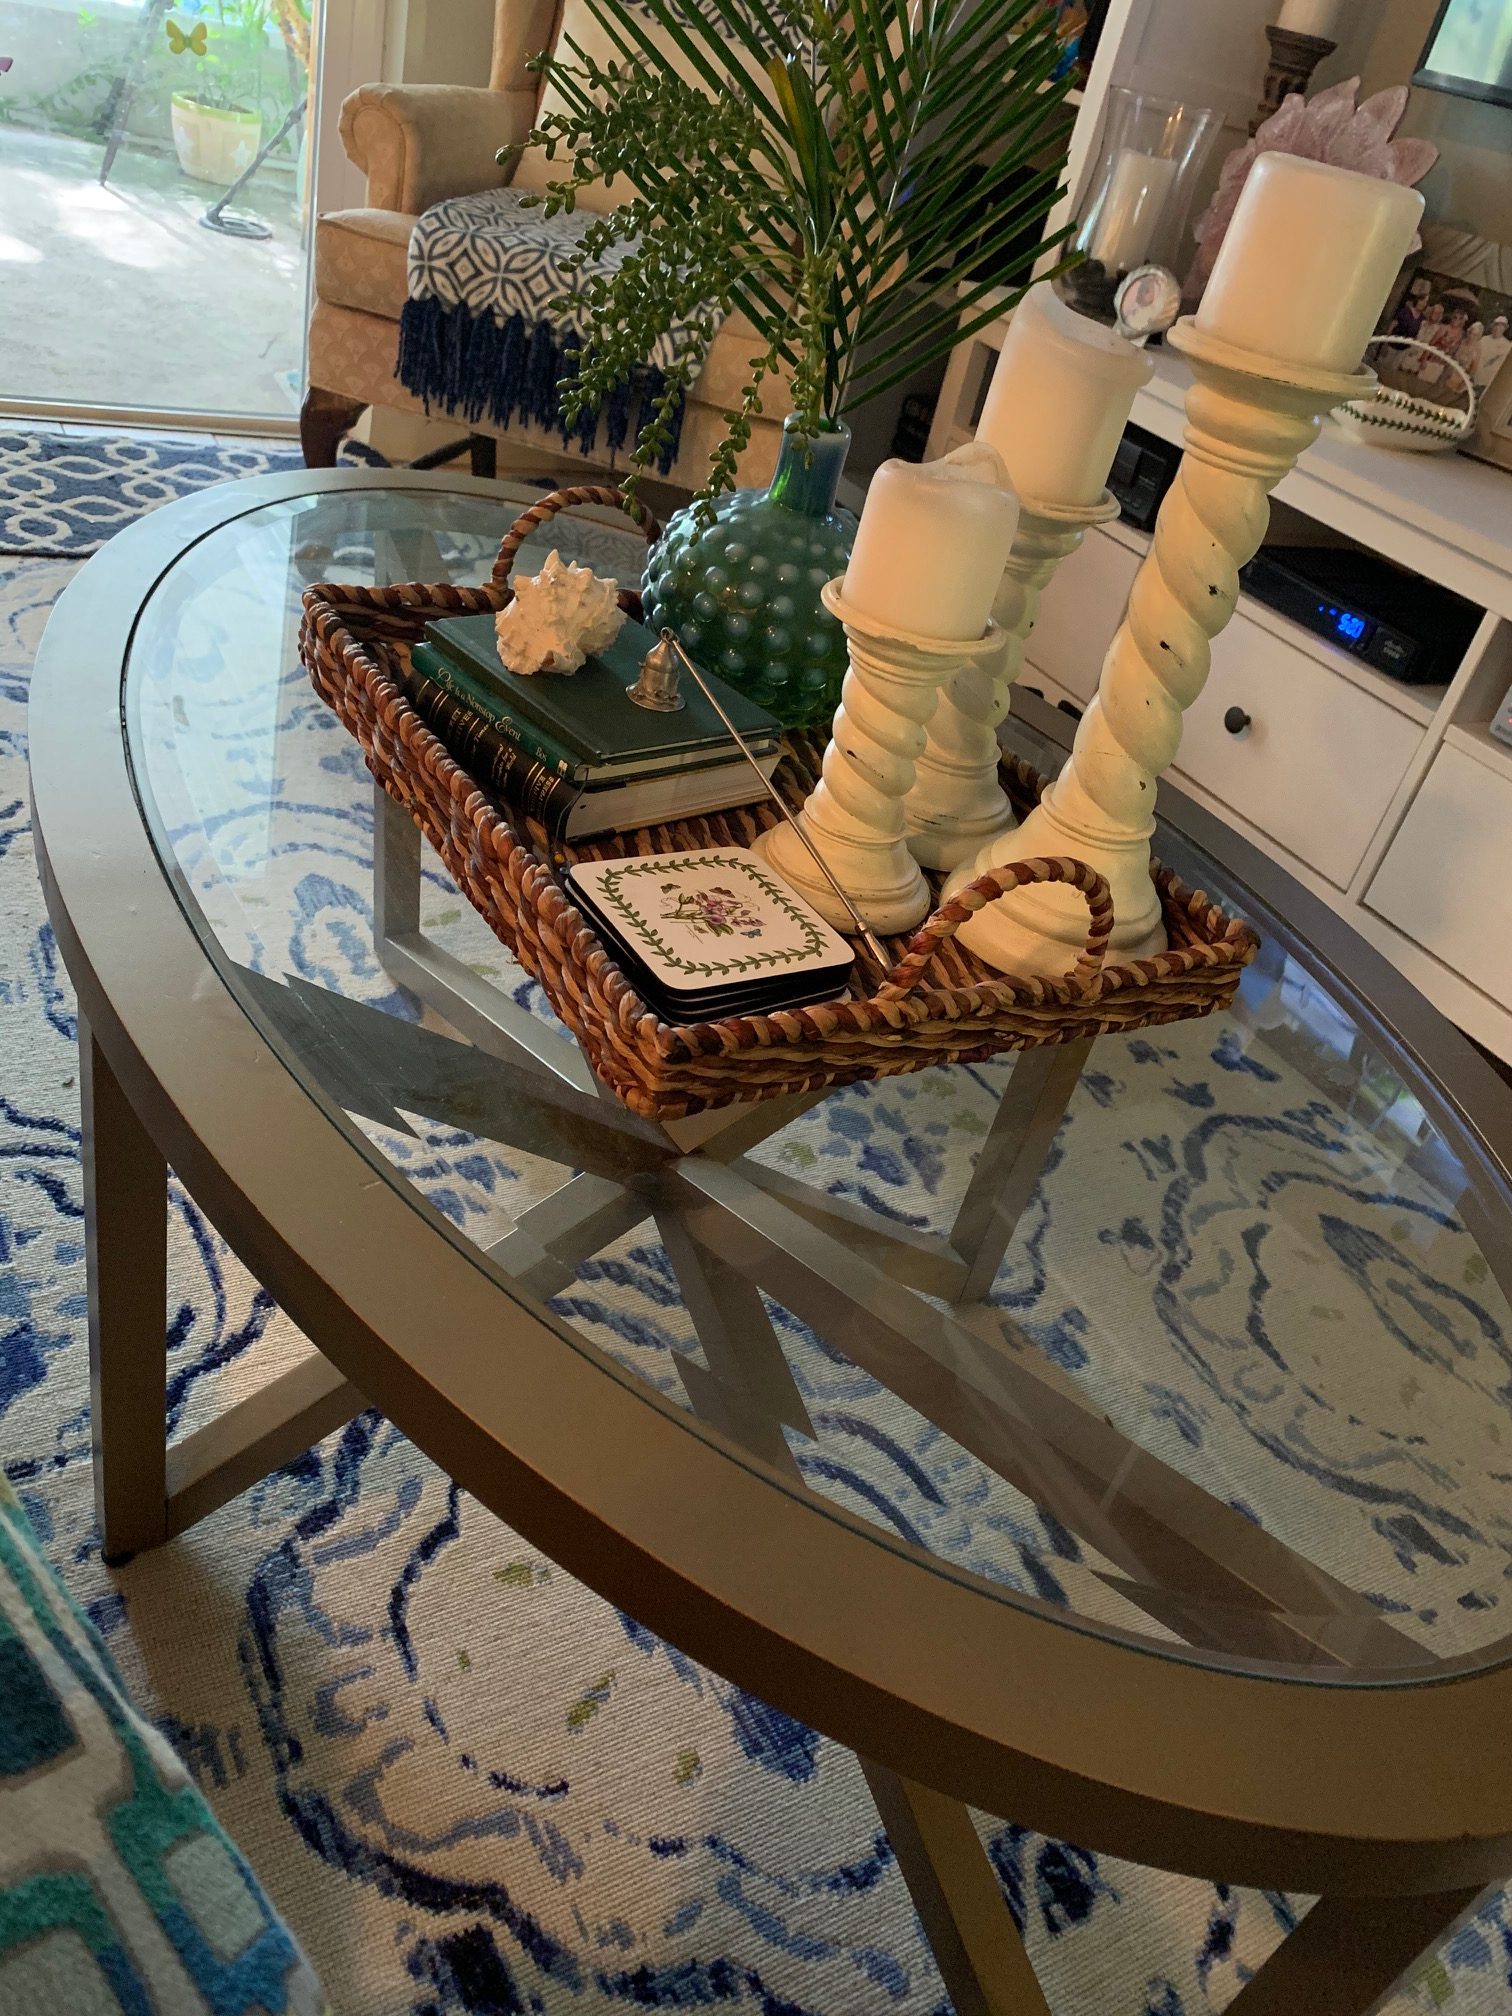
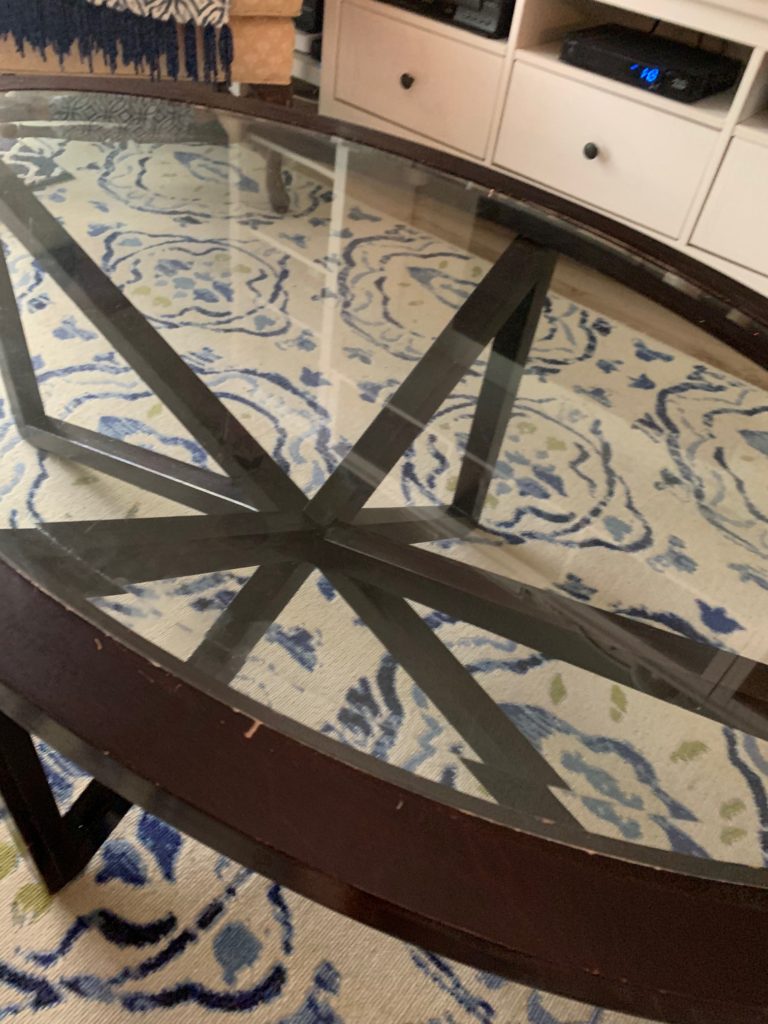
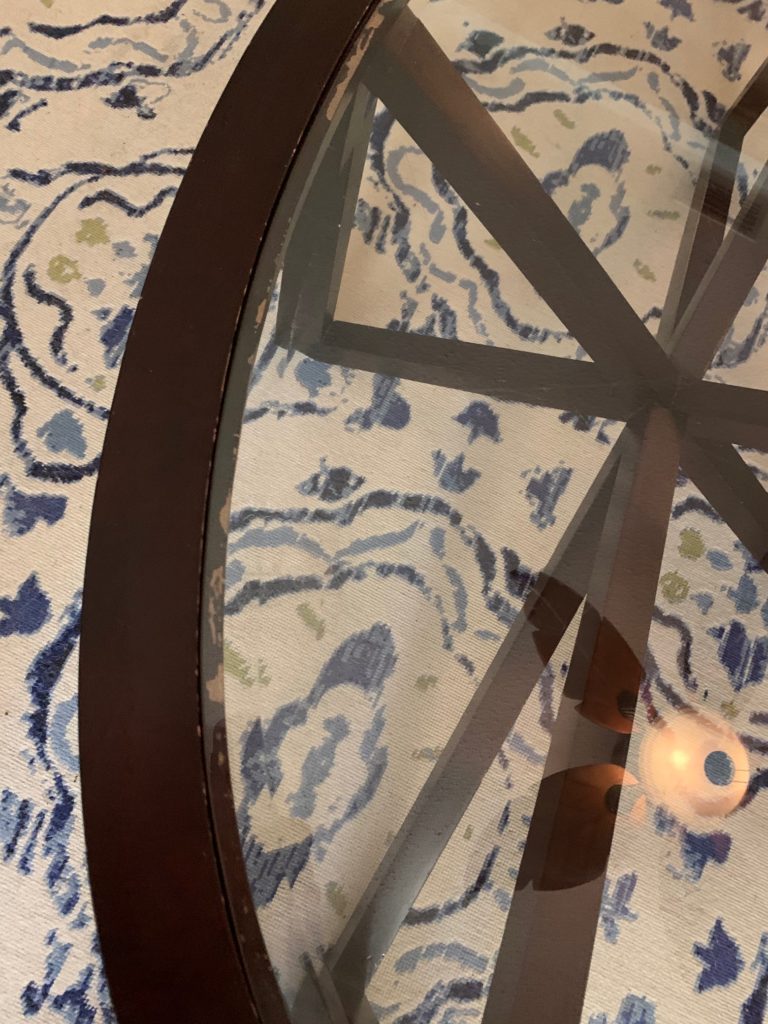
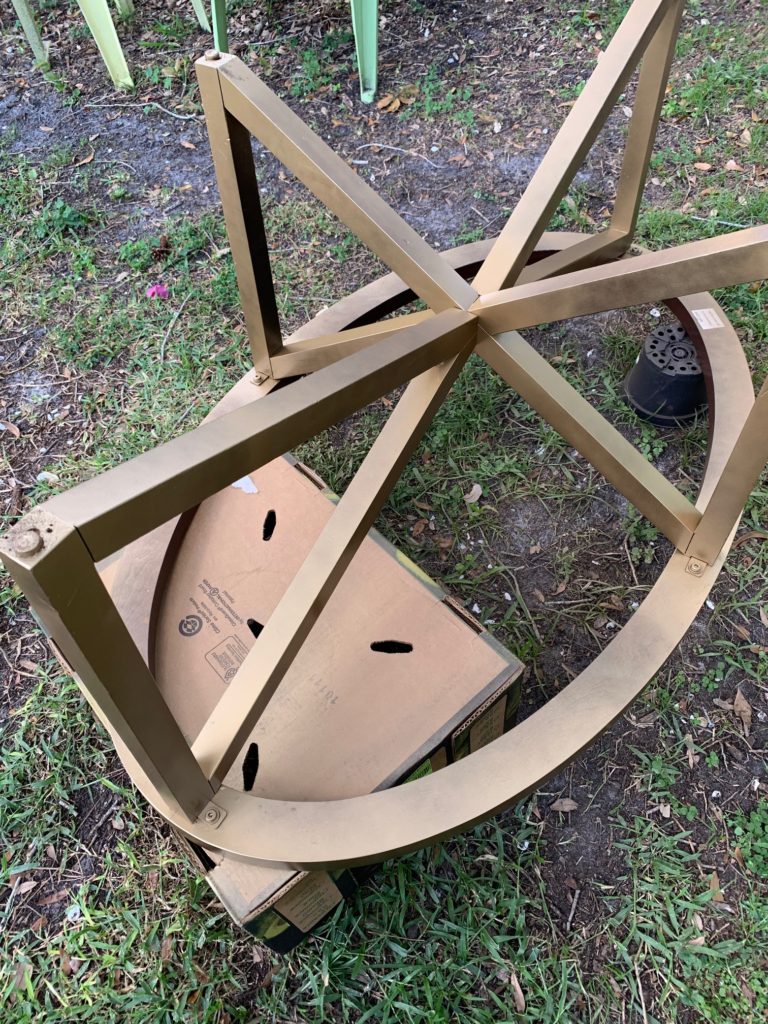
Our daughter and her family bought their first home and decided to get rid of some furniture. This table was going to the trash or Goodwill and I just knew I could make it work in our home. I needed a coffee table and the size was perfect. Unfortunately, the finish was shot! Another spray paint transformation for this interesting table!
Some Wood is not Real Wood
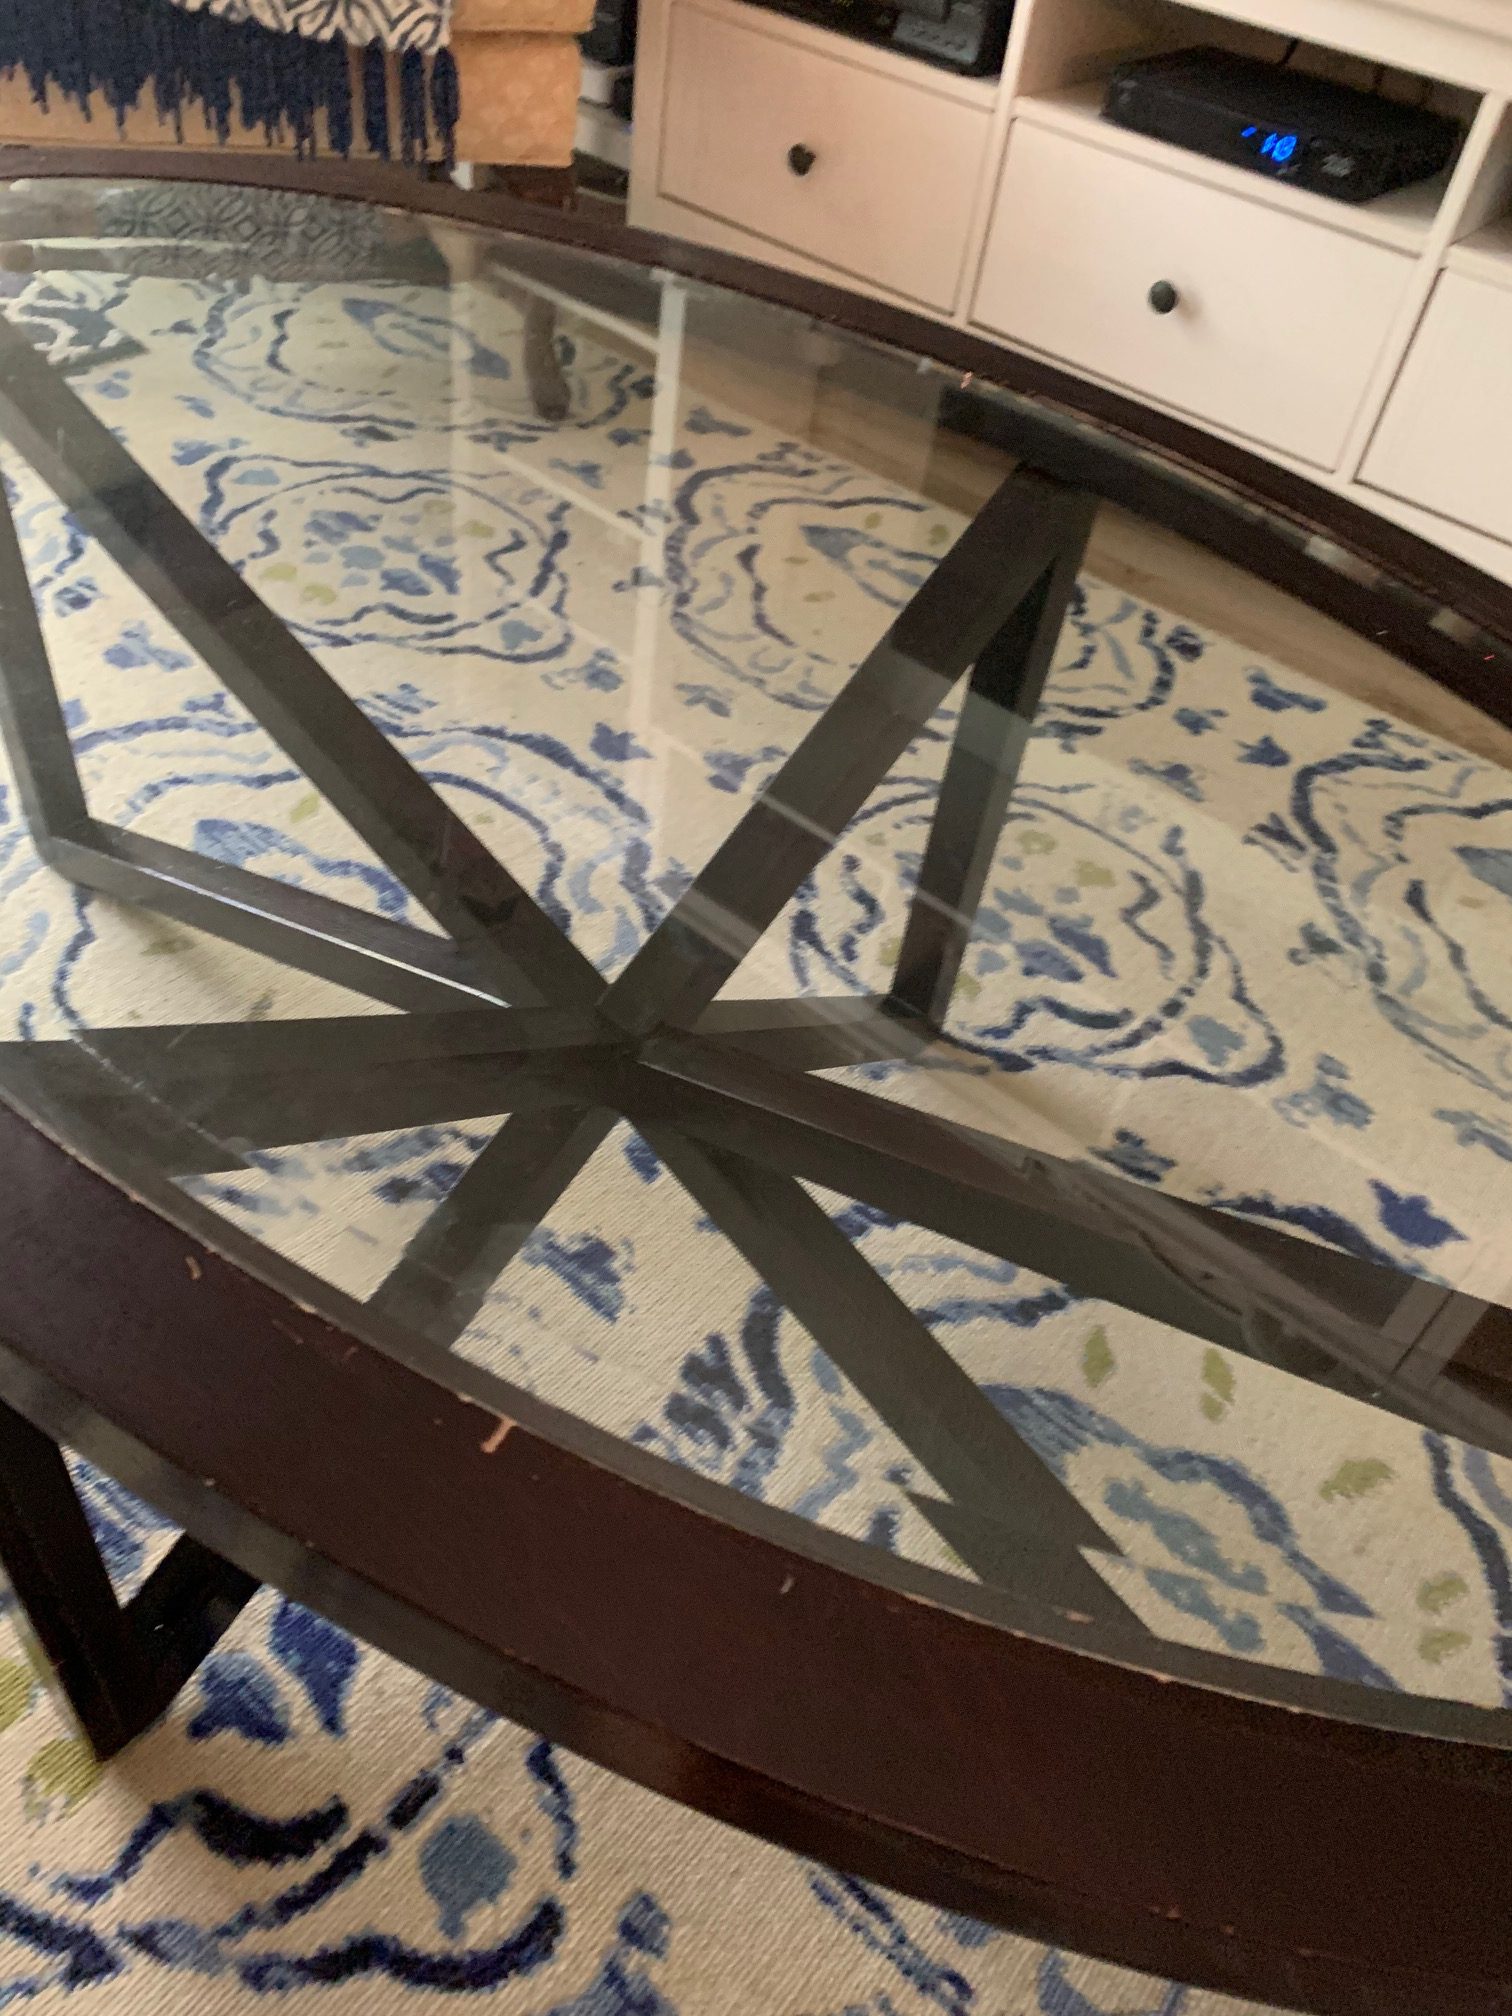
The difference in this table and the other is that this table is not actual wood. It’s some kind of compressed wood that has a covering on it. Tom tightened up the frame before I got started. The procedure is still the same. Clean well, very lightly sand and I mean lightly. If you sand too vigorously you will sand through the fake wood veneer. Make sure to get all the sanding dust off and take the table outside for the magic to begin!
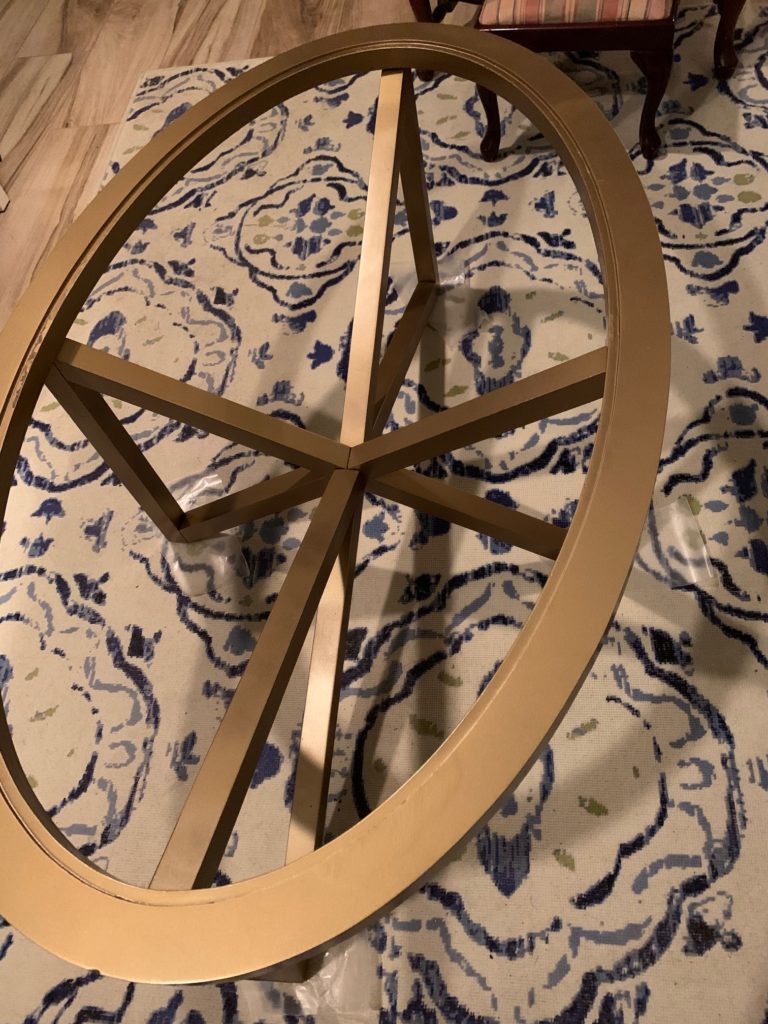
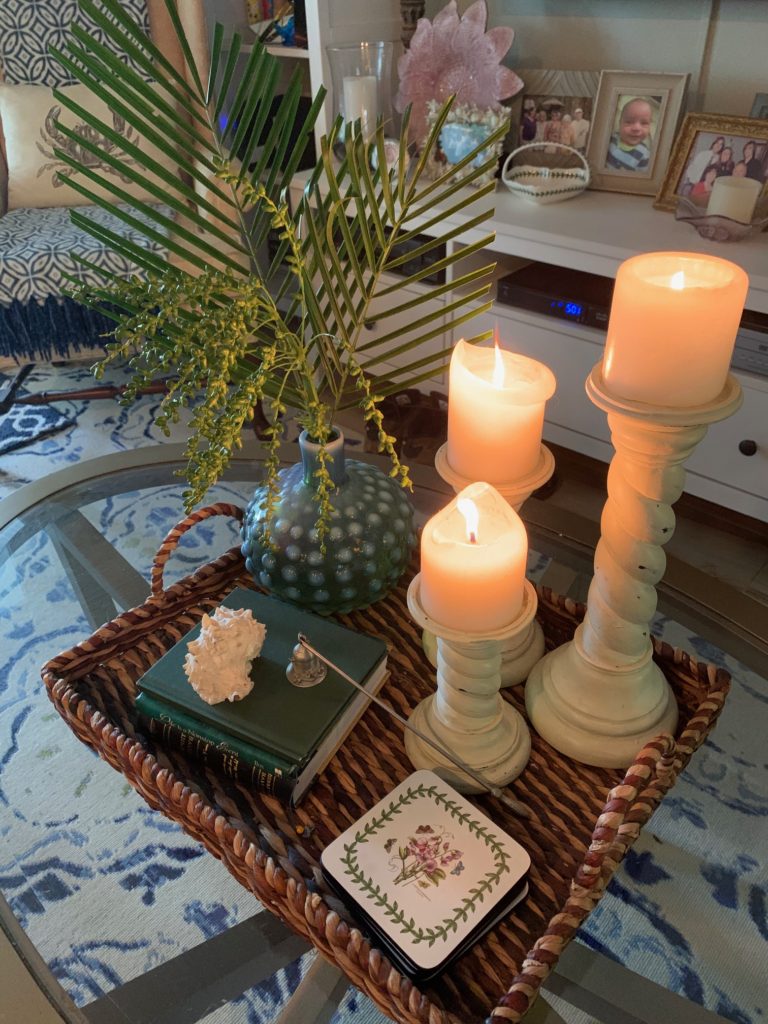
As I mentioned earlier, I always do the underside of the project first. With this project, I needed to cover every bit of the base. Any mistakes would show through the glass top. Two coats of paint later and when it was completely dry, I flipped it over and sprayed the top. I ended up using almost 2 full cans of paint because it was in pretty bad shape thanks to our very fun loving grandson, Robbie.
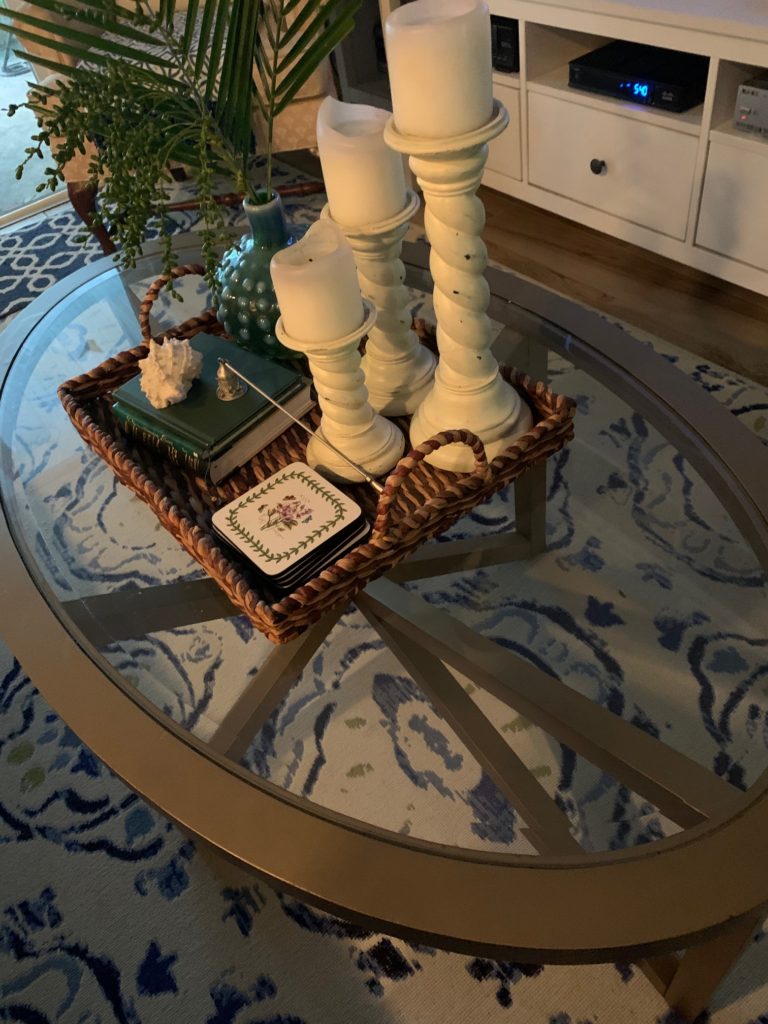
It’s not perfect but I’m thrilled with the results and the color! We have a mix of woods in this room and I thought this would compliment our existing pieces and it did.
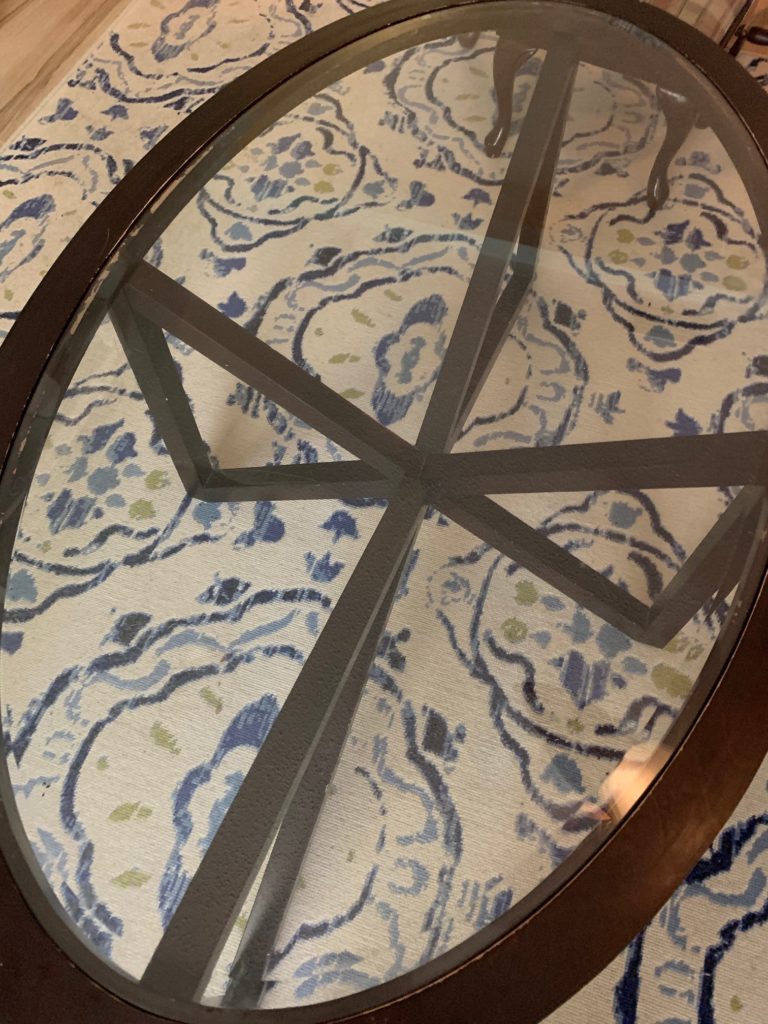
Yup! Way better!
Thank you for visiting. I hope my post has inspired you. If you are looking for something to do, other than baking bread, freshen up a piece of furniture with a little paint.
I would love for you to join my mailing list and share your comments. I wish you health, happiness and lots of Sunny Days!


Janet Burnett
July 23, 2020 6:41 pmI love your posts! Really inspiring and don’t require a lot of specialized equipment. Thanks for posting these great tutorials!
SSDays
July 25, 2020 4:24 pmThank you Janet. I hope, if you are inspired to try painting some furniture, you will share photos of your work!