


What Went Into this Beautiful Tiki Bar!
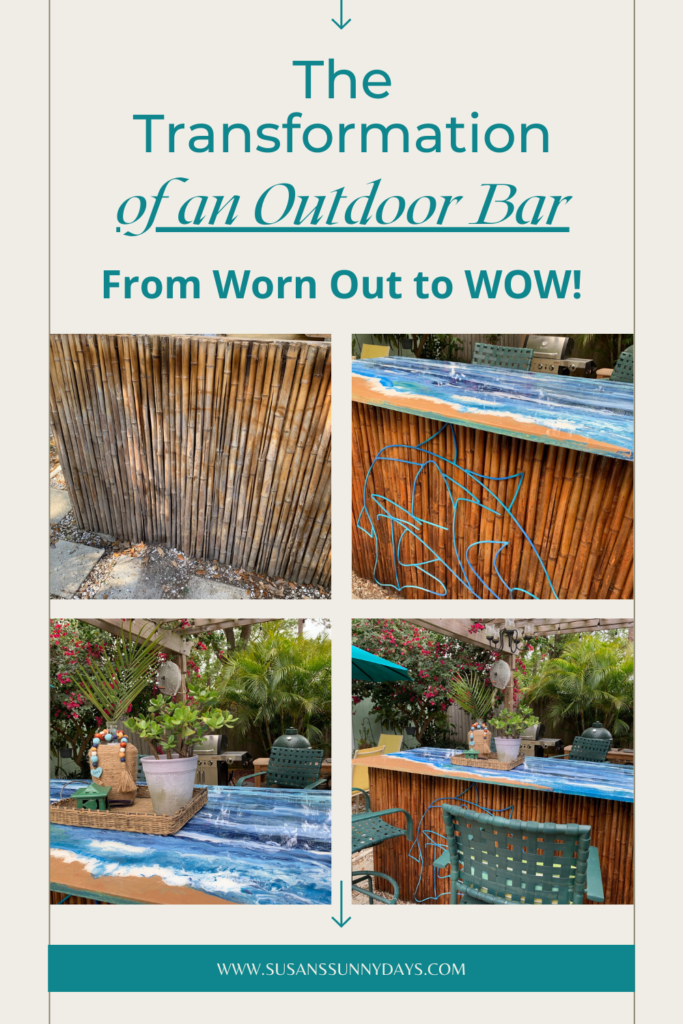
A Three Part Post
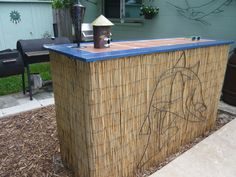
Just in case you were curious, this was the original Tiki Bar. Tom built this many years ago from a carpenters table and our combined imagination. We had a customer that was going to throw it out and Tom had a vision. Notice, no pergola and no shutters on the window. Also the awful metal shed. This area has evolved quite a bit over the years!

Original Tiki Bar From a Carpenters Table
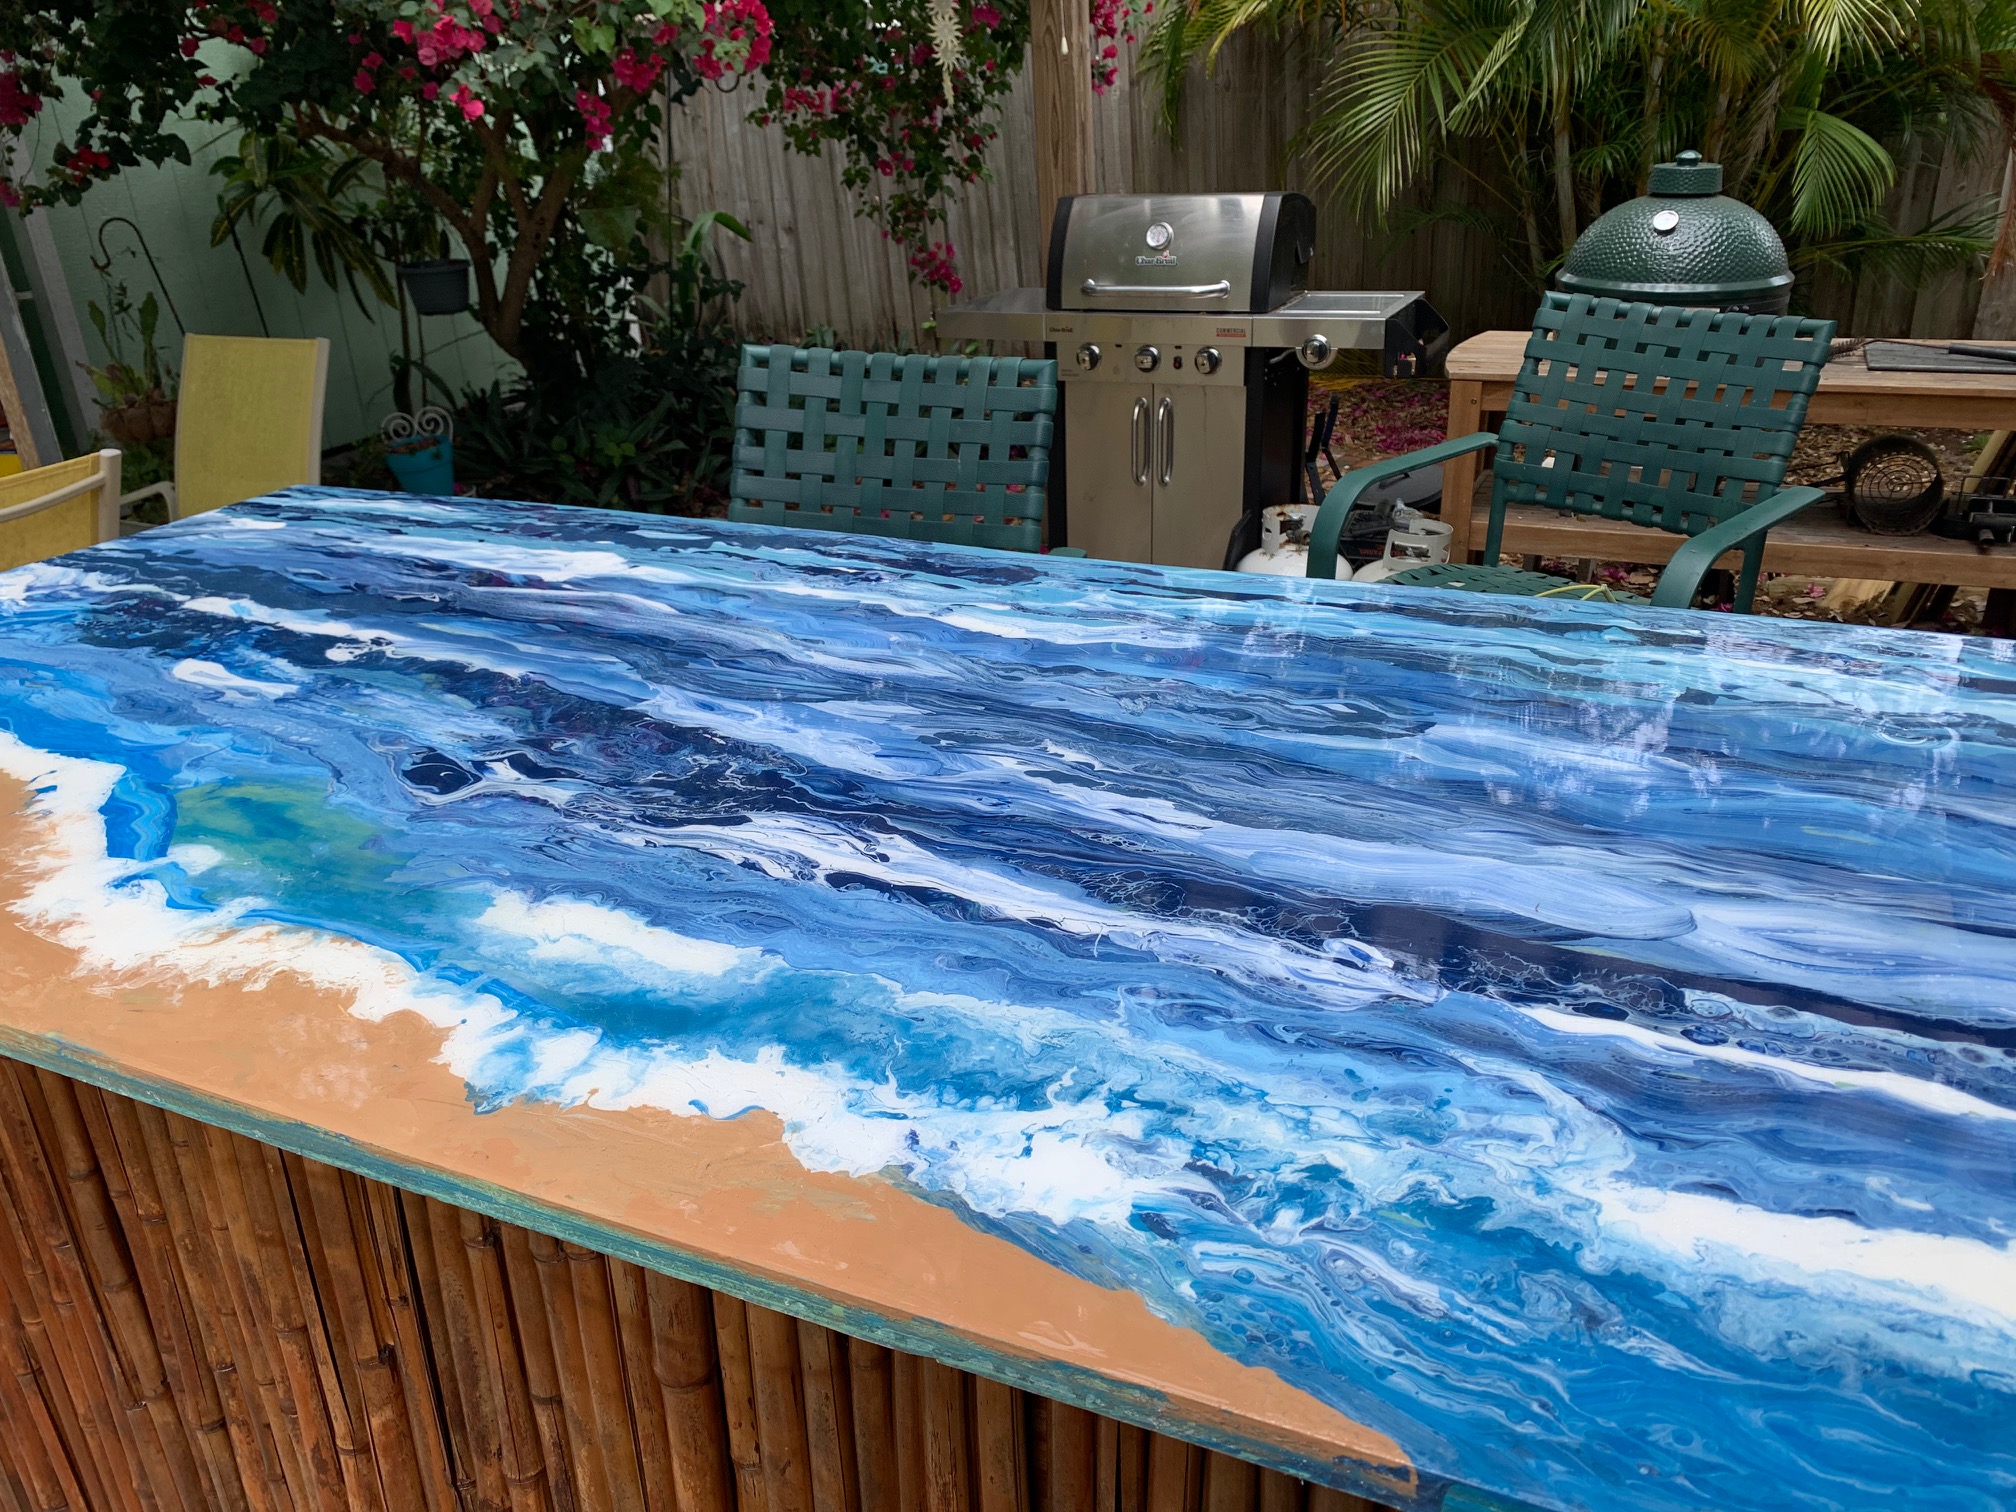
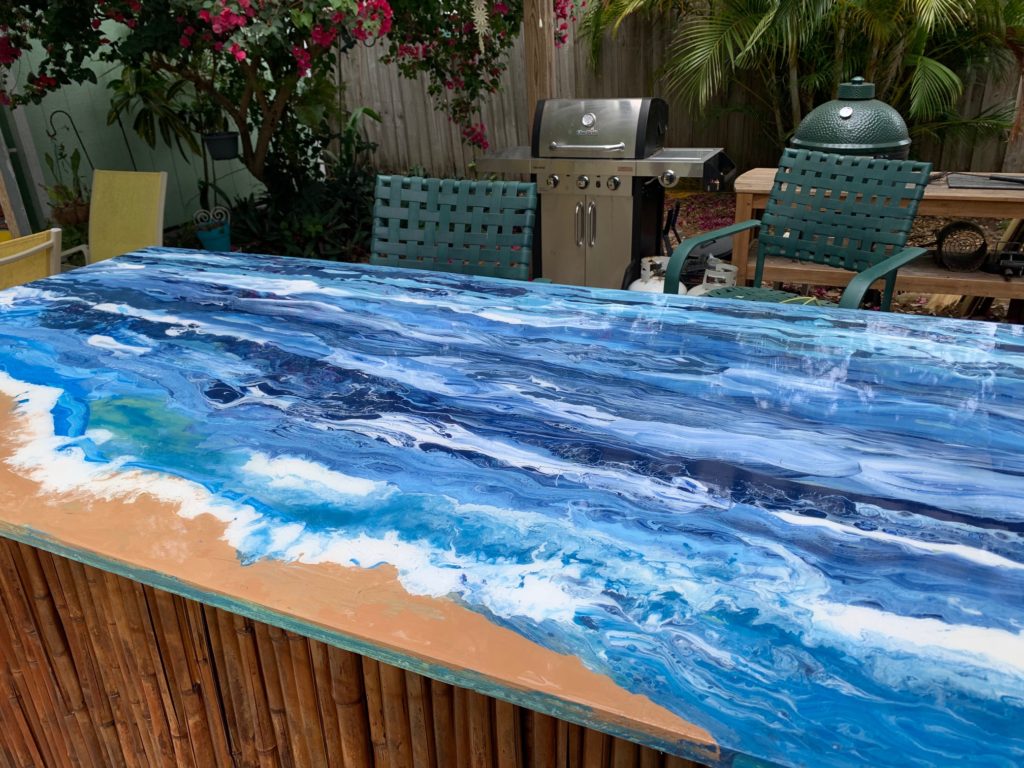
Reading the last 2 posts, you know this is the final edition to a project that has been weeks in the making. We are ready for the big reveal. Part one, DIY Amazing Tiki Bar Counter Top, is about how I painted the beach scene on the board using acrylic paints and a fluid art technique. Please check it out. The second post, DIY Resin Tiki Bar Counter, Tips from a Beginner, gives some tips on doing a resin sealer. This might be the inspiration for you to try it out. This was the first time I had ever used resin and I shared some of what I learned. Hopefully, I made it less intimidating.
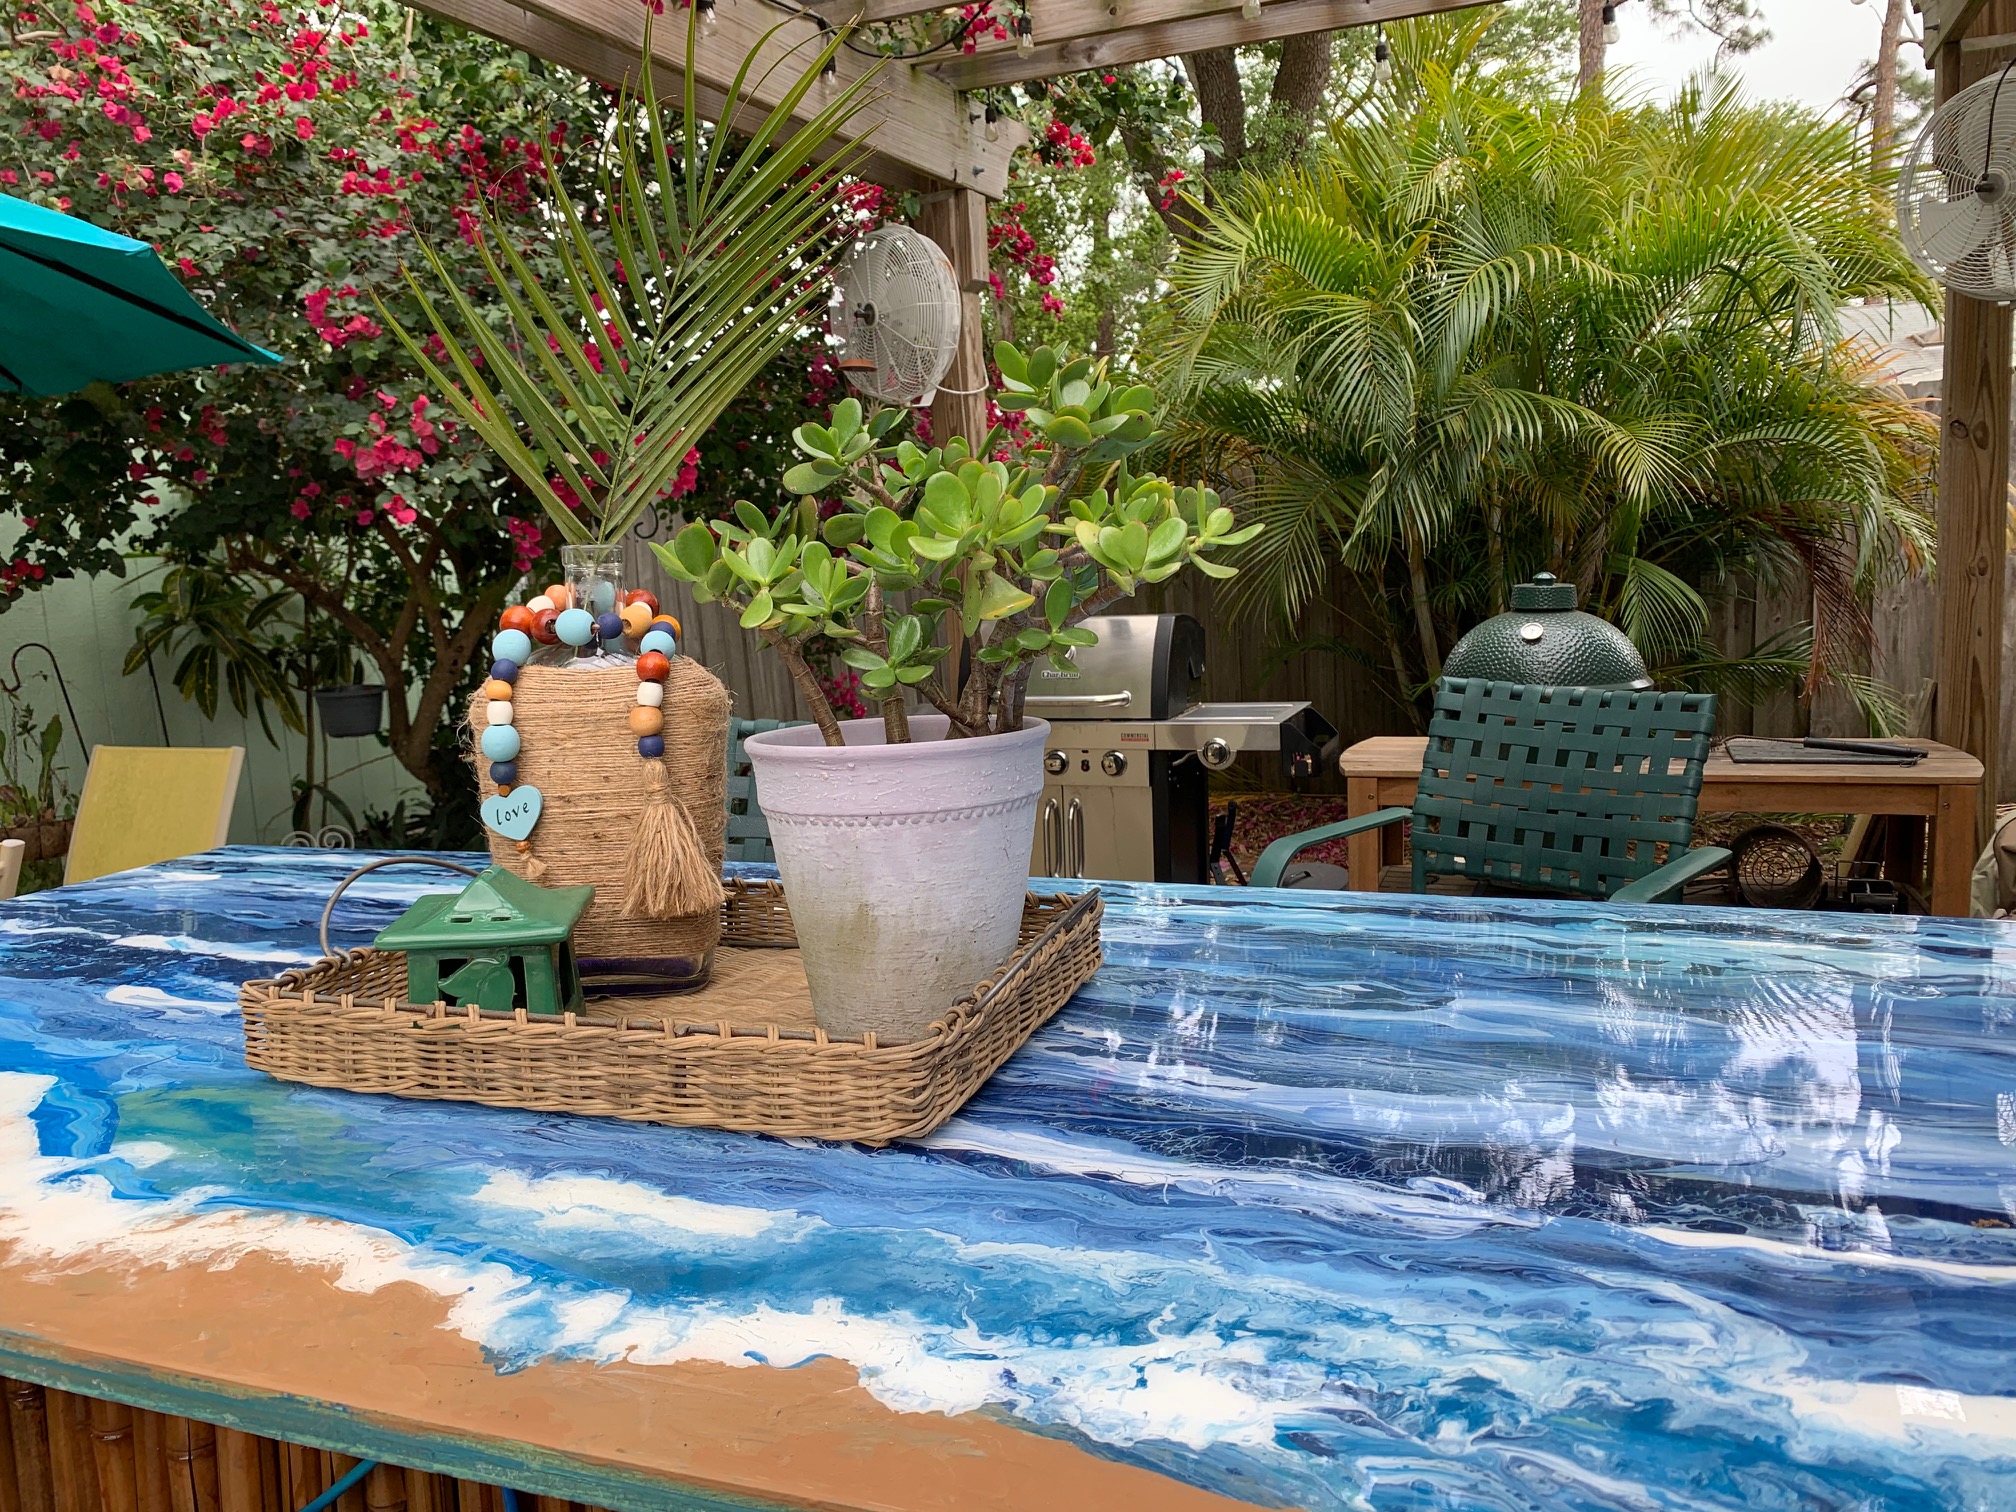
The Big Reveal
Finally!! I could not be more excited about the big reveal (also getting my dining room back!). Tom and I brought the top out to the bar base and got it ready to install. Actually, let’s back up a bit, since I just jumped to the end. There was a bit work on the base that had to be completed first.
Bar Base Refresh!
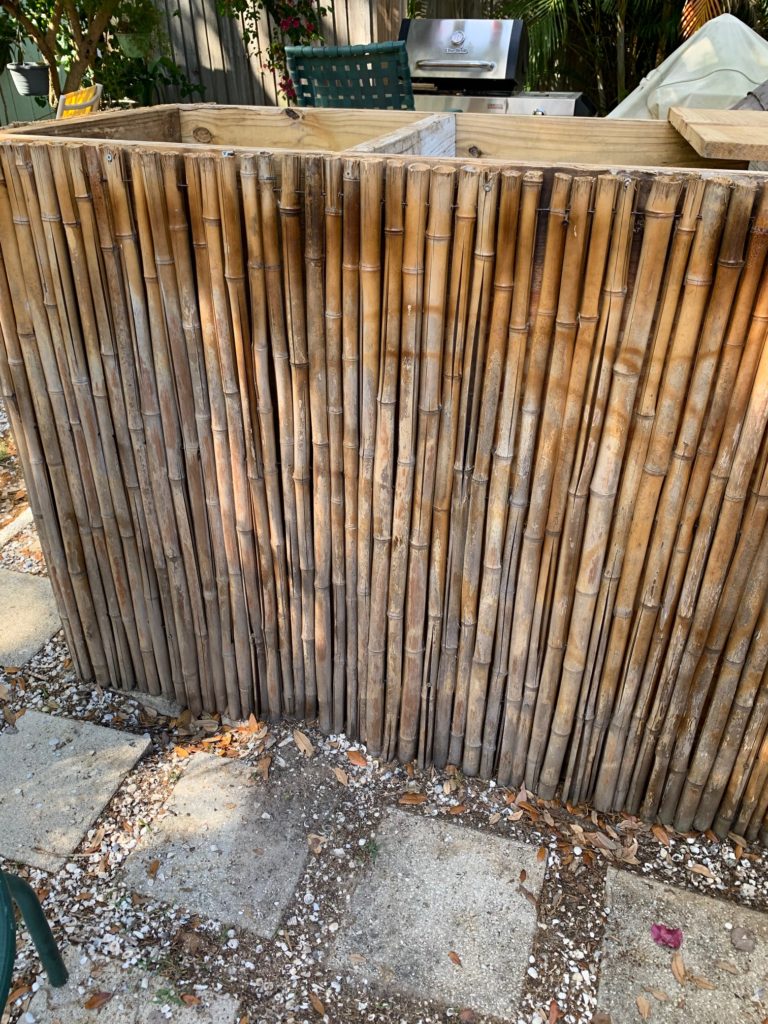
Obviously the base has faded over the years and could use some TLC. I cleaned, cleaned and cleaned to get ready for a fresh coat of Minwax PolyShades in pecan. 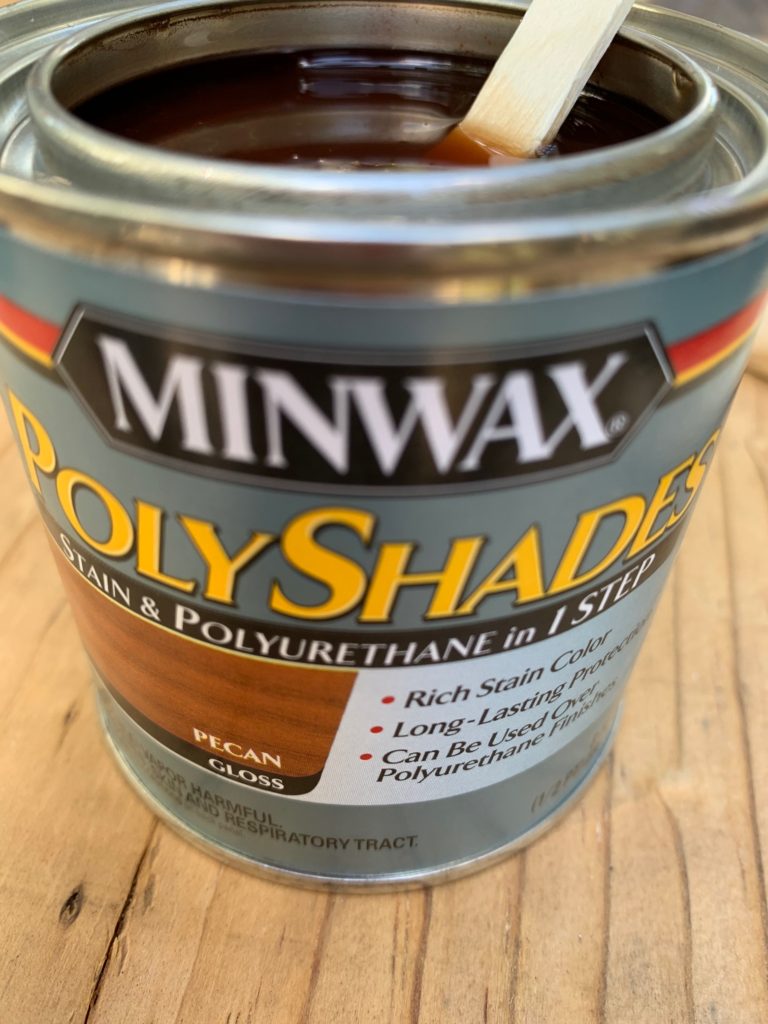
What a difference! Check out the area by the ground that hasn’t been covered yet.
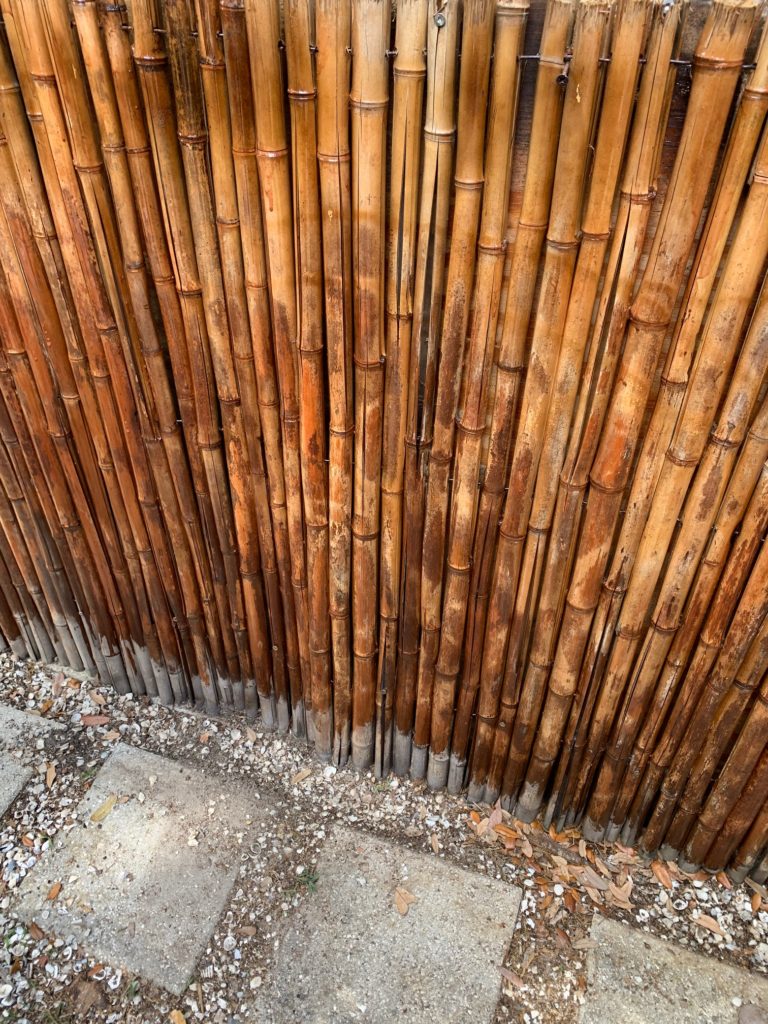
I actually applied 3 coats before I was finished. After it was dry, I sealed it with Helmsman Spray Gloss Outdoor Sealer. The end result looks so much better!
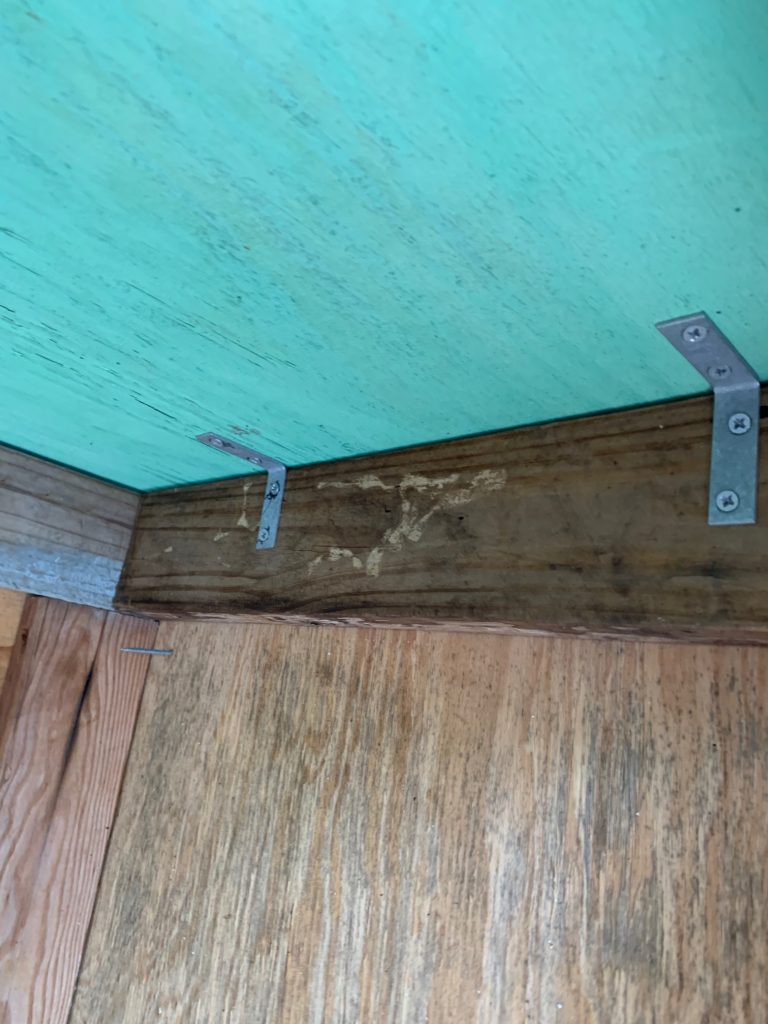
Back to the Top
Lowe’s has these corner braces and that is what we decided would be the cleanest way to install the top. There was no way I was going to put a screw in the top!

These were so easy to install. Two on each end and one on the front middle and one on the back middle. Done and done!
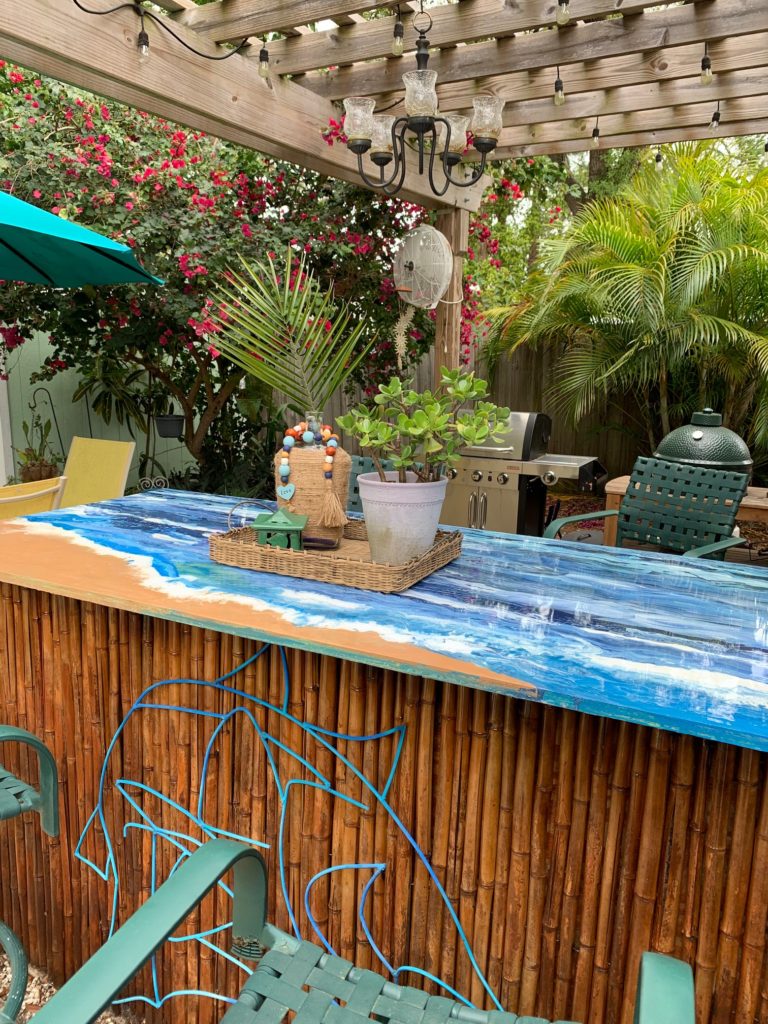
This has got to be one of my favorite projects! The bar is so cool now and it’s definitely a conversation piece!

Look how much better the base looks.

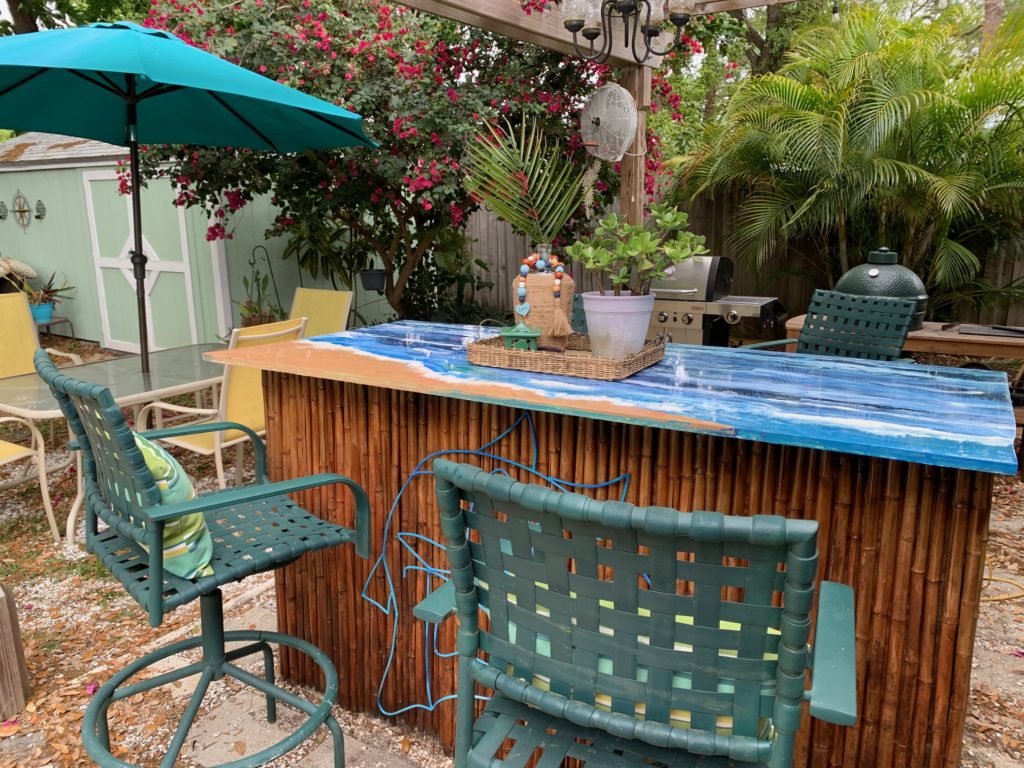
Time for the wine and steaks!
Thank you for coming by and checking out this project, I hope it inspires you to try resin or even a counter or table top. I know I will be ising resin again!
I wish you health, happiness and lots of Sunny Days!


Janet Burnett
March 30, 2021 4:47 pmAbsolutely gorgeous project!
SSDays
March 30, 2021 4:58 pmThat is so nice of you. It was a lot of fun and I was so pleased with the results. Thank you for taking a moment to read the post. I really appreciate it!