

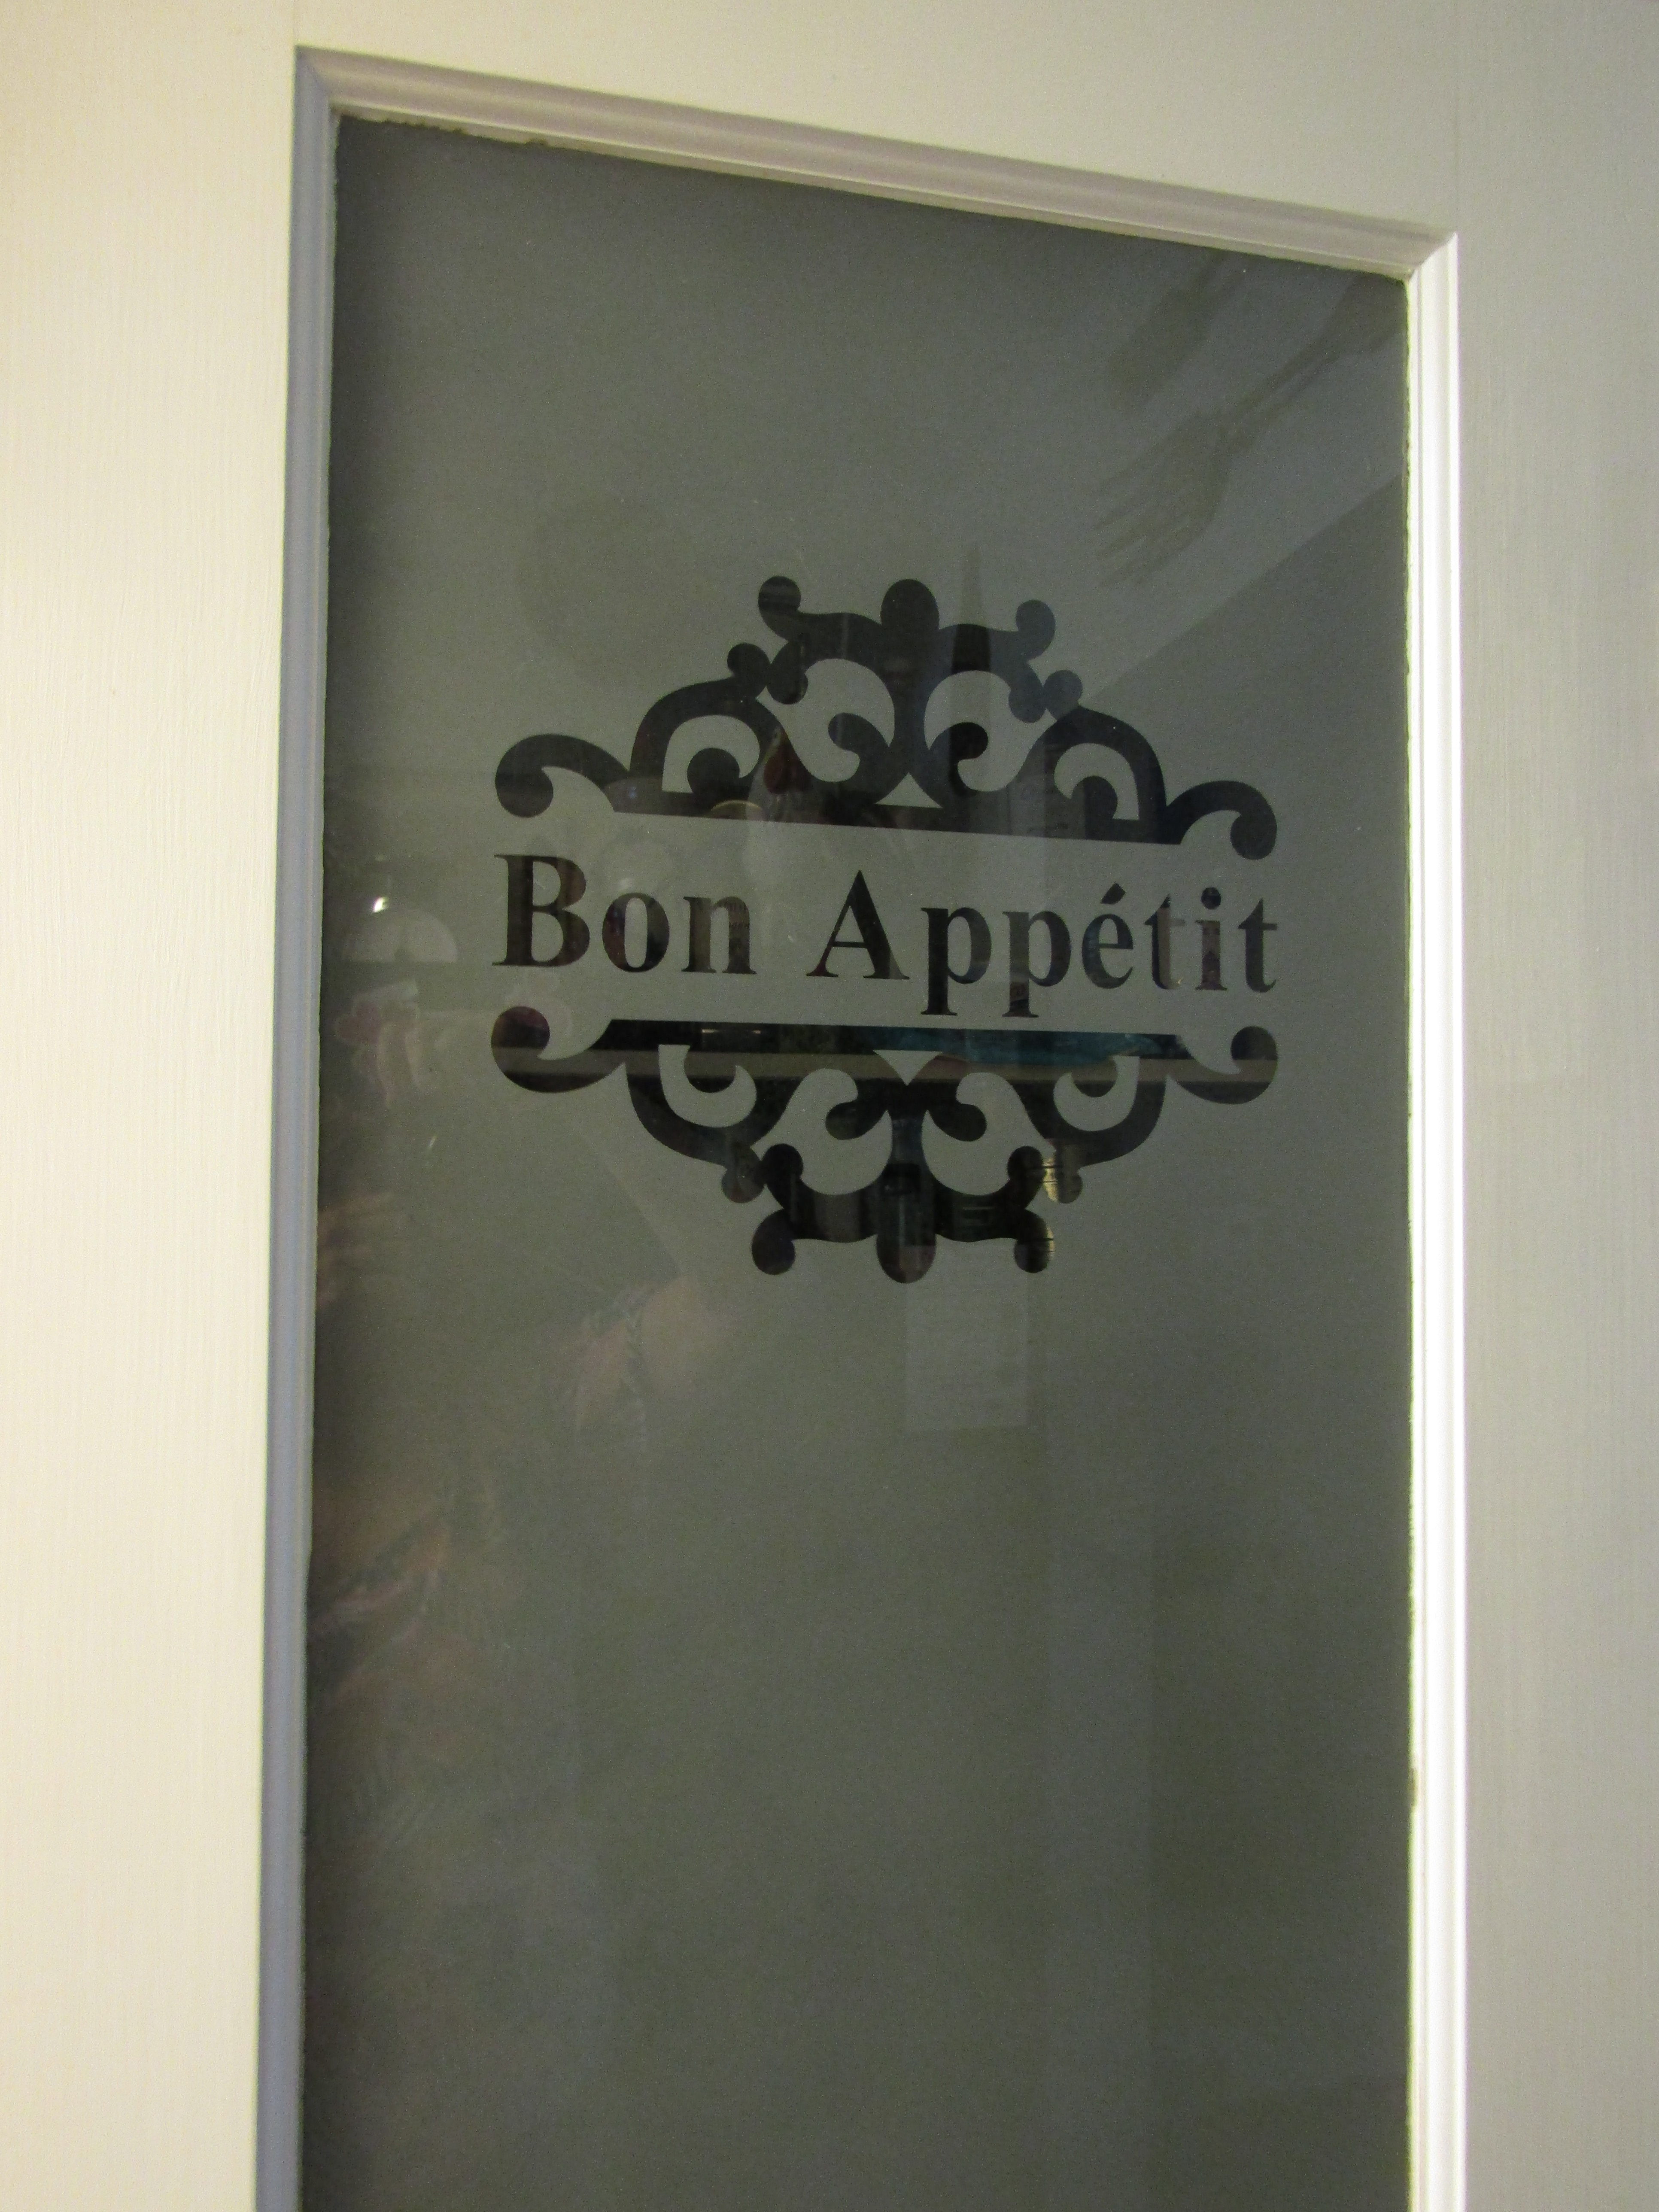
Time For an Etched Glass Door
No kidding! This took a bit of time but the results are awesome! This door is gorgeous!
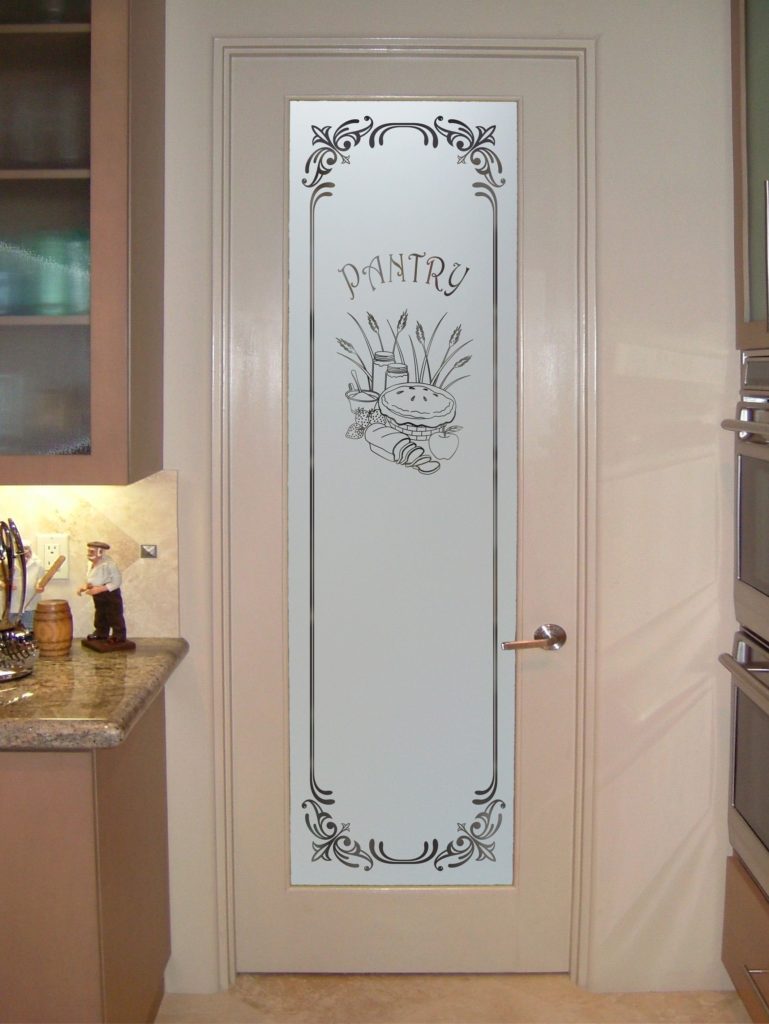
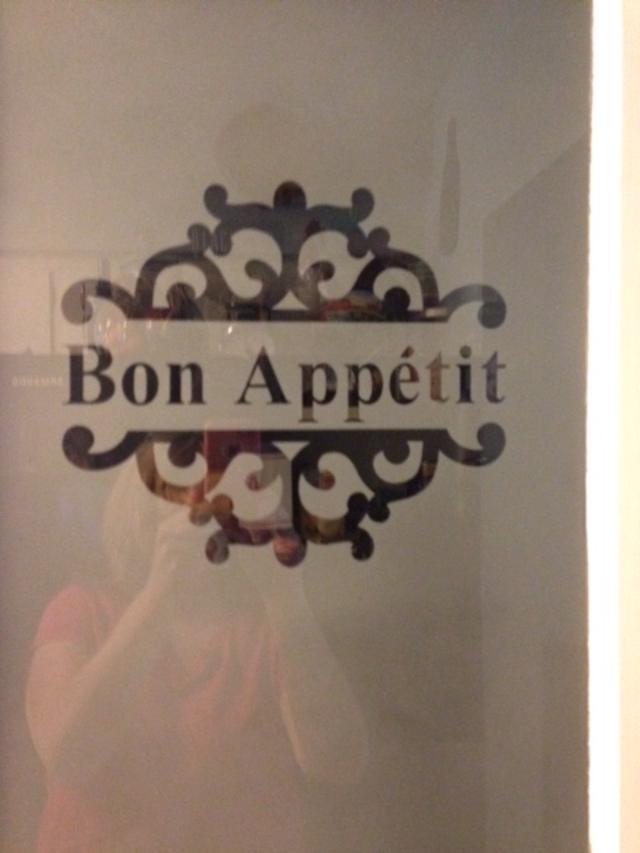
I loved the look of etched glass doors but hated the price. I had an idea that might work and could hopefully, give me the door of my dreams! This door is too fussy for me but you get the idea.
The Search Begins
To begin with, Tom and I scoured the local flea markets to see if there were any good buys on doors. It had to have a glass front and had to be the right size. Doors for DIY projects have become very popular so not only were there none that would fit my opening, what they did have was pricey.
We are lucky to have a couple of ReStore Stores here and decided to give them a try. You know, donation sites that support Habitat for Humanity. They are a gold mine of supplies for home improvement projects and you are contributing to a good cause!
We were excited to find a set of French doors and I believe we paid $30.00 for the set. They were not on display but we asked and it turned out they had lots of doors in the back. They needed cleaning and paint but were otherwise in good shape. We only needed one door so the other went out to curb alert and was grabbed up. Maybe for another pantry.
Of course, this was much more complicated than just hanging a door on the existing frame. The bi-fold door was held in a track. Tom had to remove the tracks, frame the opening and add hinges and a door knob. He then added trim.
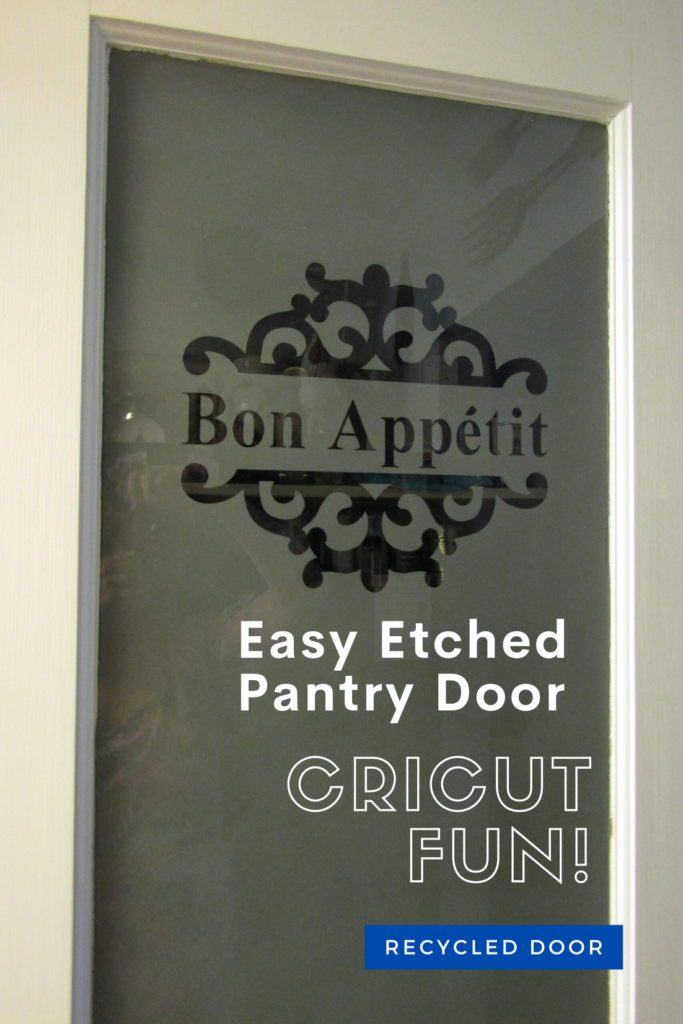
Cricut Lettering
I had an idea of what I wanted but I did not have the tools to make it. I called my sister-in-law, who is a pro at Cricut design, to see if what I was thinking was even possible. She said, YES! I just had to send her some ideas and she came up with a beautiful design.
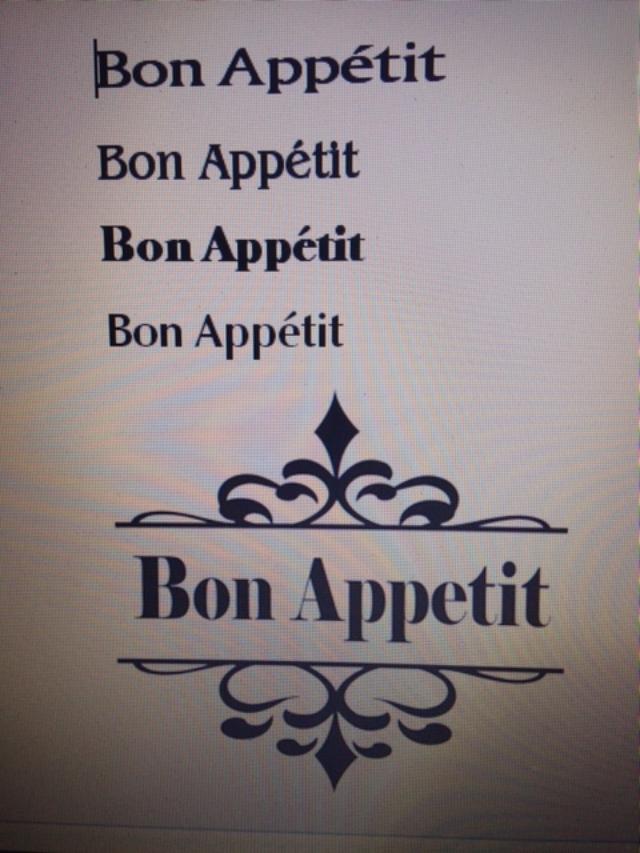
This is where you will have to use your imagination. I was so excited when she brought me the design, that I took no pictures. It is a good idea to look at a few tutorials before actually attaching the design to the inside of the door. Just a quick note, the image is reversed. Before you actually attach it to the inside of the door, measure, measure and measure again. You want it to be level and centered. Take your time to make it perfect. This is what will make it look like a real etched door.
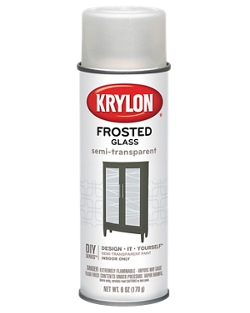
Time for the Frosted Glass Spray
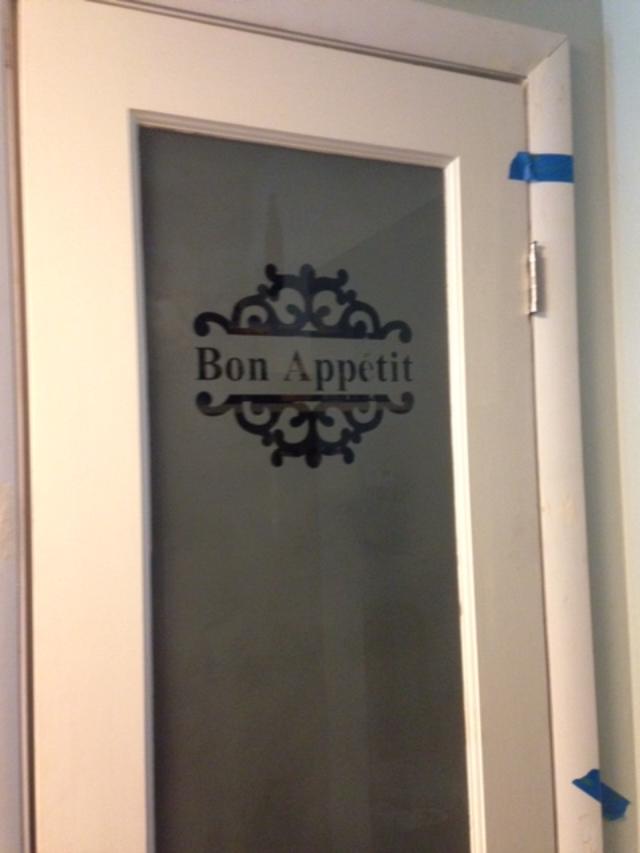
After the design is attached on the inside, take the door outside and put it across a couple of sawhorses. Make sure to tape off the freshly painted wood and then evenly apply the Krylon Frosted Glass spray on the inside glass. I used 2 coats and then as an extra precaution, I sprayed a couple of coats of clear to make it more durable.
After it is completely dry, carefully hang the door and begin to peel away the design.
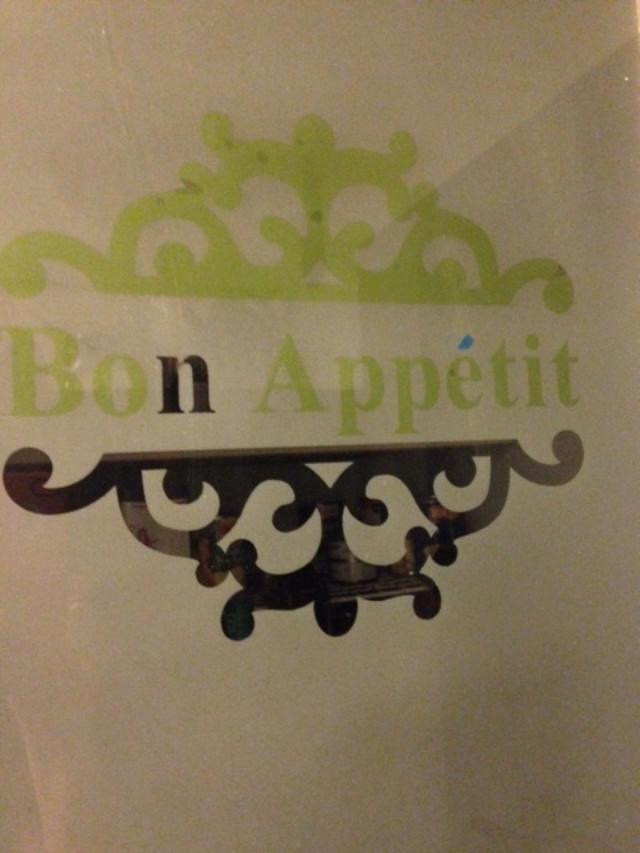
The green is the sticker part. Be very careful when you are peeling off the design. You can use a pin to loosen the corner before removing each piece. Take your time so it comes our perfect.
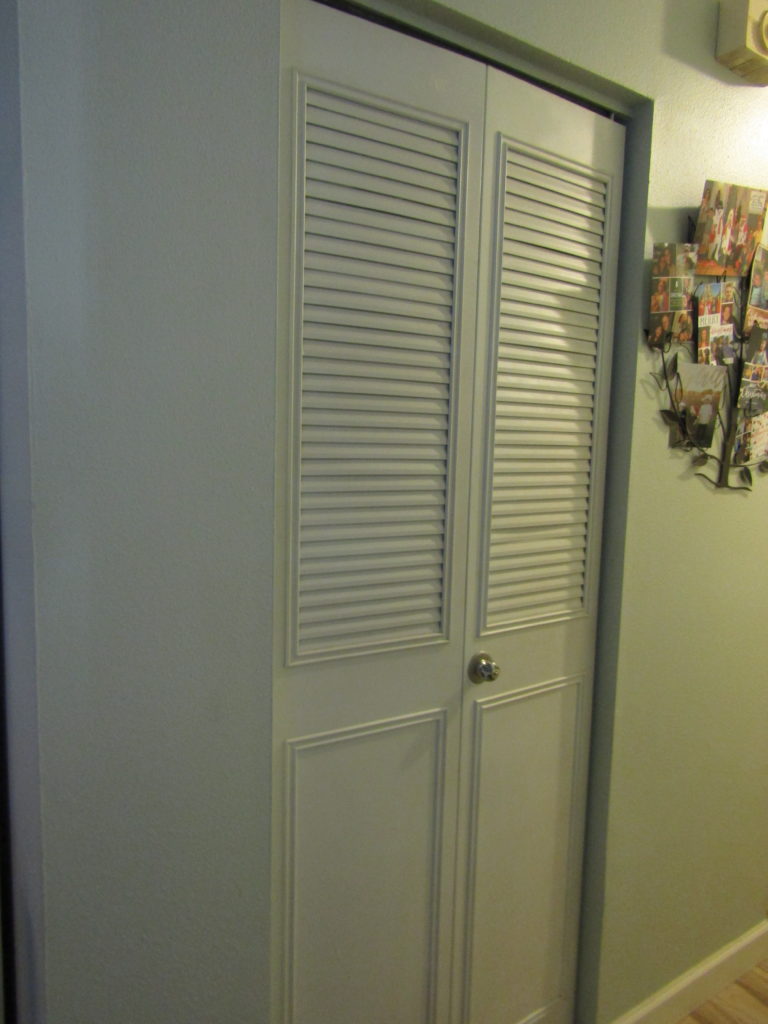
My sad bifold doors were replaced with a charming etched glass door and I could not be happier!
But Will it Hold Up
It has now been 3 years since we completed this faux etched glass door. If you are concerned about how durable it would be, rest assured, it has survived a husband and 4 grandchildren. The etched glass part was easy. The framing and hanging of the door turned out to be much more complicated. I am so lucky to have a handy husband.
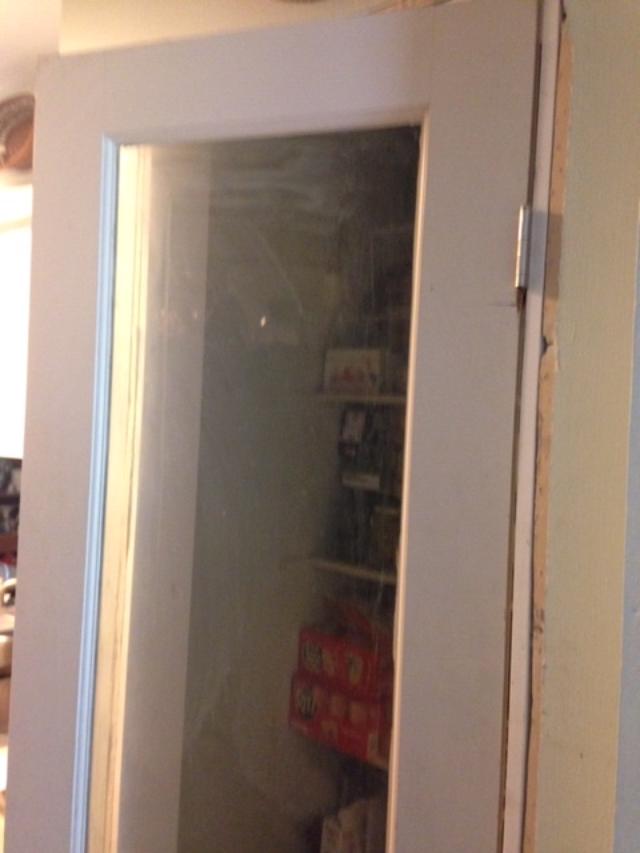
Before, a sad metal bi-fold door.
In the end it was well worth the effort. We were so happy how such a small change made such a difference to the look our kitchen. Our faux etched glass door gave me full access to my pantry.
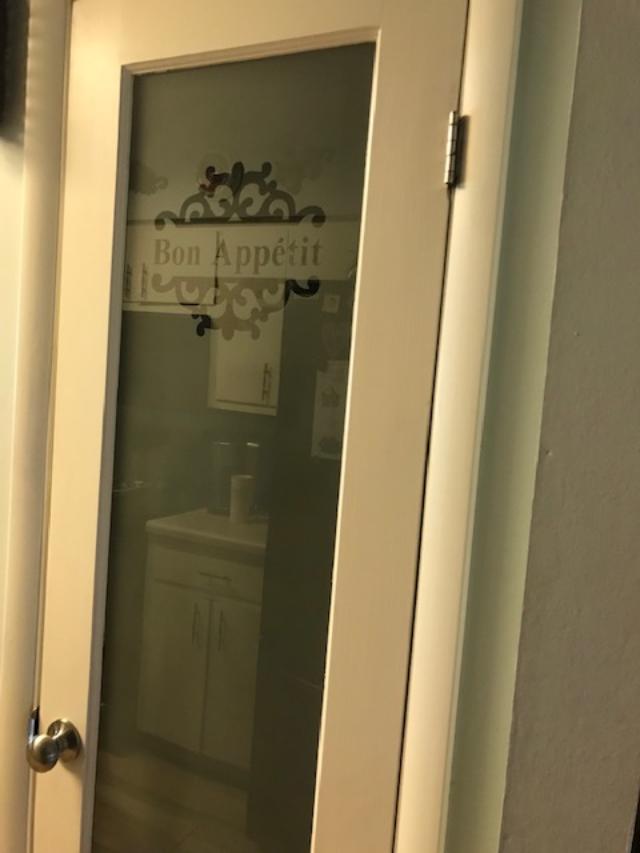
And after… Our charming etched glass door that still looks good today.
If you like this project or have any questions I would love to hear from you. Thank you for stopping by!


Leave a Reply