


What to do with those extra Clay Pots!
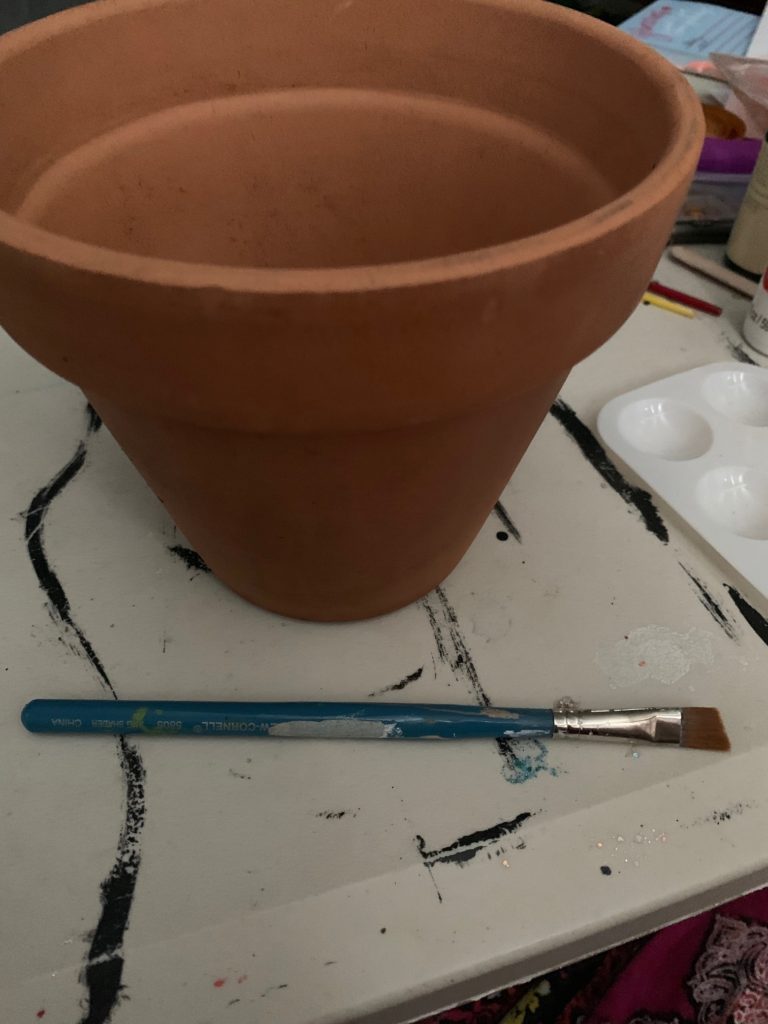
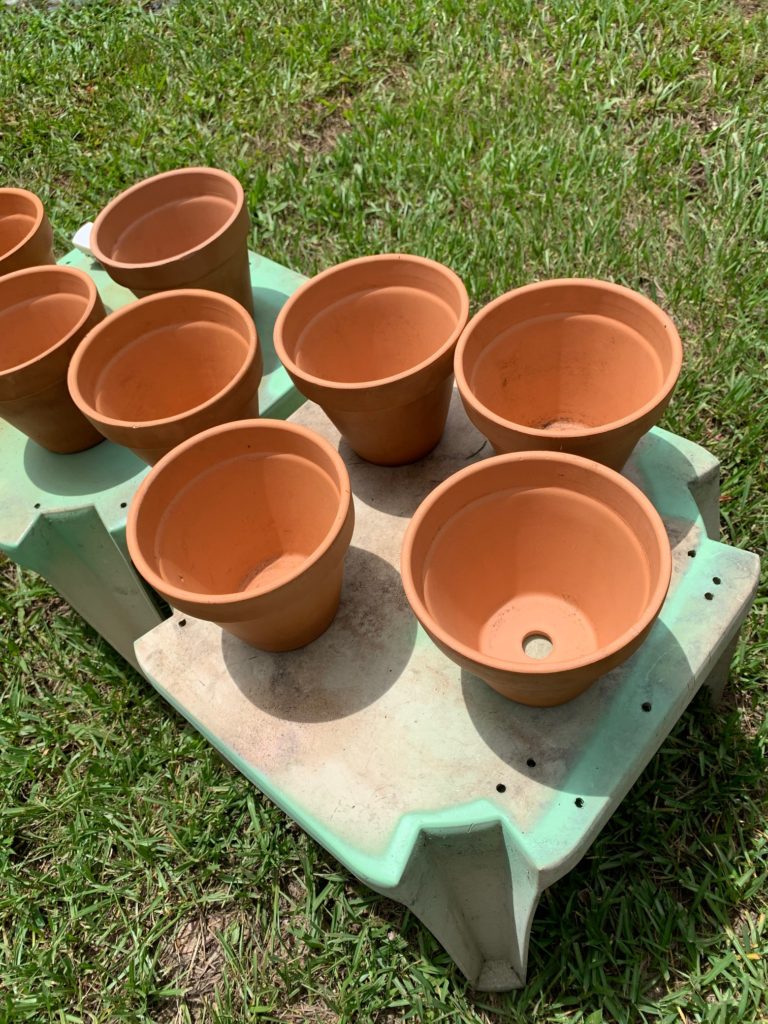
Having several clay pots with dead plants in them, I came up with an idea. First thing to do is scrub out all the dirty pots. Not very glamorous but necessary. Now, let’s do pretty!
Sealing is Important!
Before you paint clay pots you need to seal the insides. I just used a couple of coats of clear spray. Otherwise all the art you have added will be ruined. Clay pots are great because the extra moisture seeps through the clay sides. Not good for your painted finish.
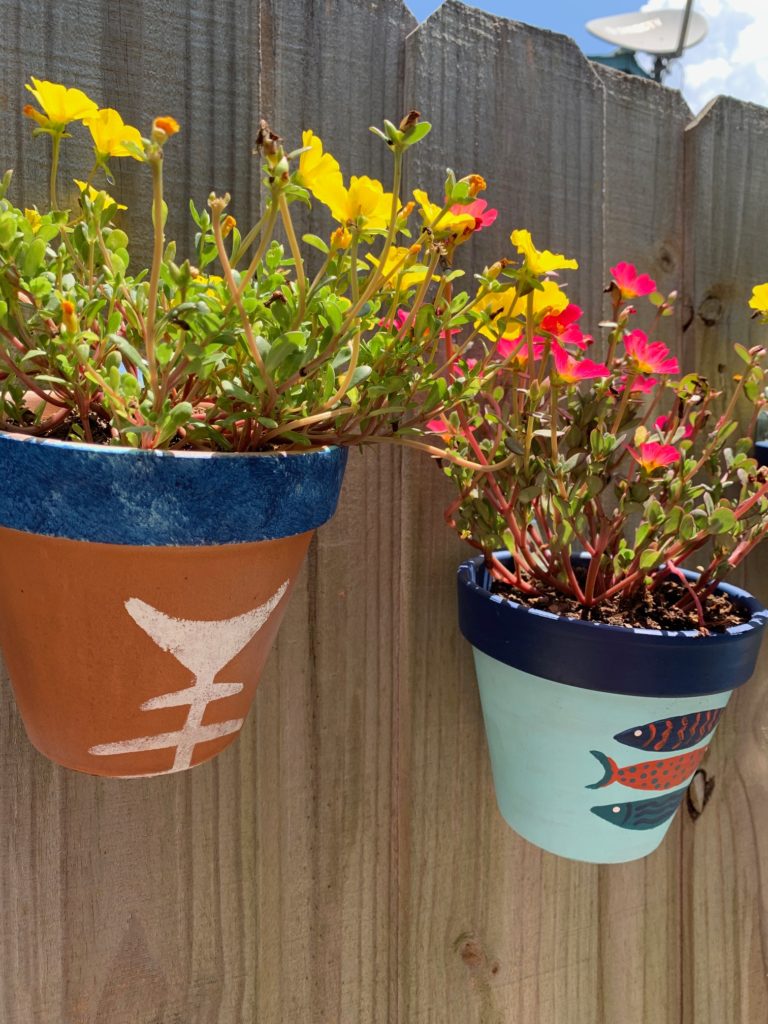
First an Easy Stencil
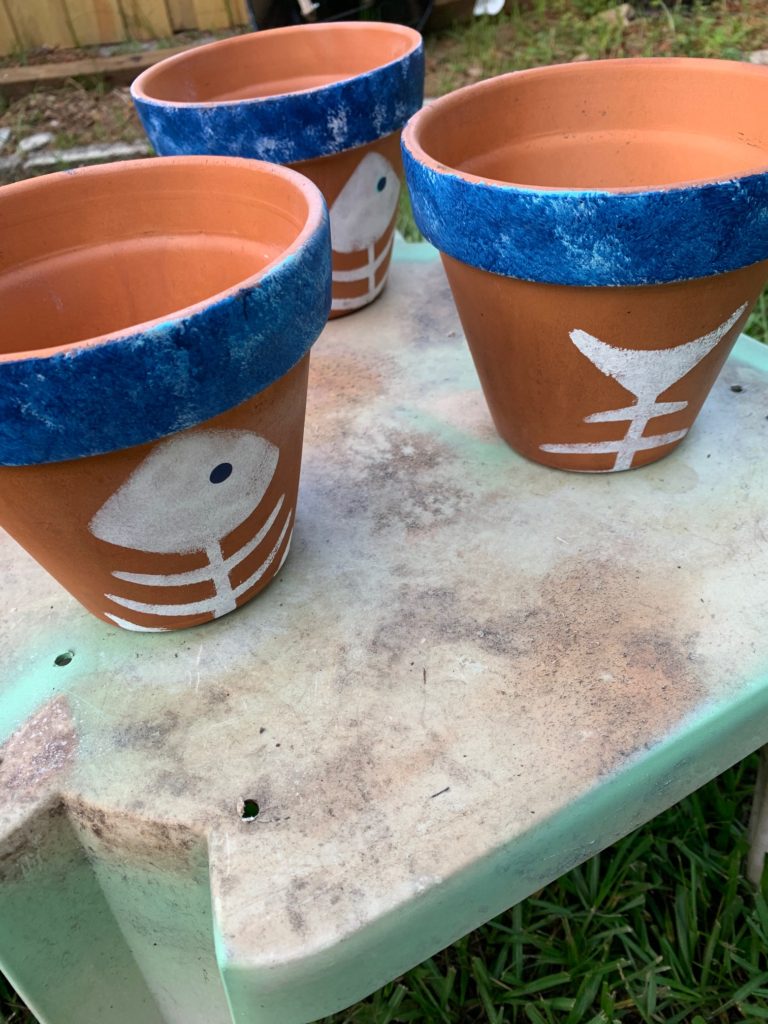
These two were done using the fish bone stencil I used for my Fish Bone Tables. Silly but interesting. It was stenciled directly on the pot. The band at the top was painted light blue with dark blue sponged over. After painting, seal again with clear spray.
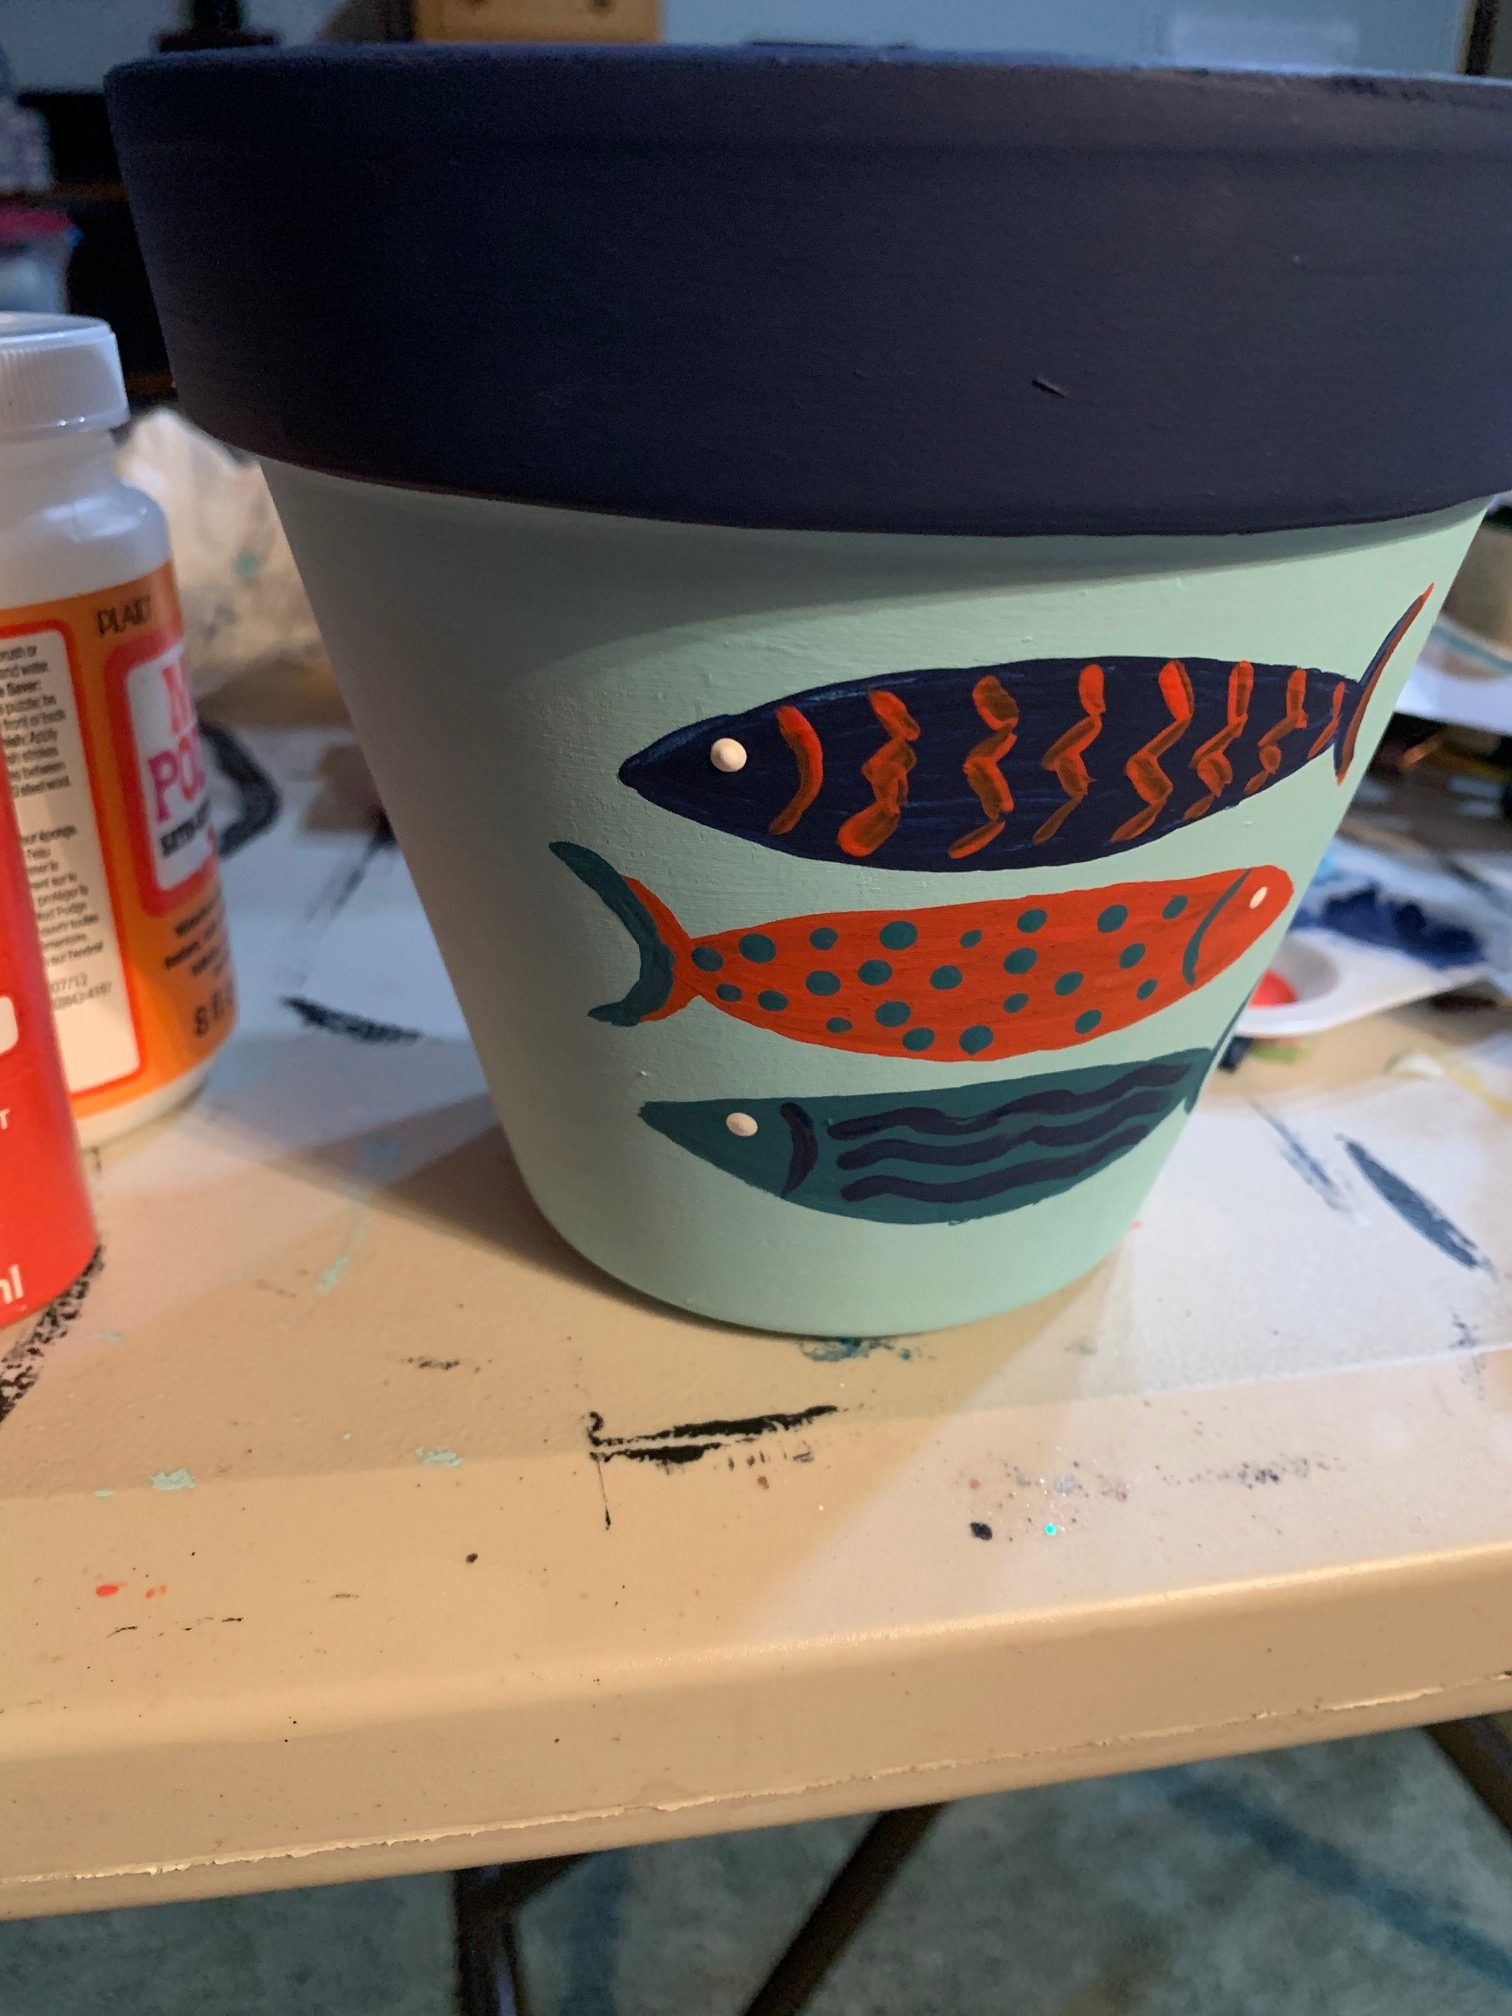
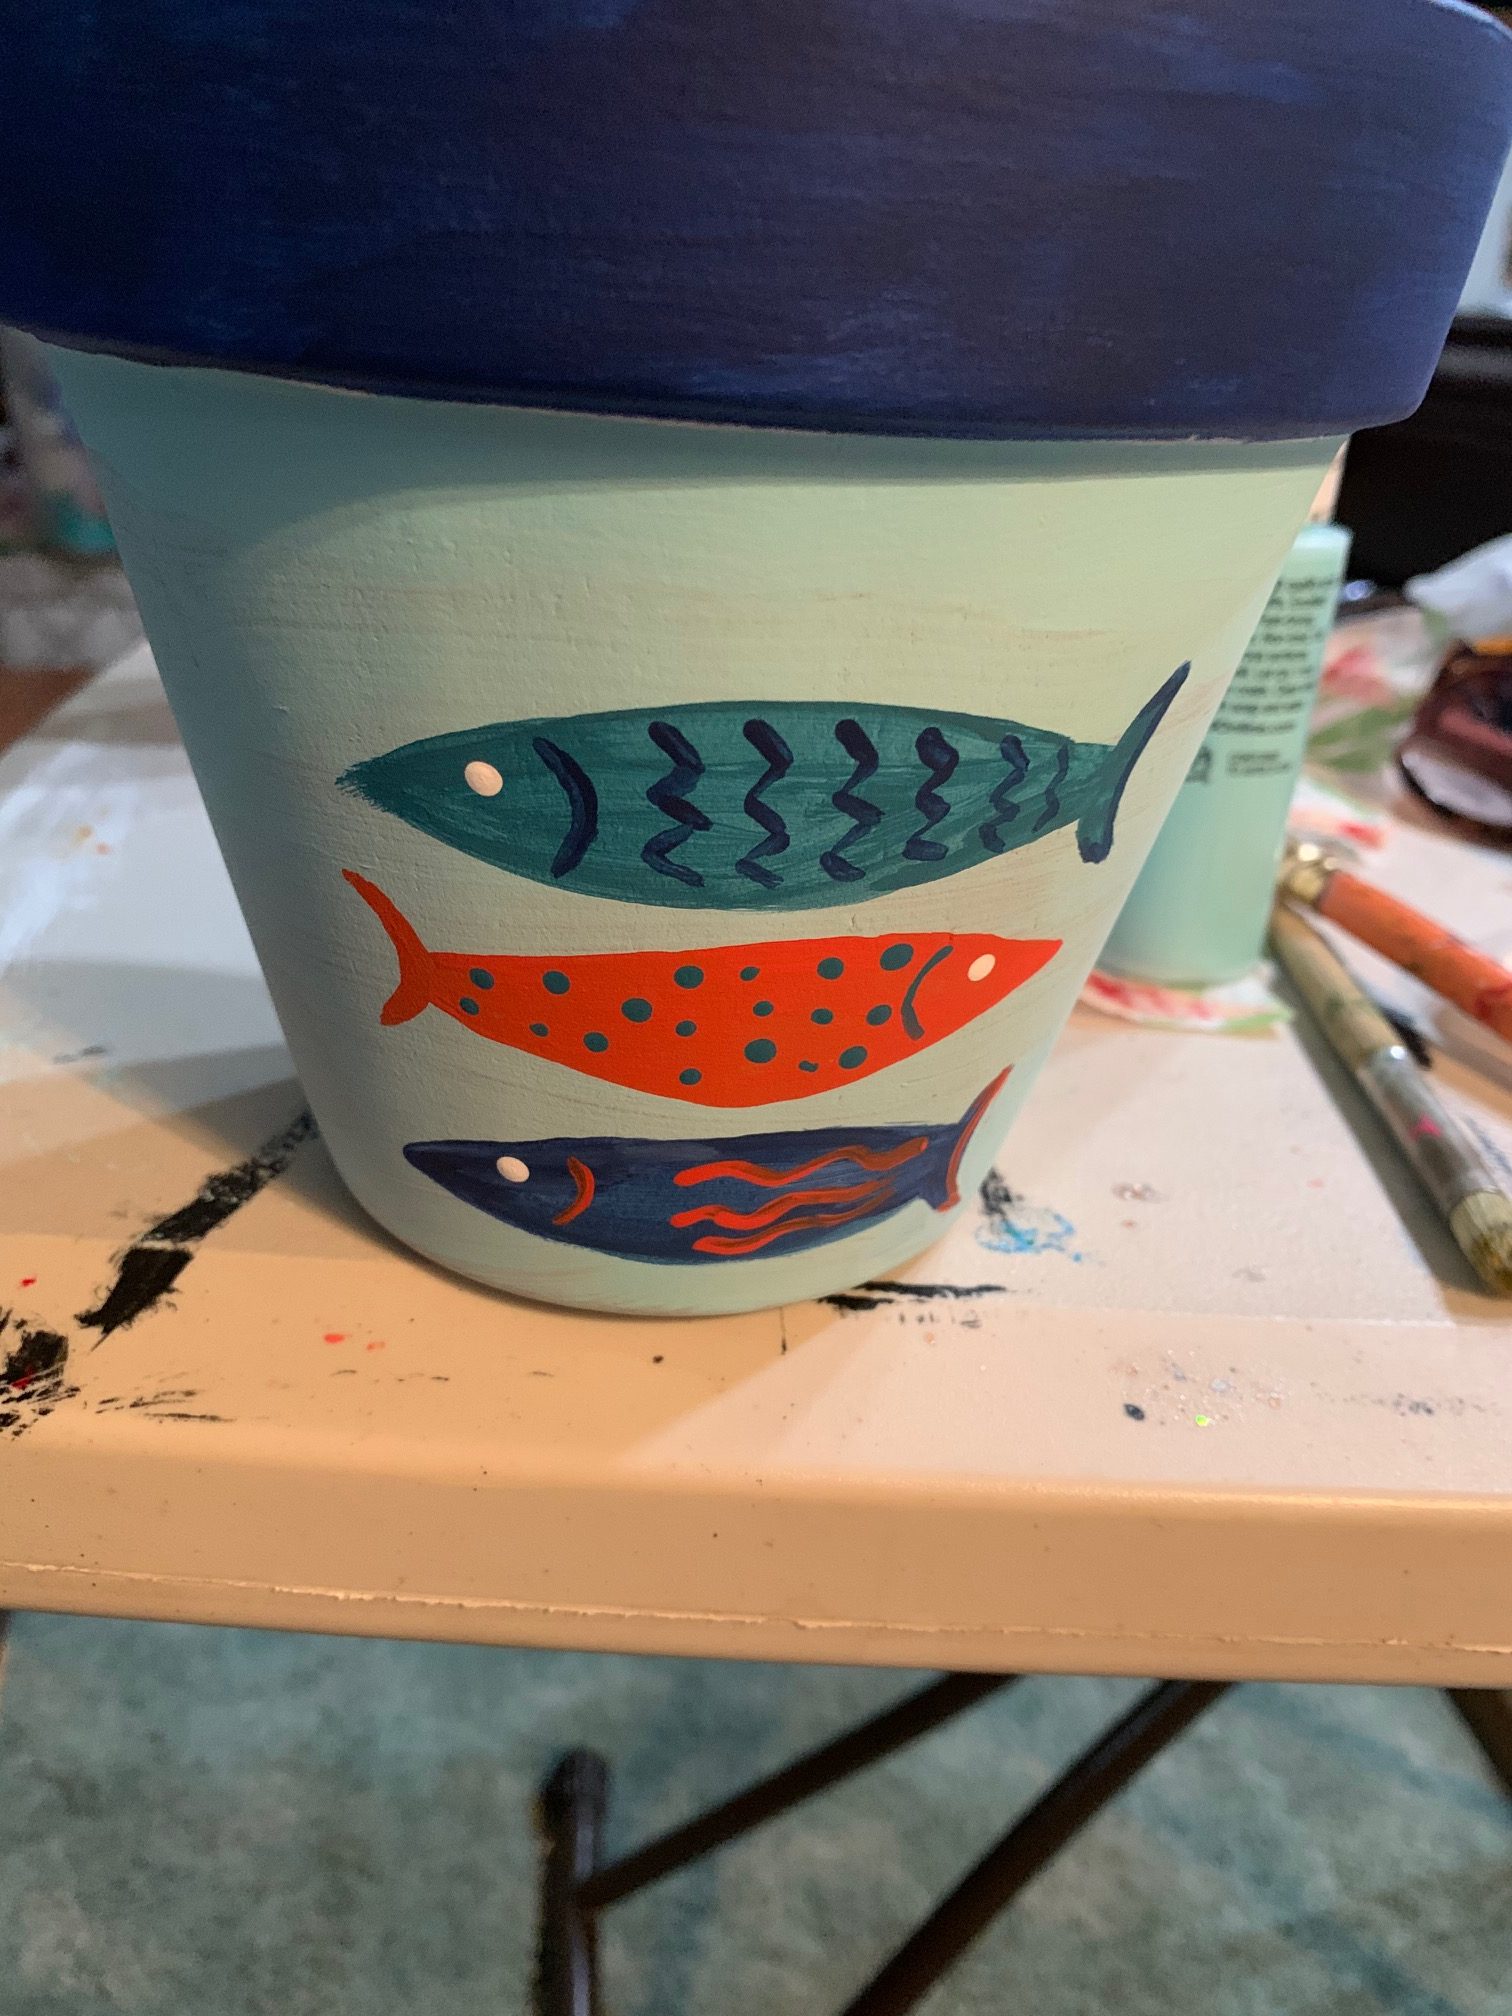
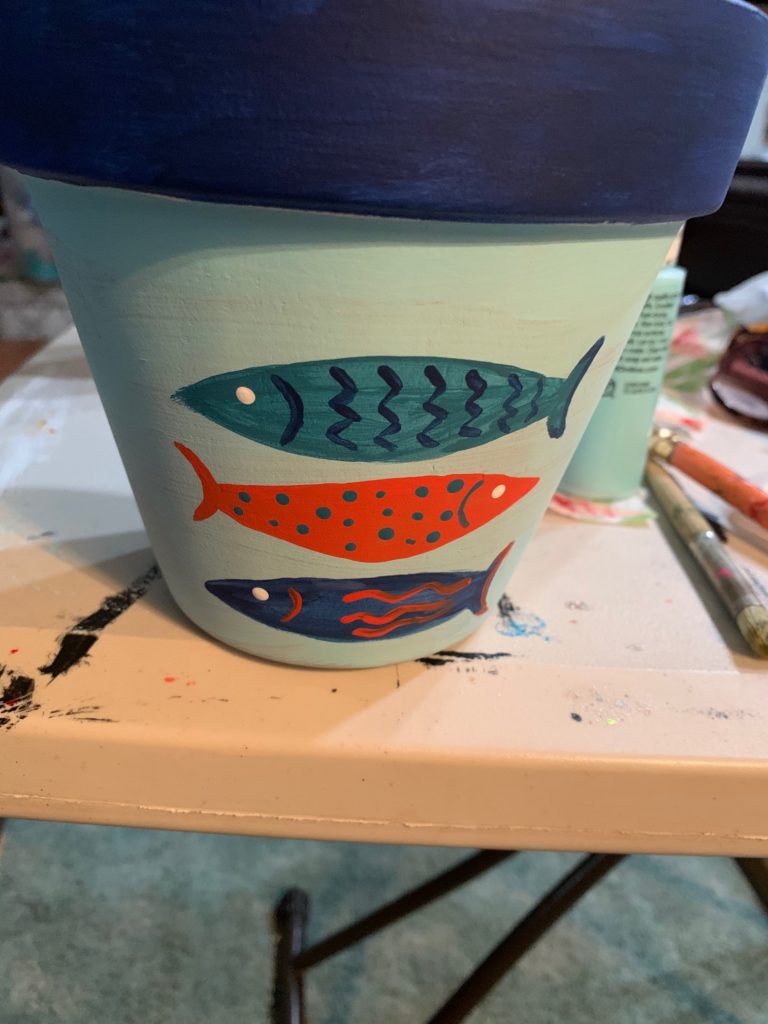
Fun Freestyle Fish
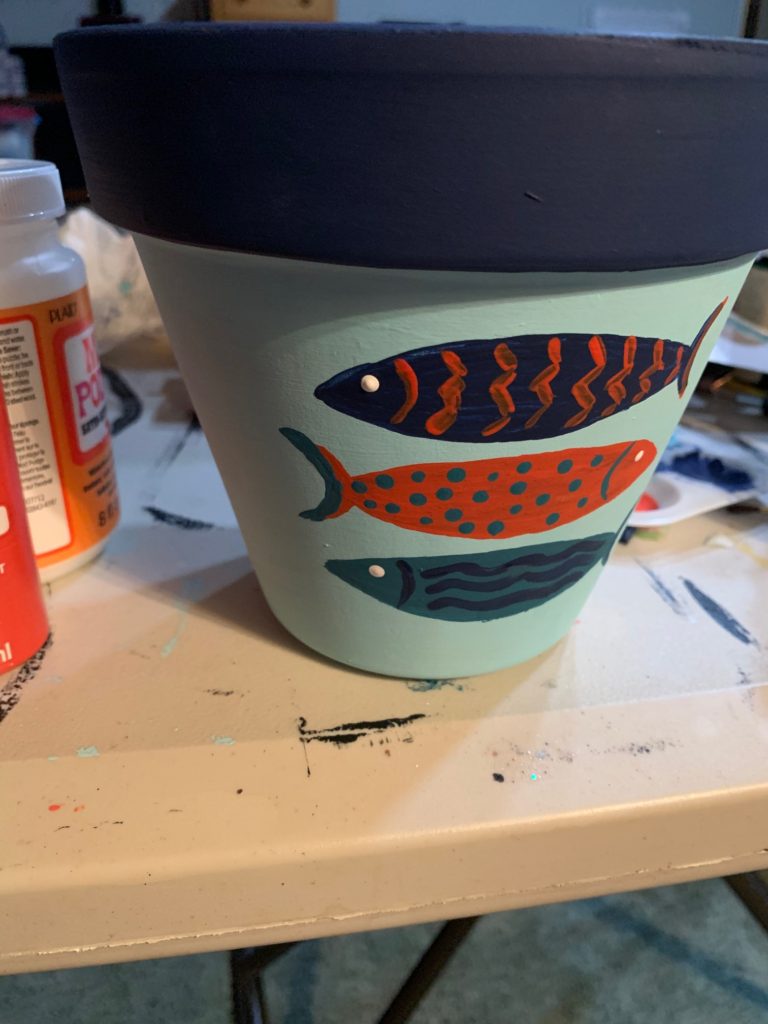
Base coat of a cute light coastal blue. Let it dry and free hand the fish shapes. Then add fun designs. An easy way to do dots is to dip the end of your paint brush into paint and voila!, easy dots.
Decoupage would be Nice
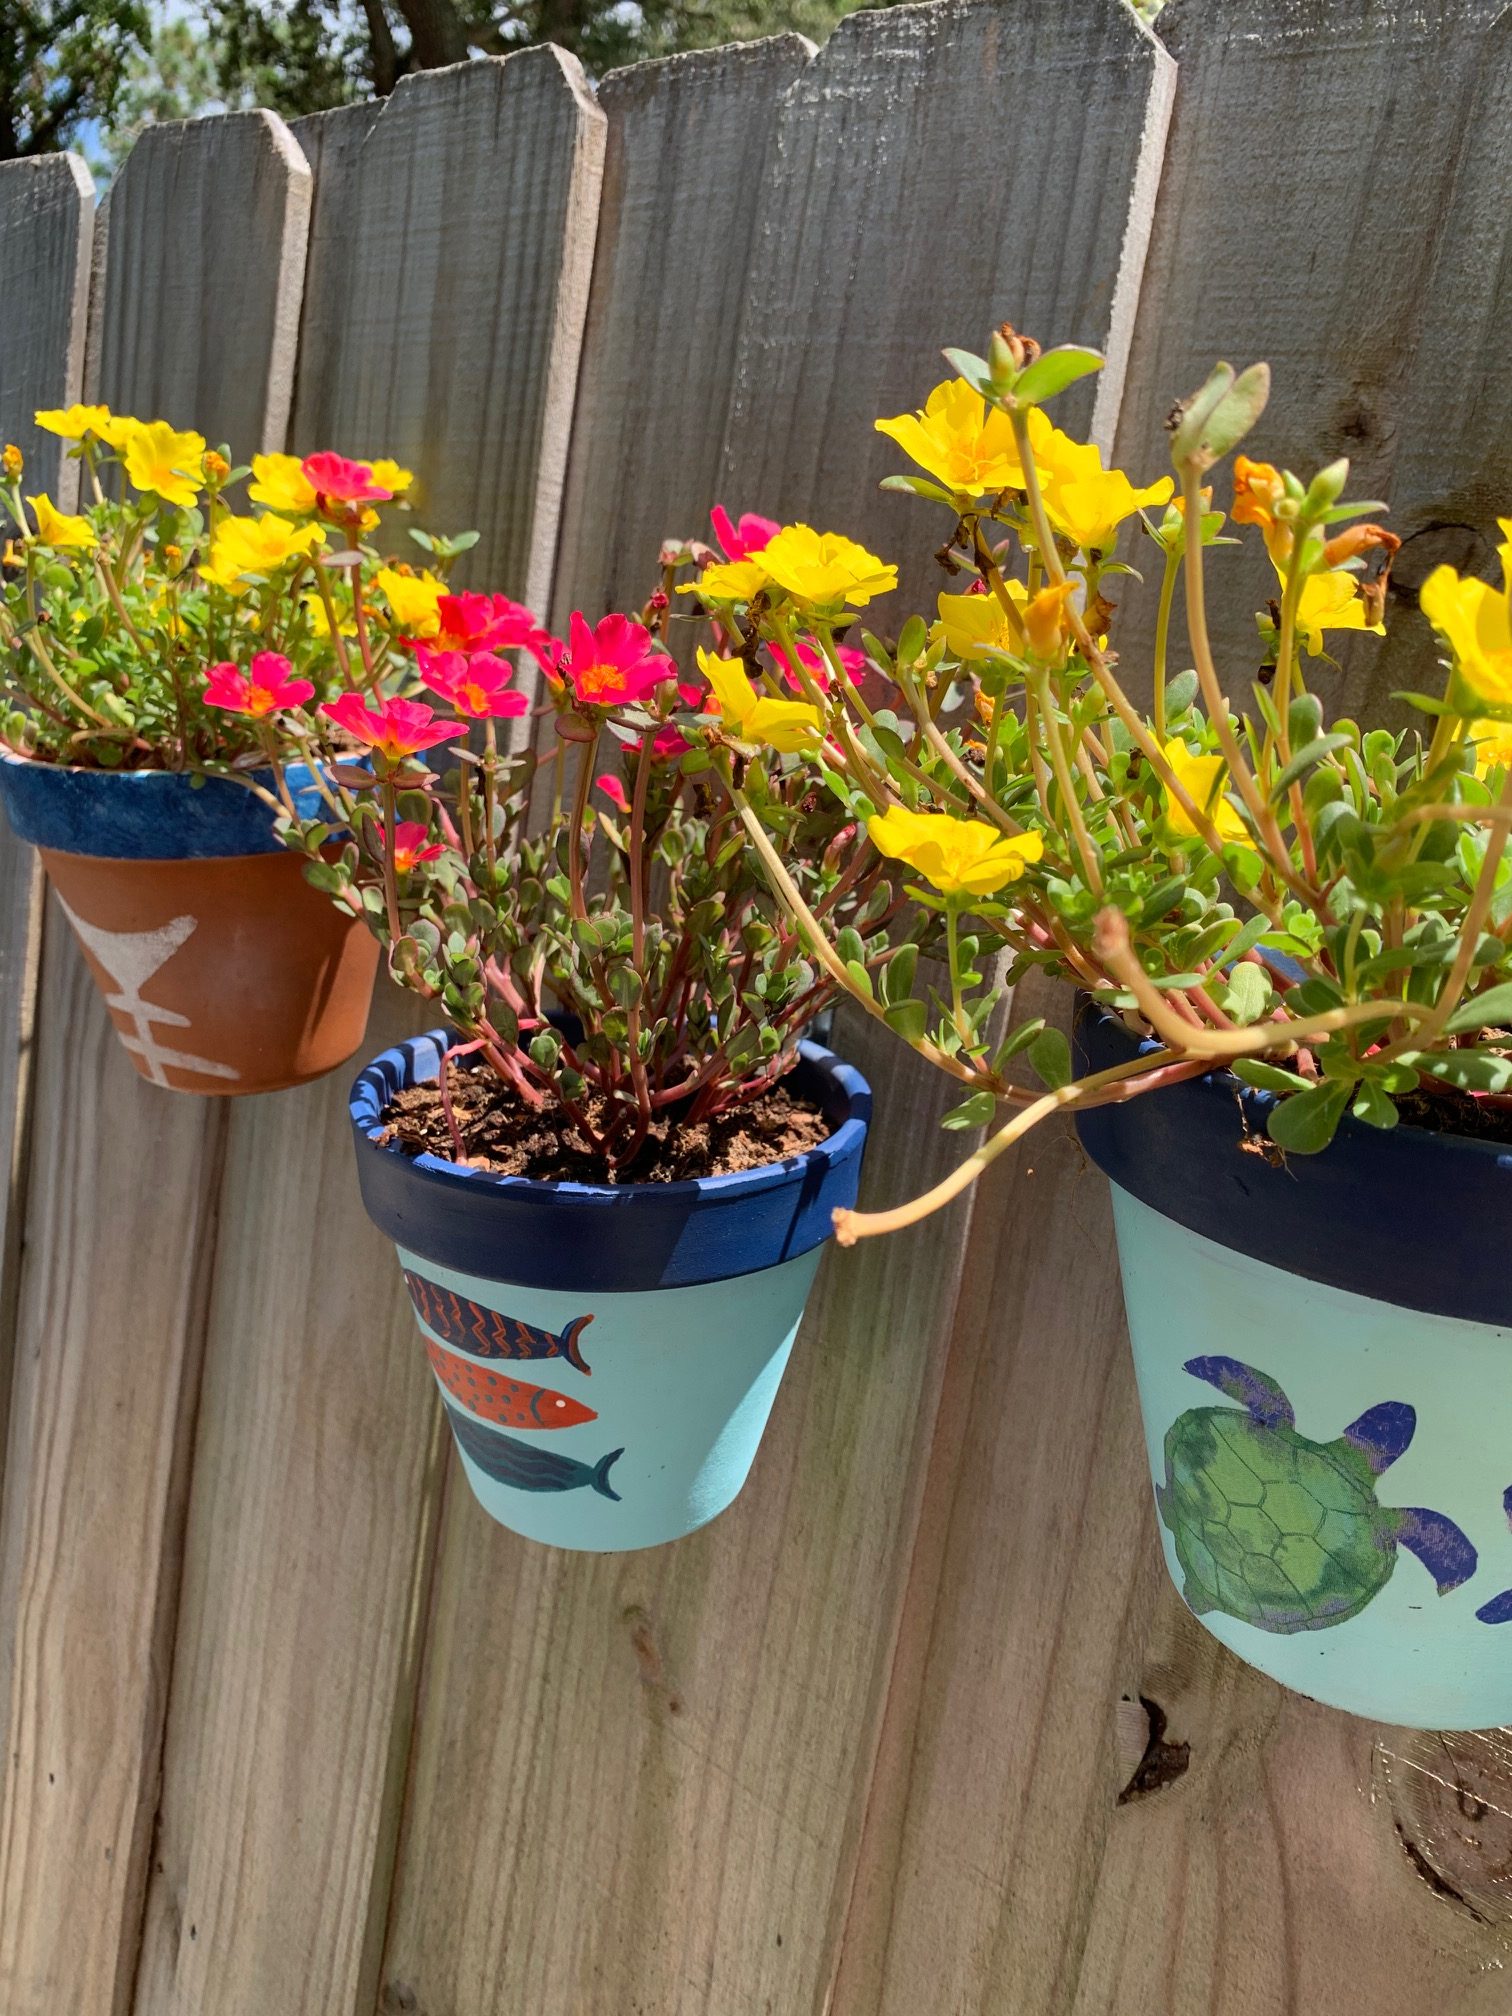
Lastly, painted pots with decoupage turtles. If you missed it from an earlier post, these turtles came from a napkin. Don’t forget to separate the layers. You can do it before or after you cut out your design.
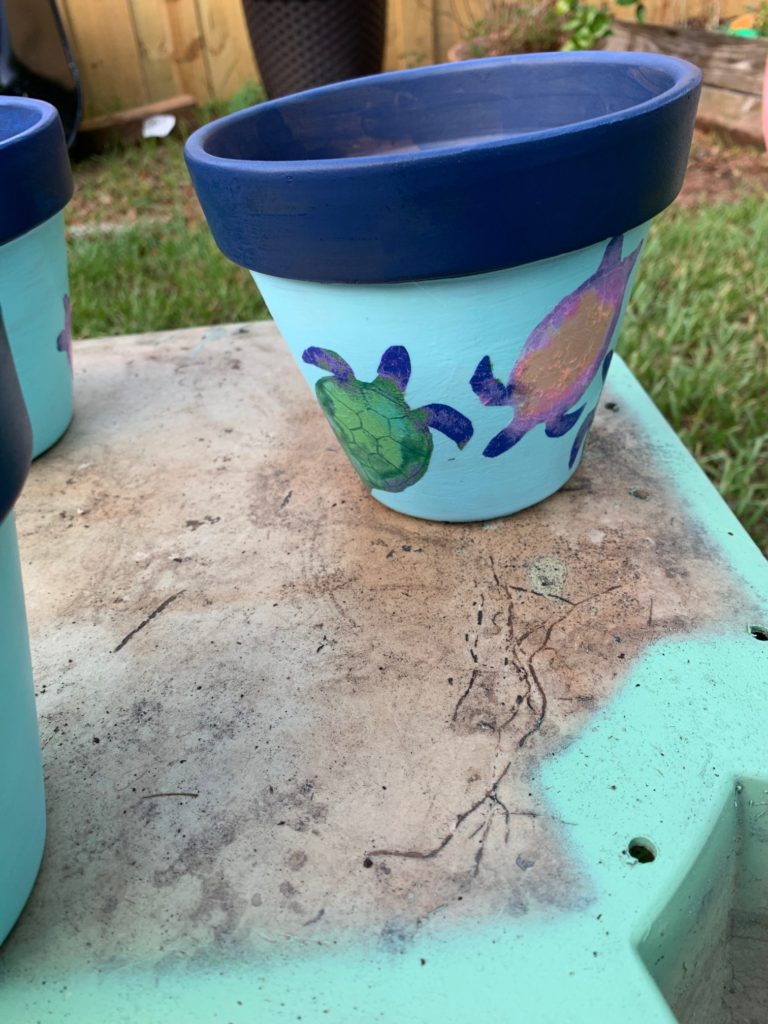
A coastal blue worked again with the darker blue band. Let it dry completely then put a coat of Mod Podge and arrange your cutouts. After its dry, seal the entire pot.
Once all your pots are finished, seal them all once more with your clear spray.
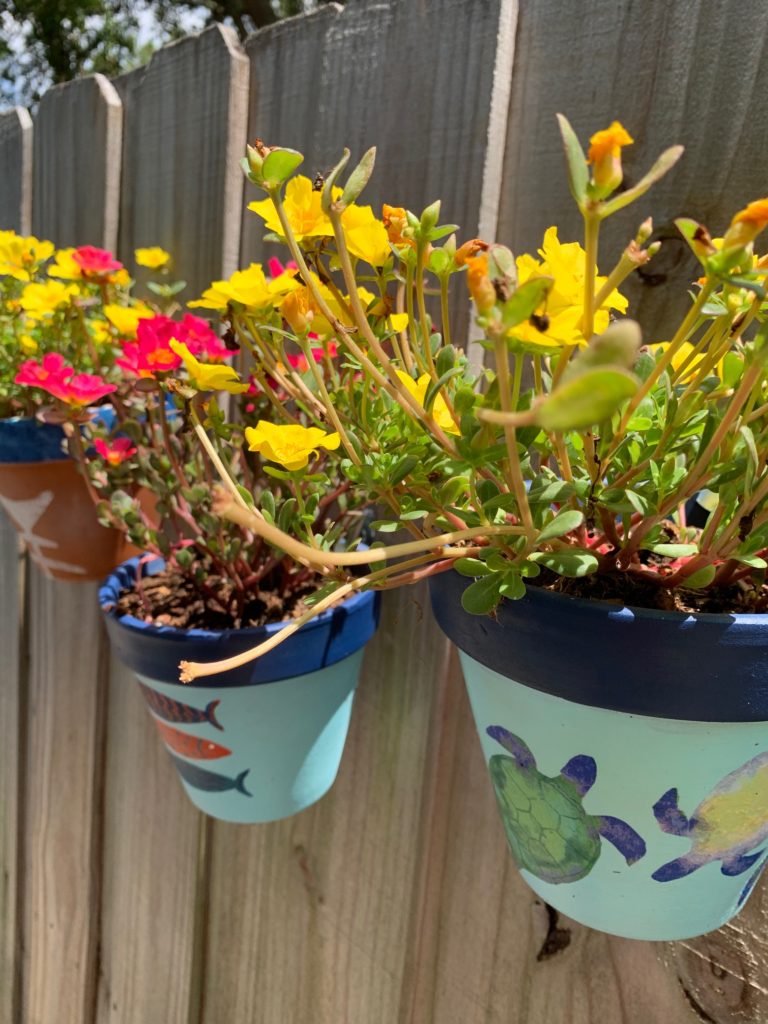

These are hung outside our guest rooms so our guests will see something pretty out their windows. Better than a plain old fence.
What do you think? An easy fun paint project.
Thank you for stopping by and taking the time to read my post. If it inspires you to try this painting project, please share your pictures and I would love for you to join my mailing list.
Wishing you health, happiness and lots of Sunny Days!


Leave a Reply