

With everything going on in the world today, I am inspired to hunker down at home and work on projects I’ve been thinking about for a while. Plus, as usual, I’m already thinking about the holidays, our Christmas visitors and getting the house ready for the festivities.
Easy Updates for Fleece Blankets
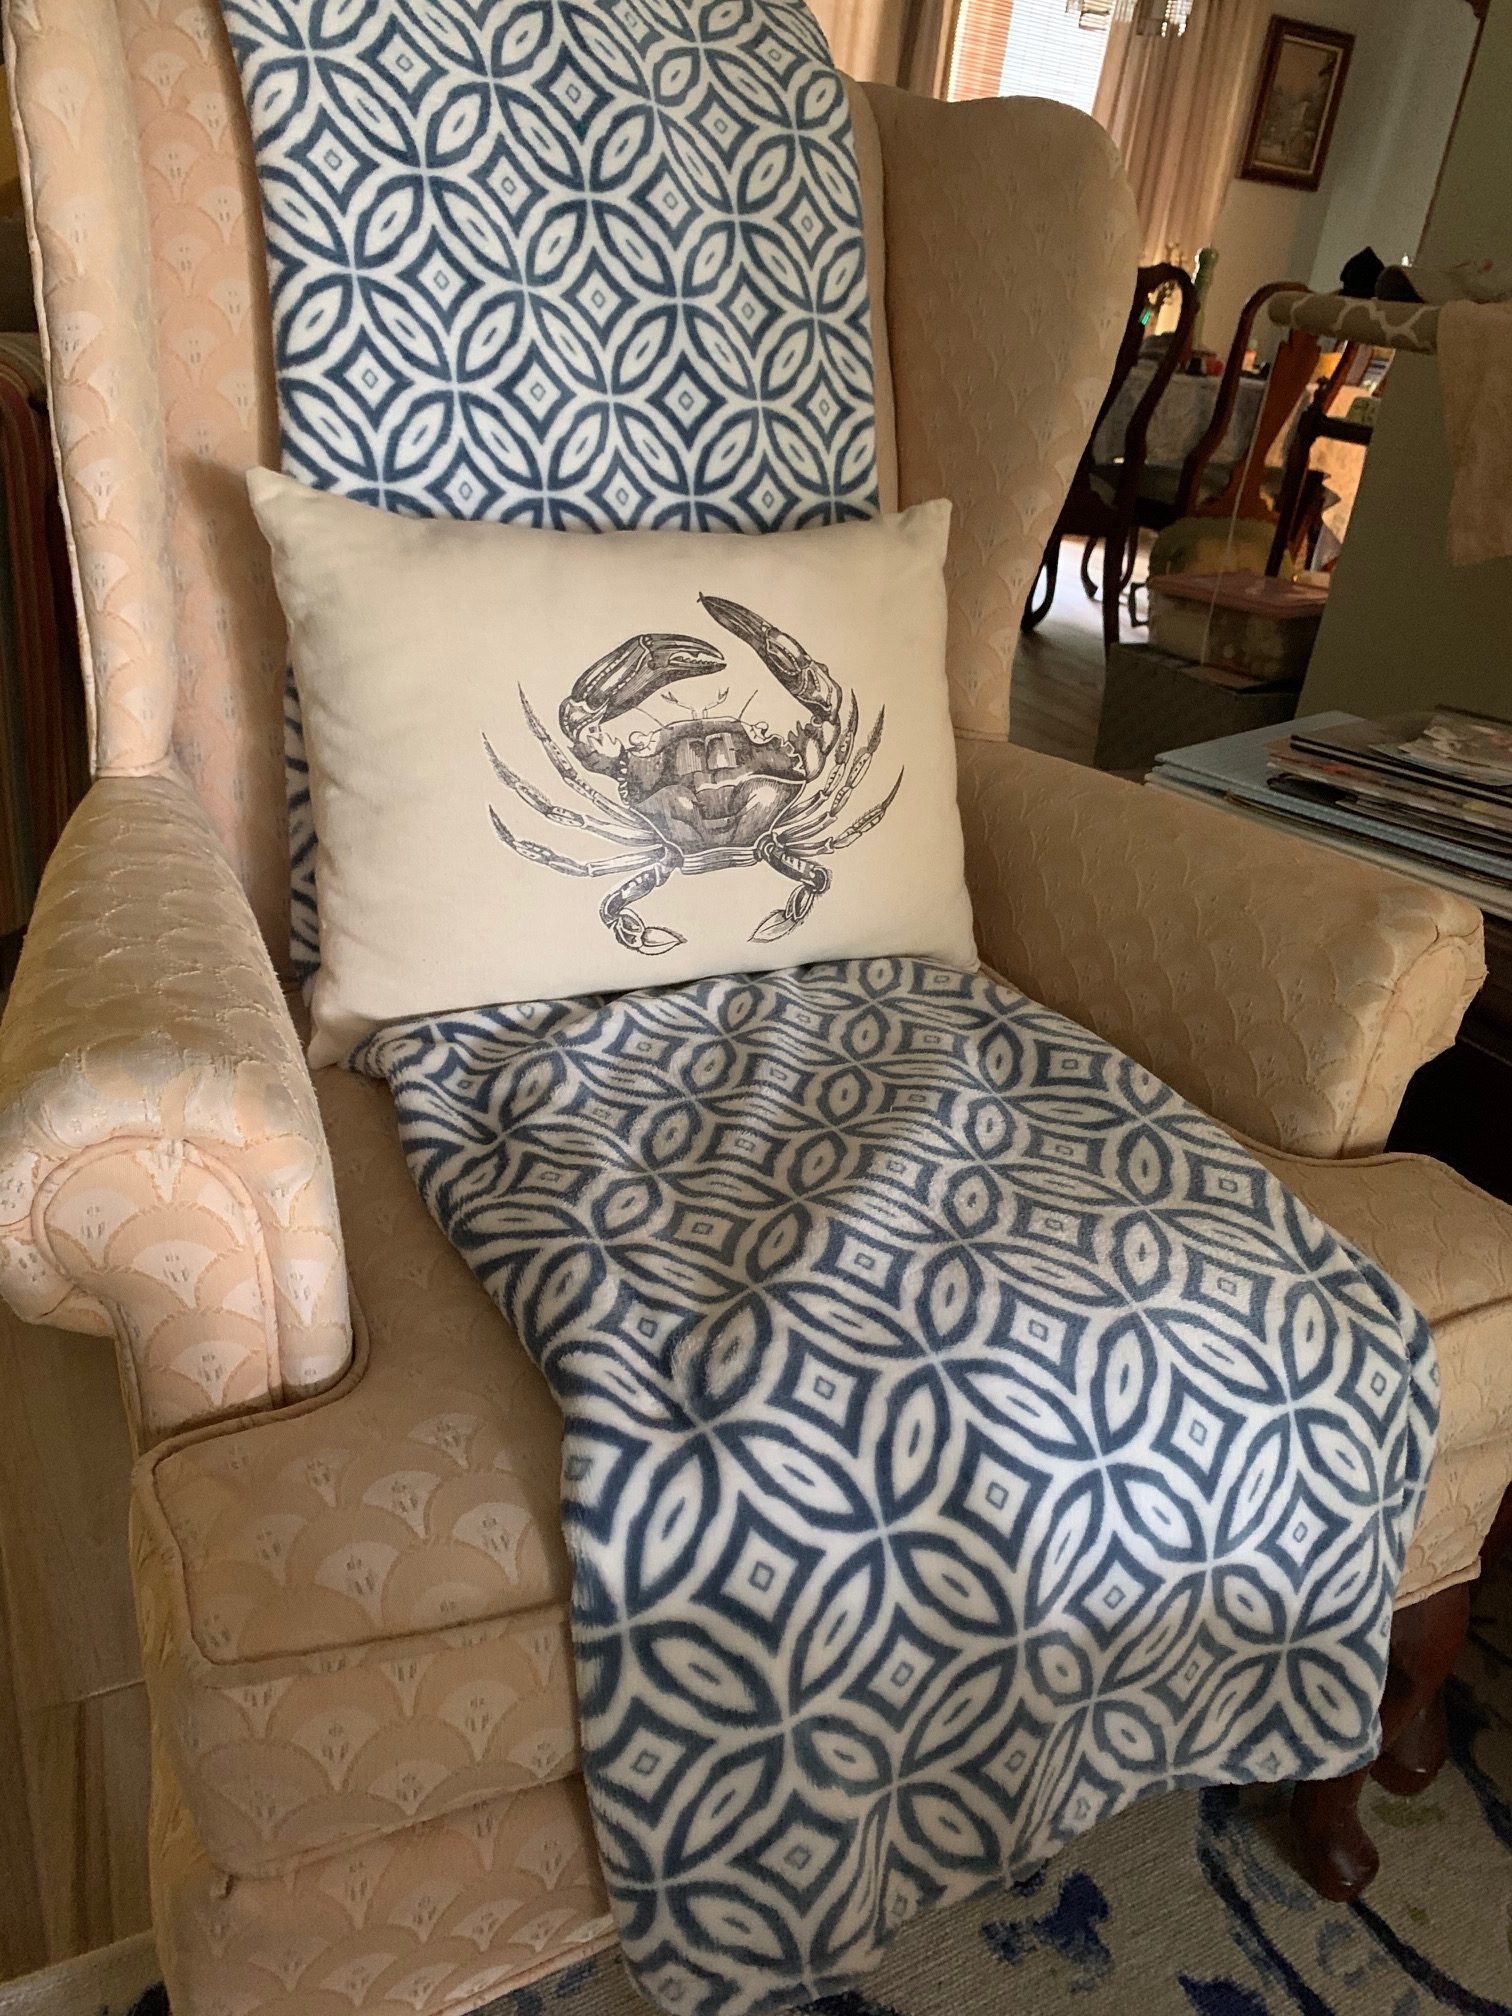
I know you have seen those fleece blankets everywhere. They are so soft and my grandkids love to cuddle up in them. I found some pretty blue and white ones for our gathering room and a couple of grey ones for the game room. You can find tons of colors so that is a bonus but, they just needed something. A bit of fancy.

This super soft blanket just needed some fancy!
Update #1
First find some yarn that will compliment your blanket. I found this one at Joanne Fabric’s.

Beautiful yarn used for tassels
Then find a huge needle with a huge eye so you can thread the yarn through it. I’ve had mine for years but, I’m pretty sure I originally purchased it at Joanne’s also.

Now this is a HUGE needle!
Tassels for the Win!
I’ve always admired those blankets with the huge tassels so I thought I would try it out.
First Make the Tassels
There are so many tutorials on Pinterest for making tassels. They are actually pretty easy. First I cut a scrap of cardboard the length I wanted my tassels to be. Six inches seemed about right.

Tassels are fun and easy to make!
I then wrapped it 50 times. It’s up to you how thick you want your tassels. This yarn is pretty thick so 50 times was plenty for this project. I made 5 tassels for each short side of the blankets.

After wrapping 50 times, tie it tightly at the top.
Run a piece of yarn under the top, I used 2 pieces, and tie it tightly.

After its tied off, cut it at the bottom
Cut it loose from the cardboard while still holding onto the yarn you used to tie off the top.

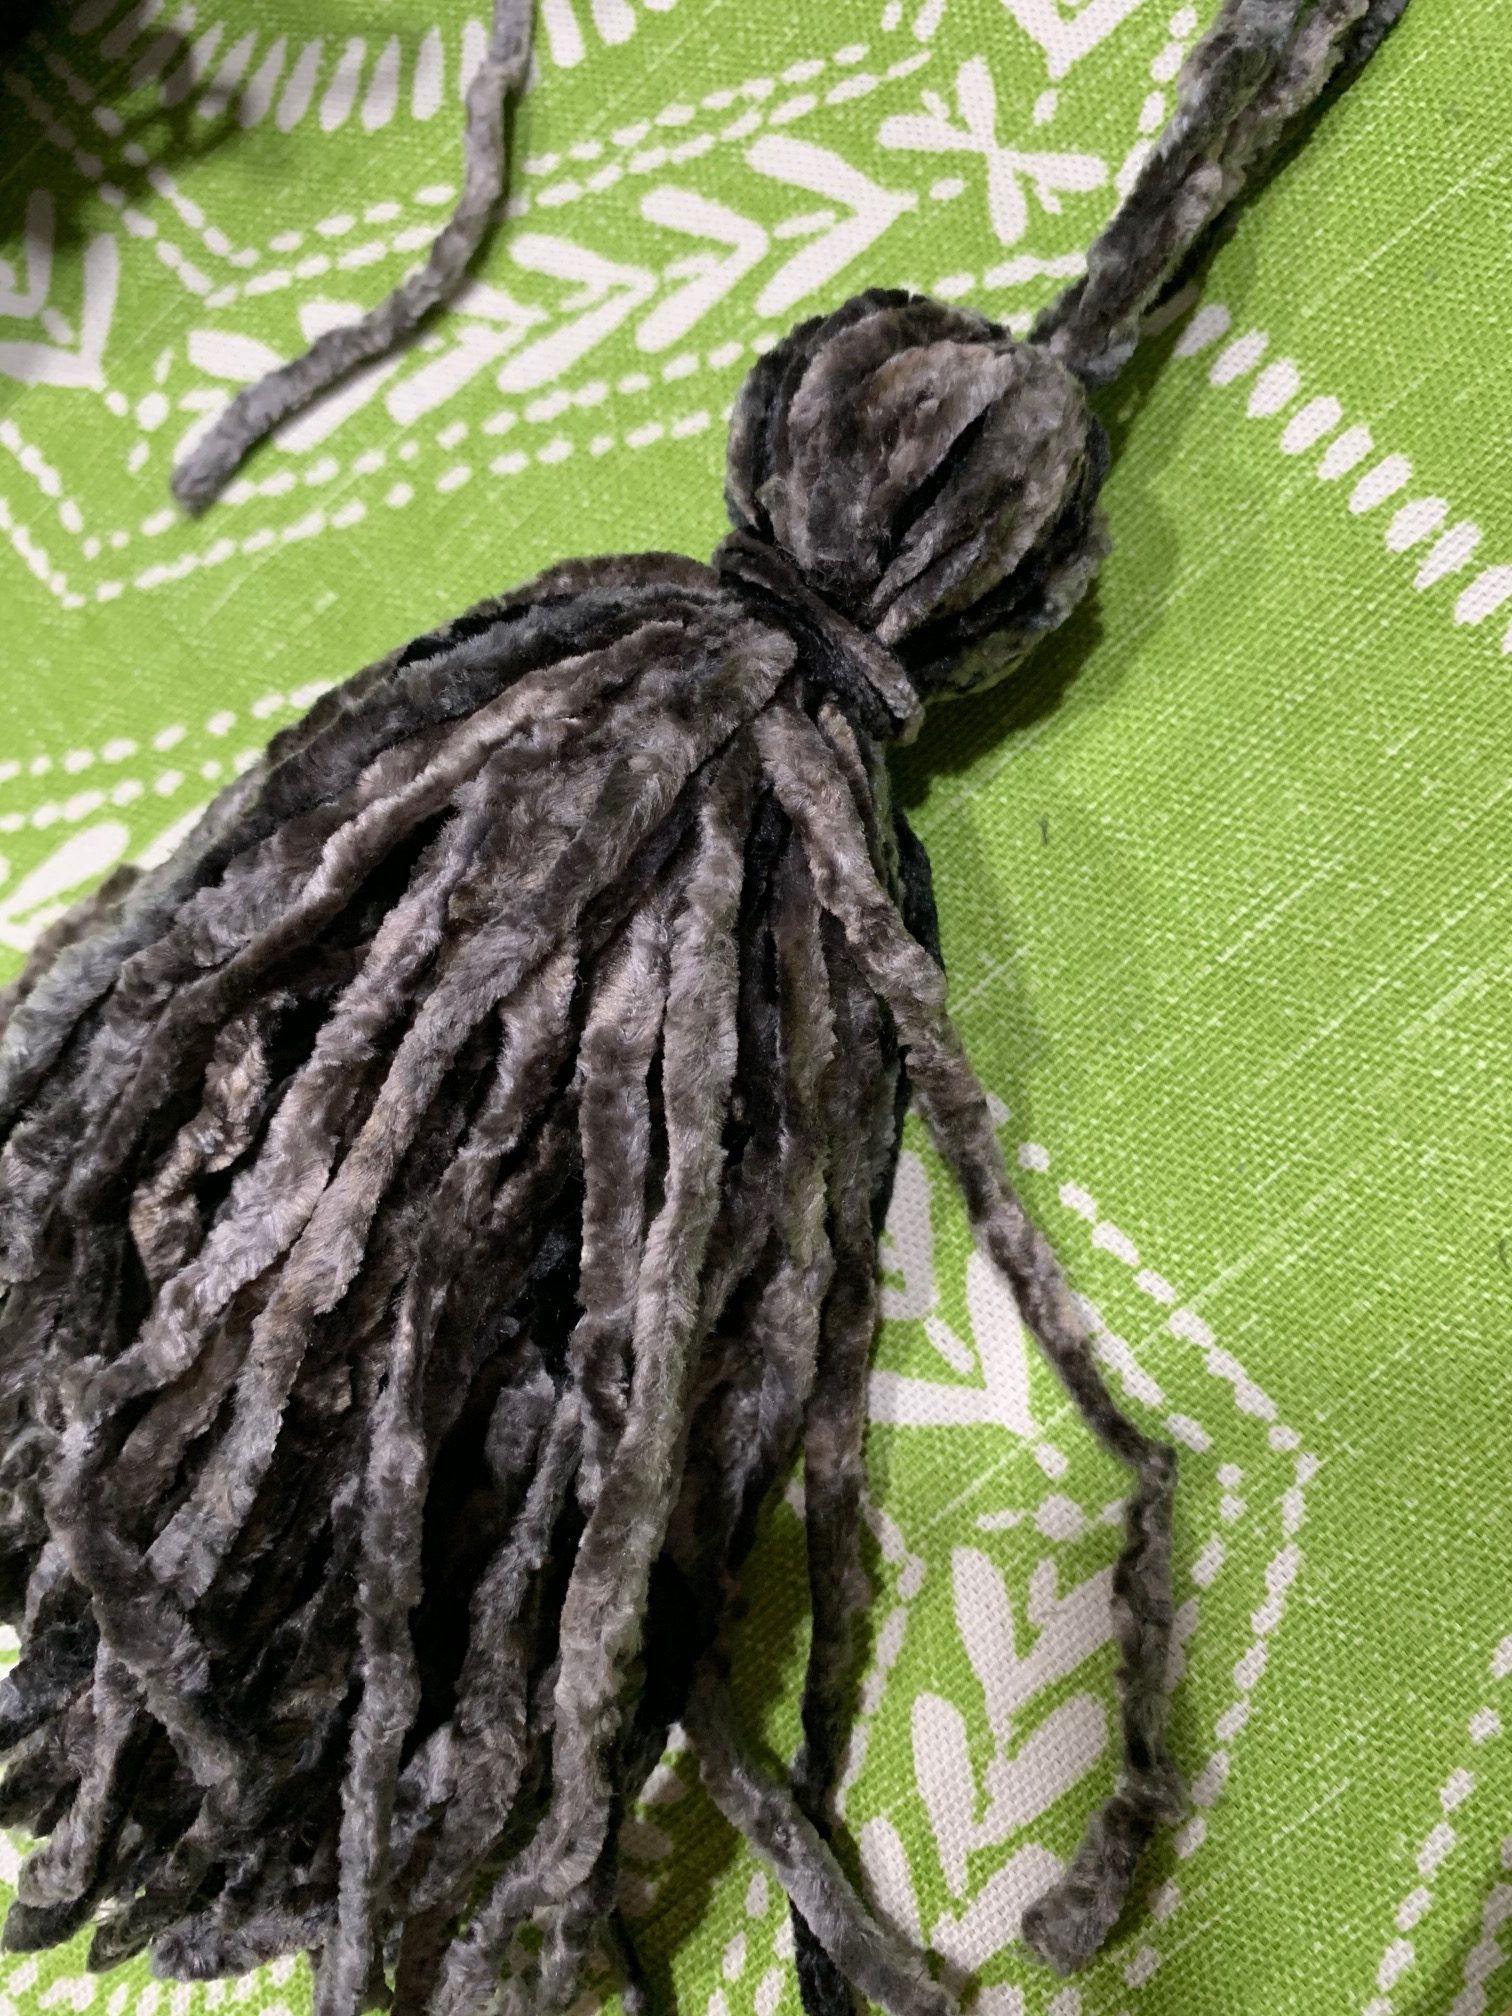
Now that’s a beautiful tassel!
Wrap it at the top, tie it off and your tassel is made. Now do it 10 more times and you are ready to attach them to your blanket.
The blanket I am updating is 60″ x 72″. I attached the tassels to the 60″ sides. I started with the ends, center and then divided the balance so the tassels are a foot apart.

Sewing on the tassel
I just threaded 2 of the strings that I tied at the top of the tassel, pulled them through with my trusty needle, tied them in a strong knot and trimmed.

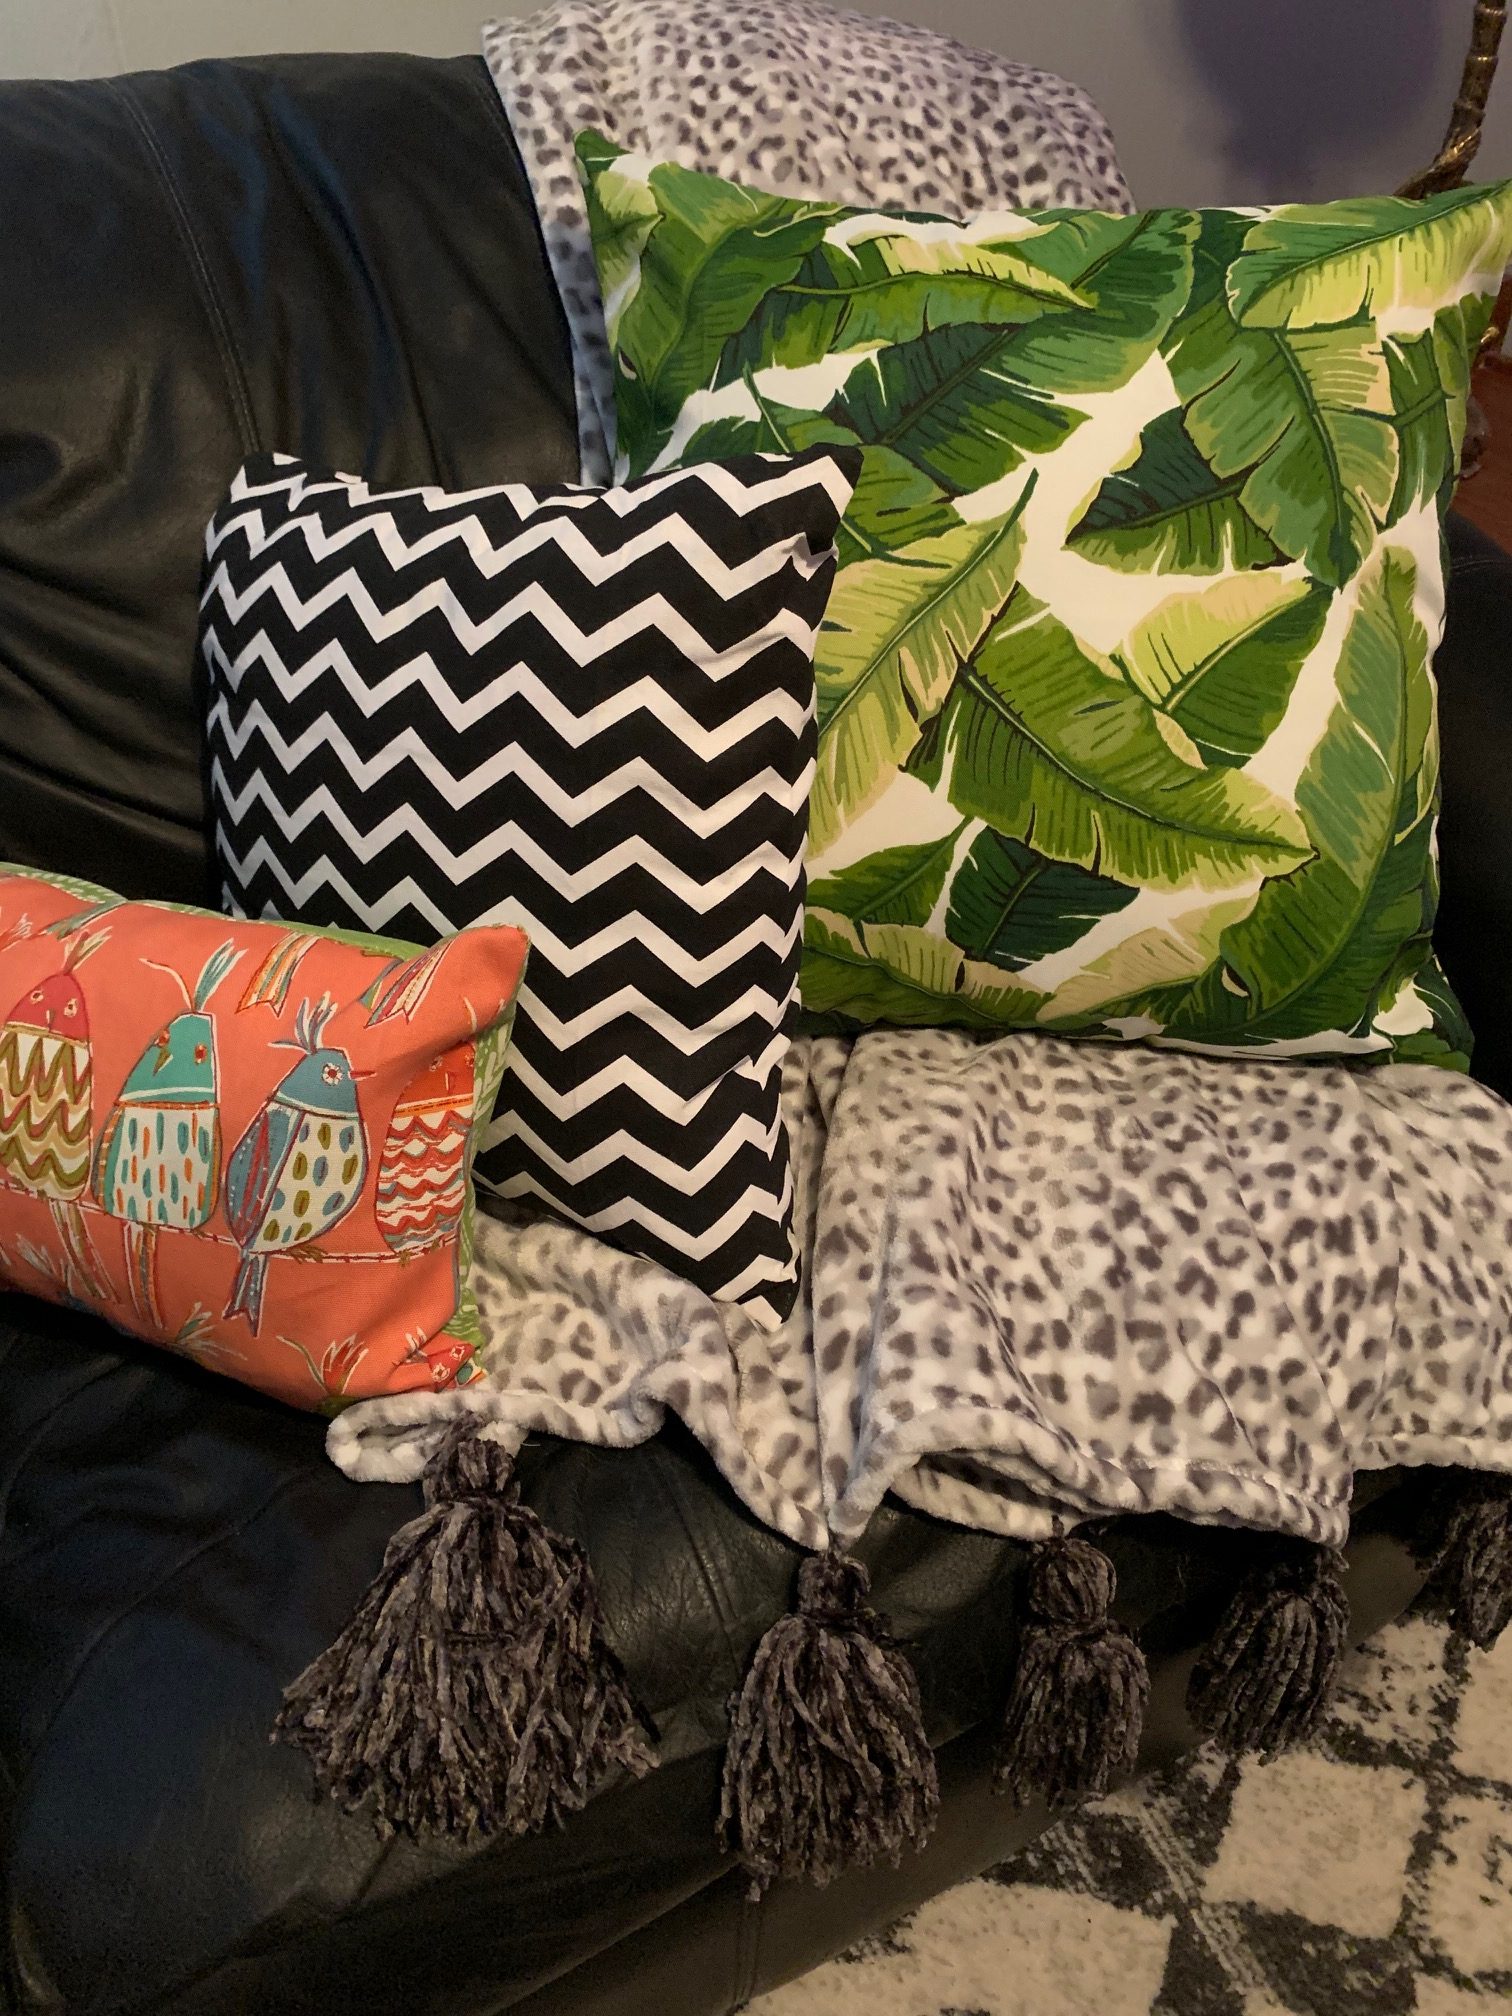
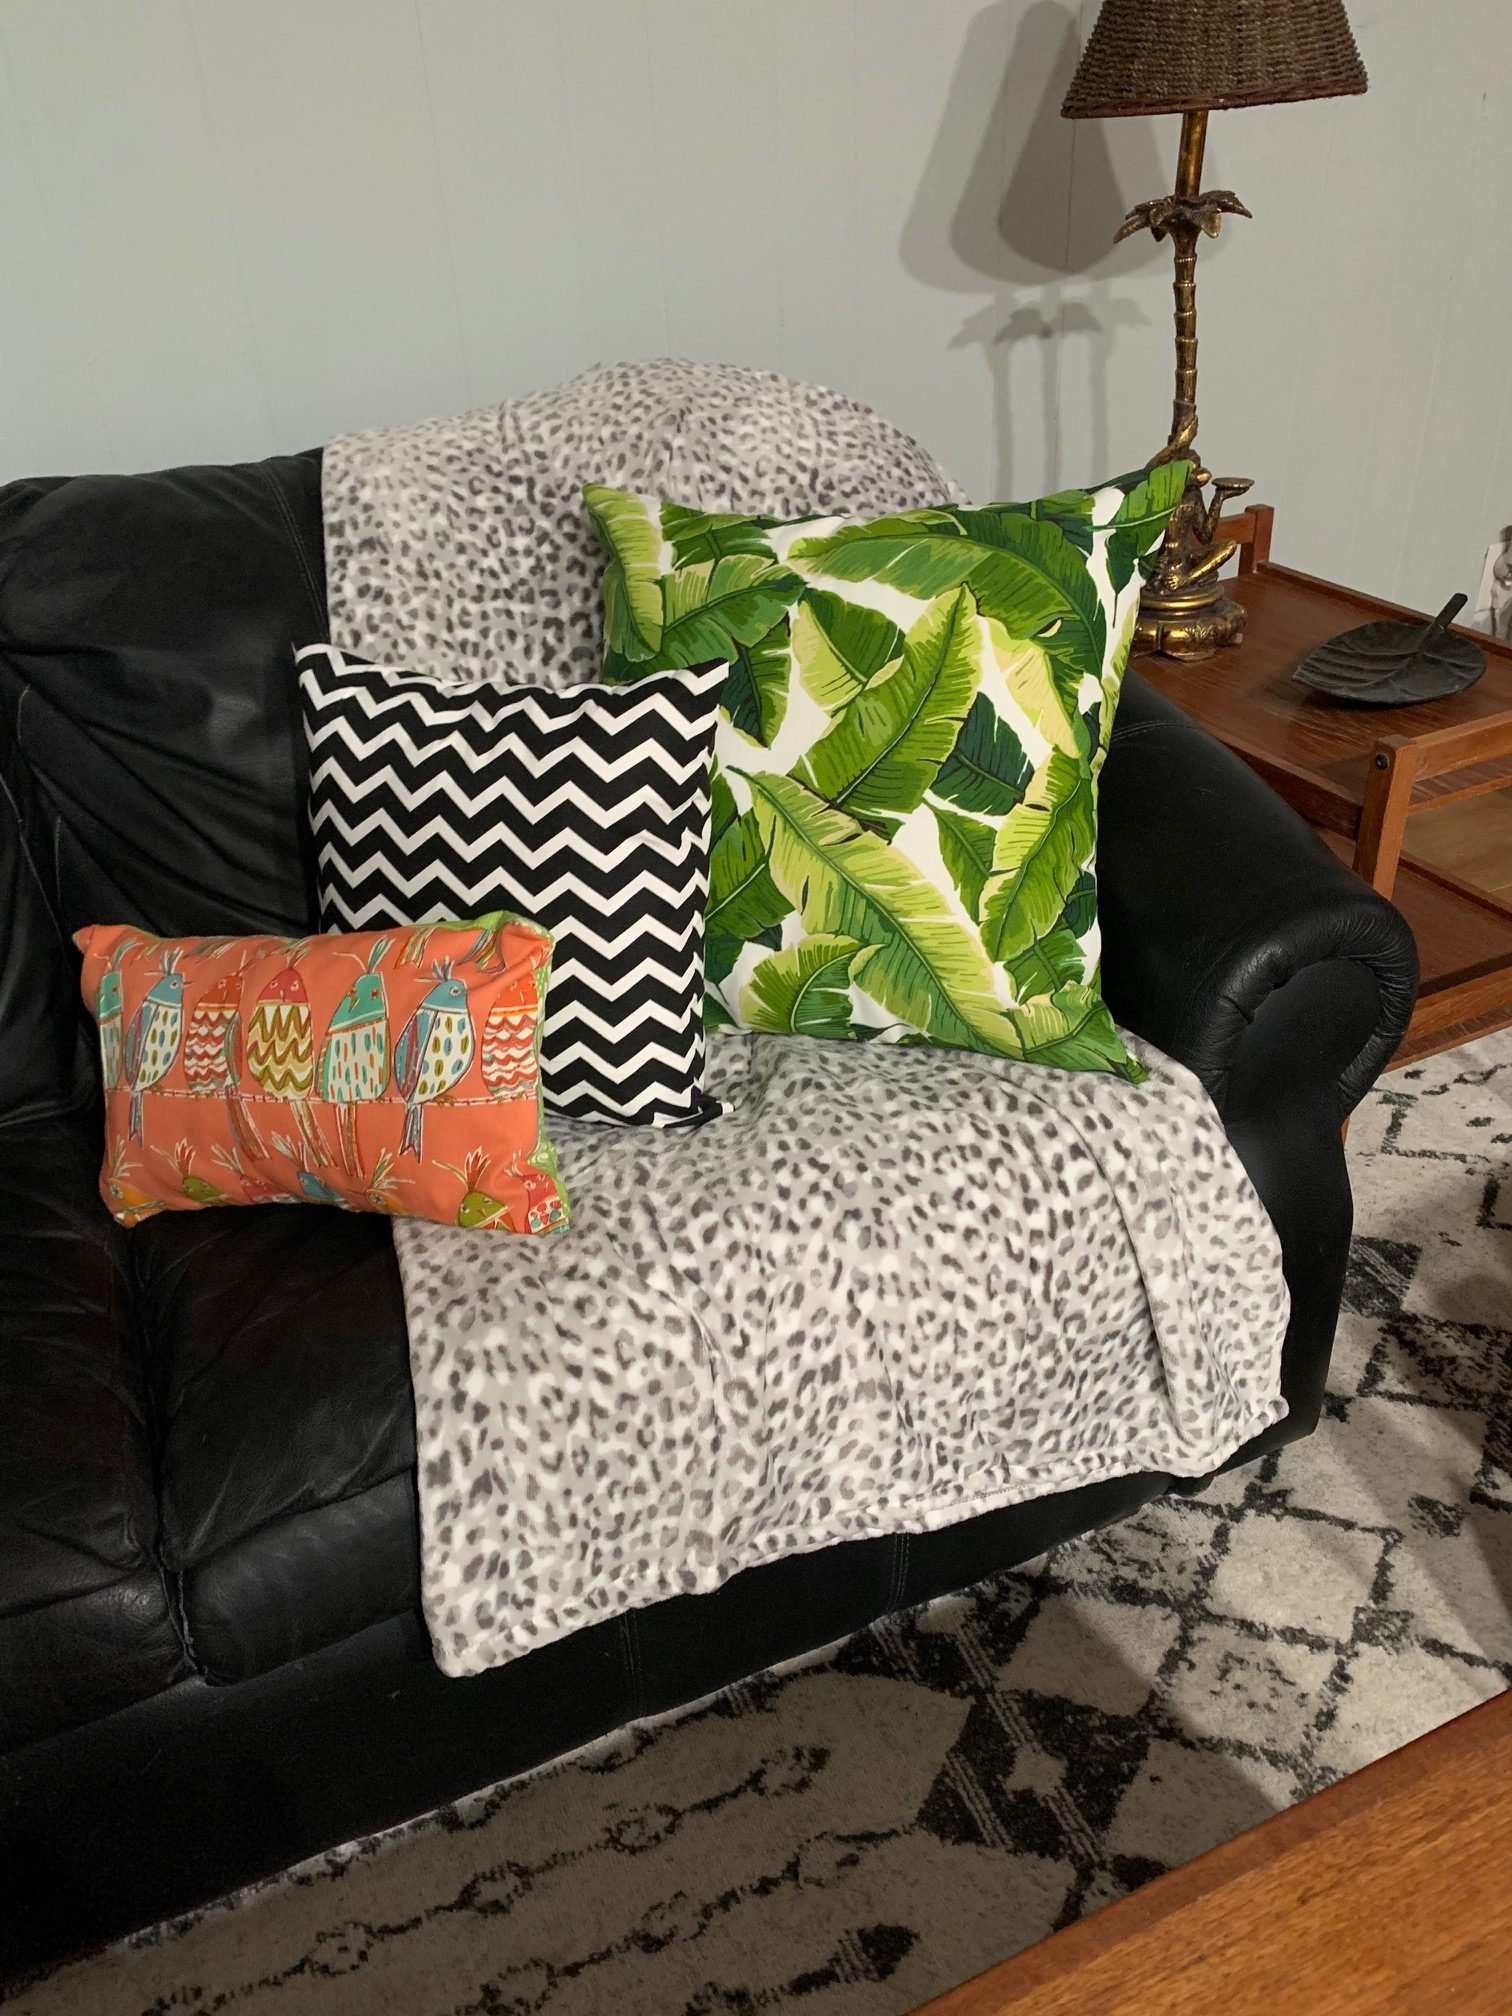
Totally Tasseled!
I’m loving this new look! Pretty easy but, what a difference.

Of course there are pillows!
Second Easy Blanket Update

This just needs a little something!
These are cute as is but I knew they could be better with just a little help.
Fringe Benifits
Time to pull out the huge needle and find some yarn to go with the blankets. I’ve seen where people cut a slit and then put the yarn through the hole. Instead I used the needle and it worked great.

Fringe beginnings!
First cut 4-9 inch lengths.

Threading the needle
Fold all 4 lengths of yarn in half and put the 4 folded ends into the eye of the needle. This is actually very easy.

Let’s fringe it up!
Now, while holding onto the loops, pull the loose ends through.

Hold onto the loops!
Last step is to pull all the 8 loose ends through the 4 loops and pull tight. I did it every 2 inches and it gave me a nice fringe on the bottom of my blanket. Be sure to cut any overly long pieces. I liked it to look kinda fringy so mine do not have a perfect edge.

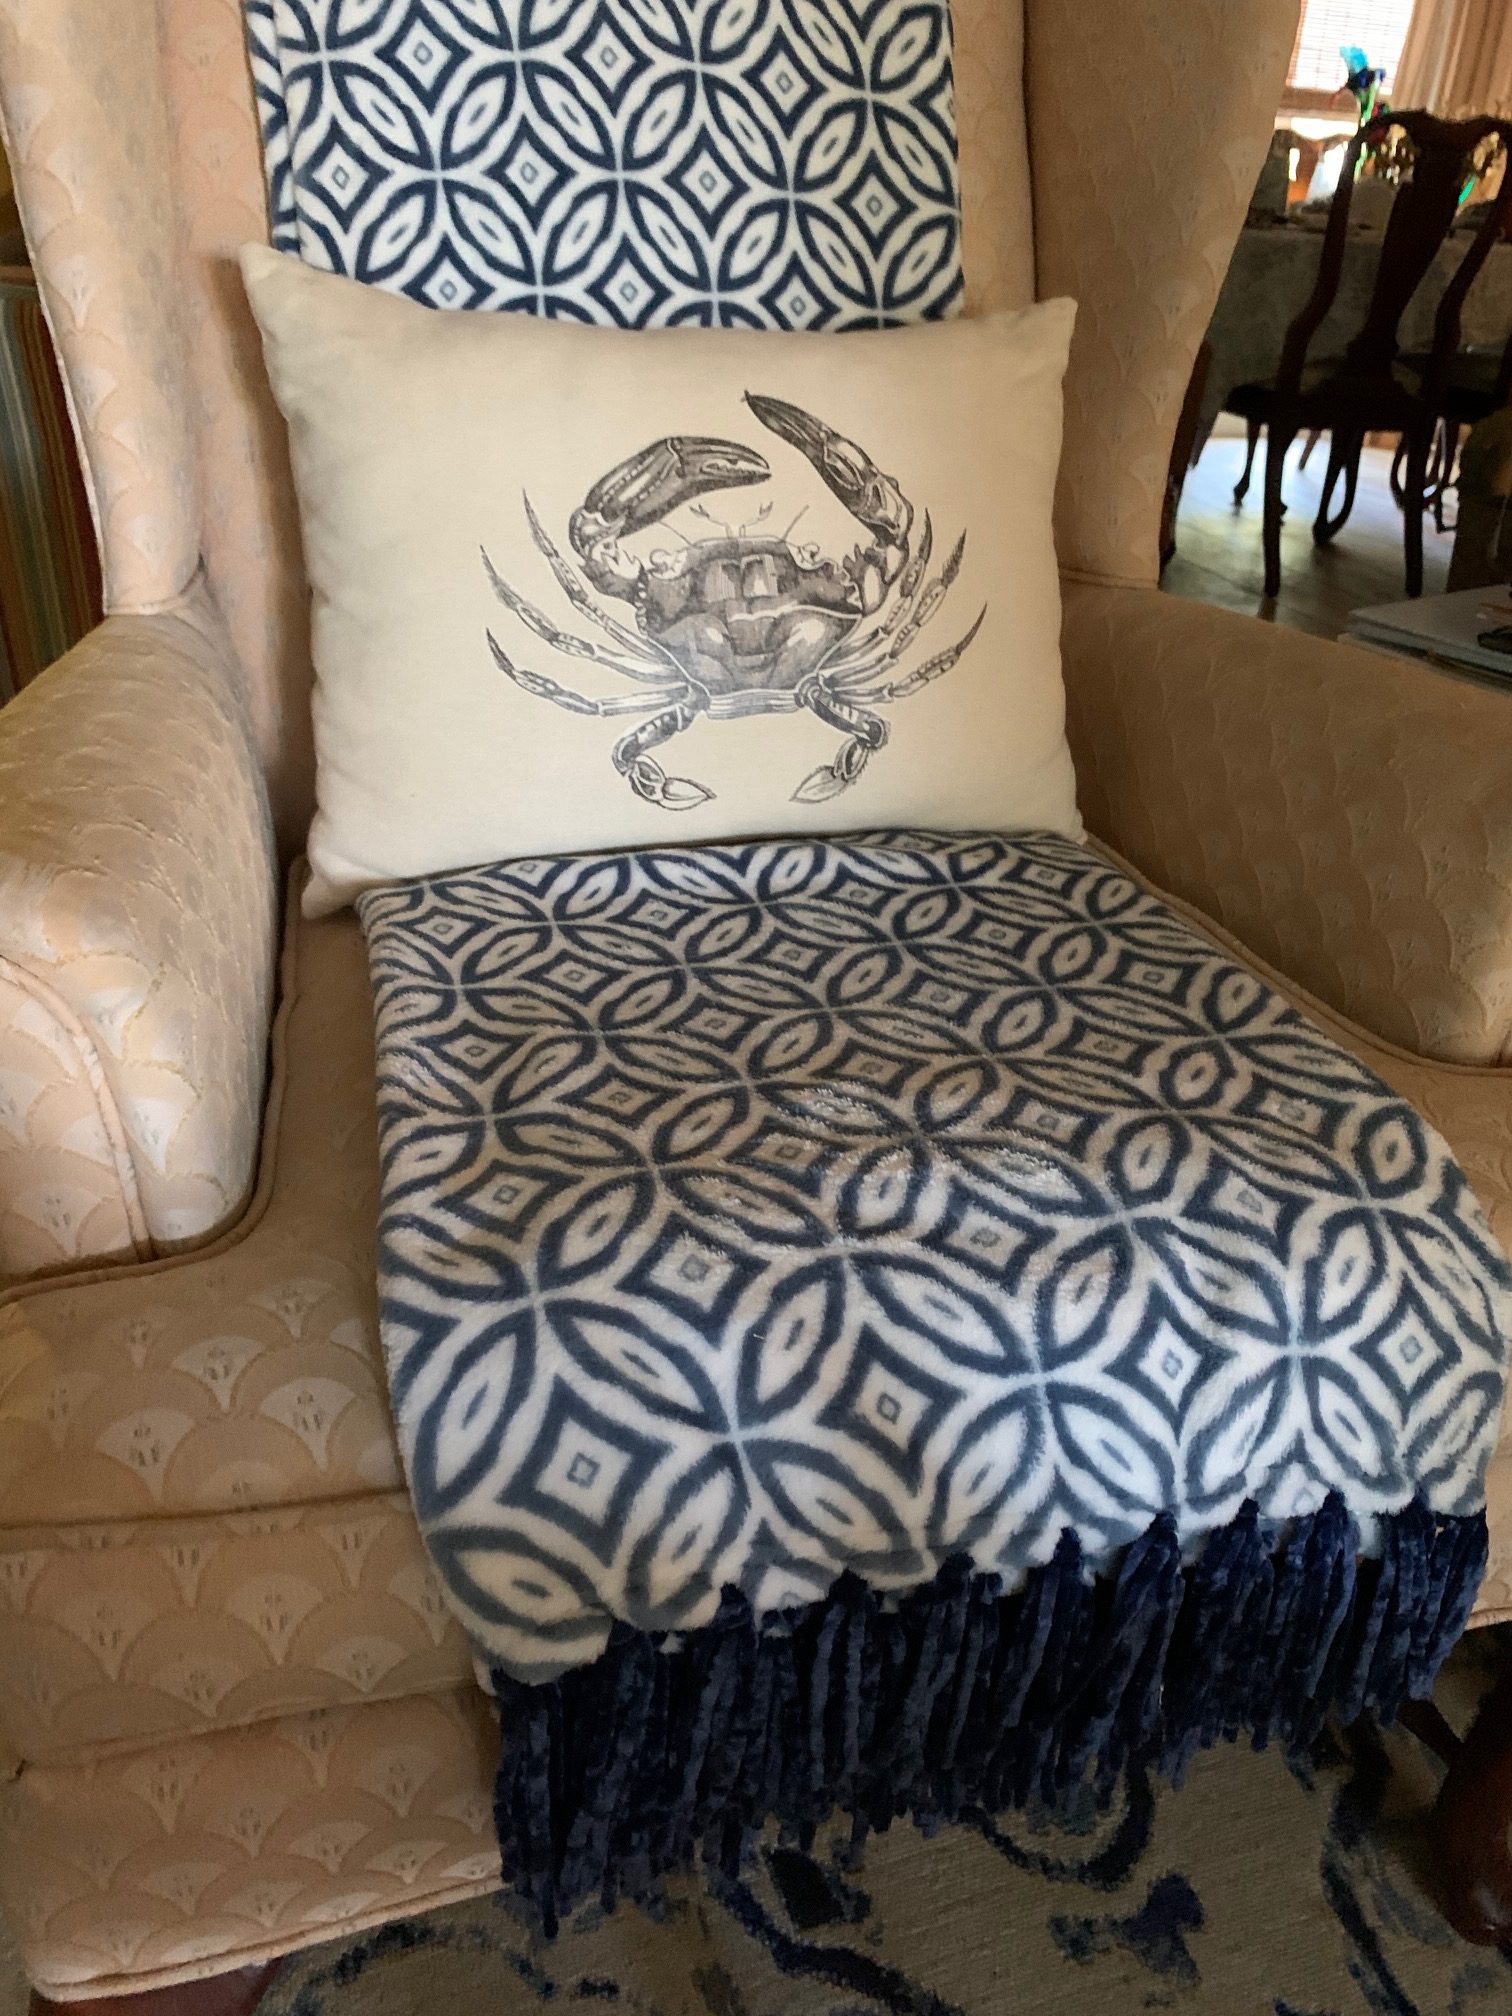
Looks so much more finished!
You can see, it gives you a nice thick fringe. It added exactly what I was looking for. Two easy updates that brought my fleece blankets from ordinary to lovely.
Thank you for taking the time to visit. I hope you are inspired to try this out on one of your blankets.
Wishing you health, happiness and lots of Sunny Days!


Leave a Reply