

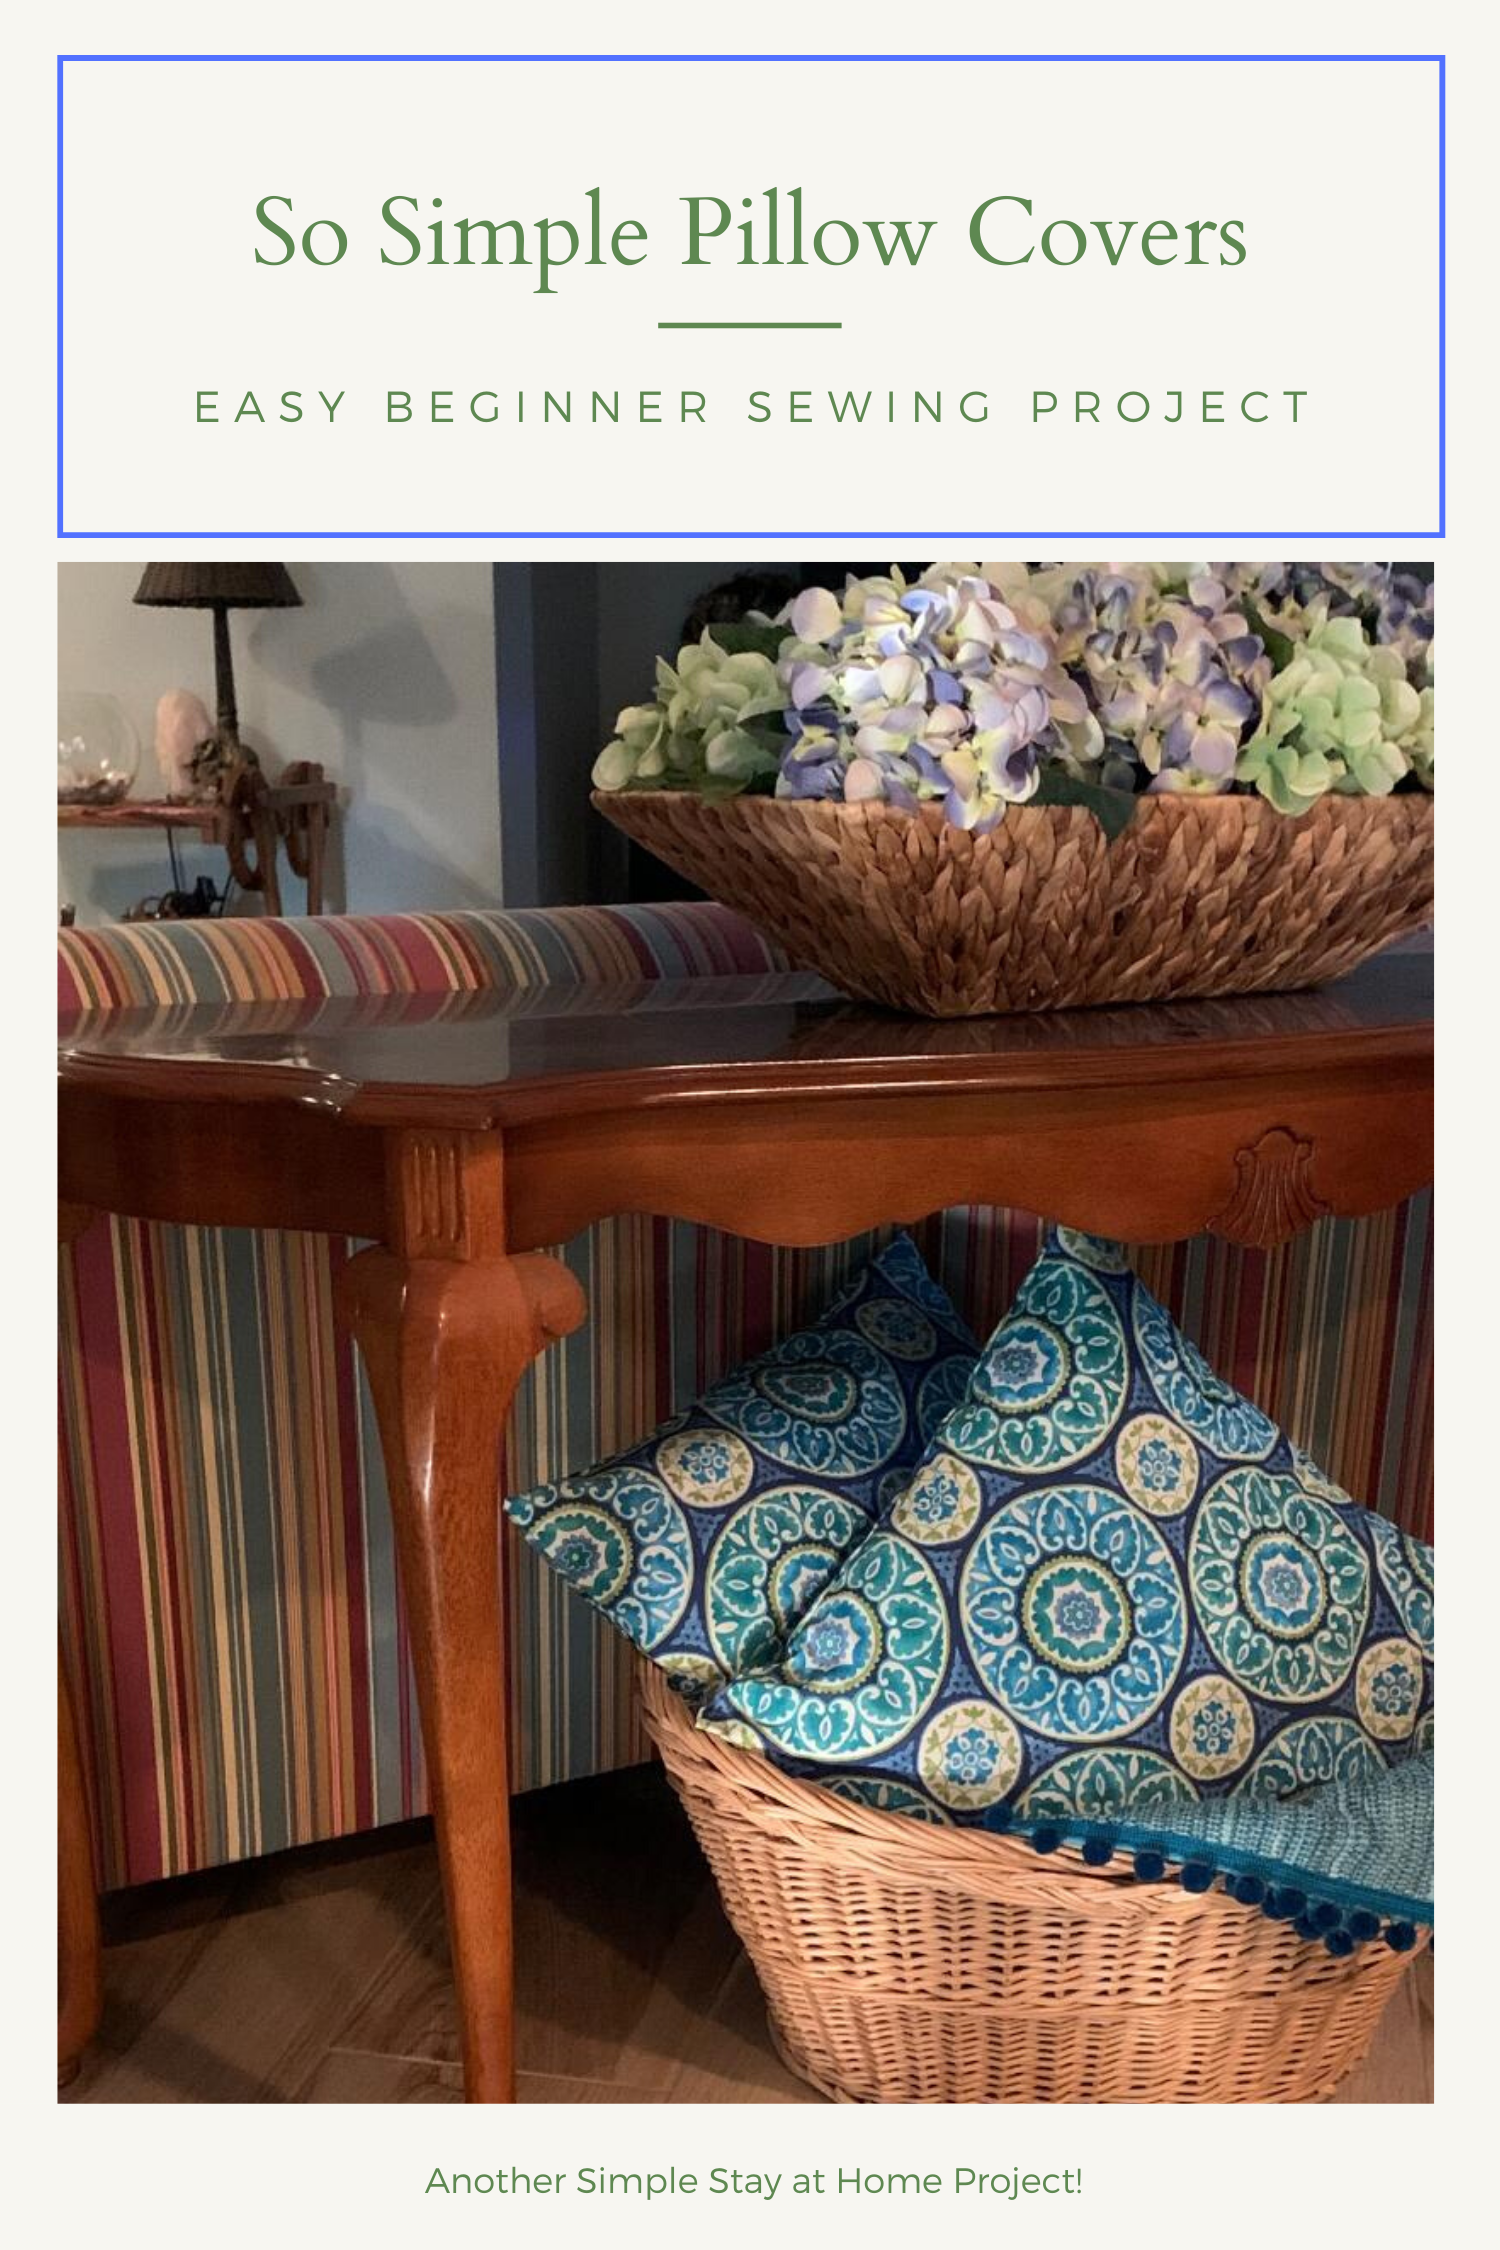

Easy Update for Old Pillows!
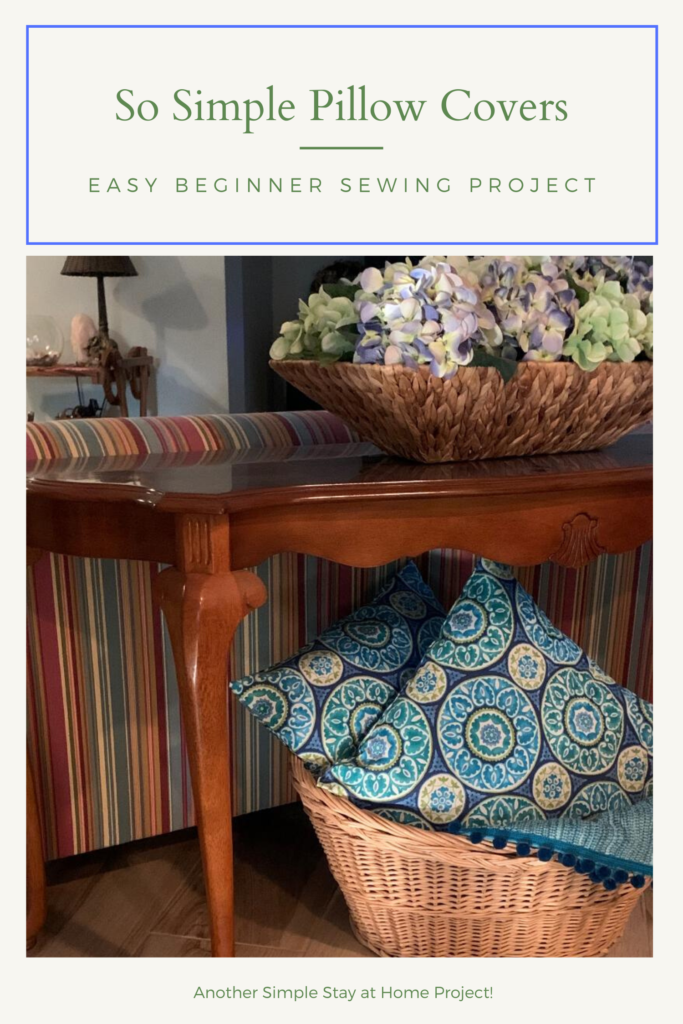
Just need a Splash of Color!
A perfect sewing project for beginners and a way to update those tired old pillows. I’ll bet you’re noticing them even more now that you’re spending so much time at home. I don’t know about you, but I have more than my share of pillows and I wanted an update without breaking the bank or adding to my already large collection!
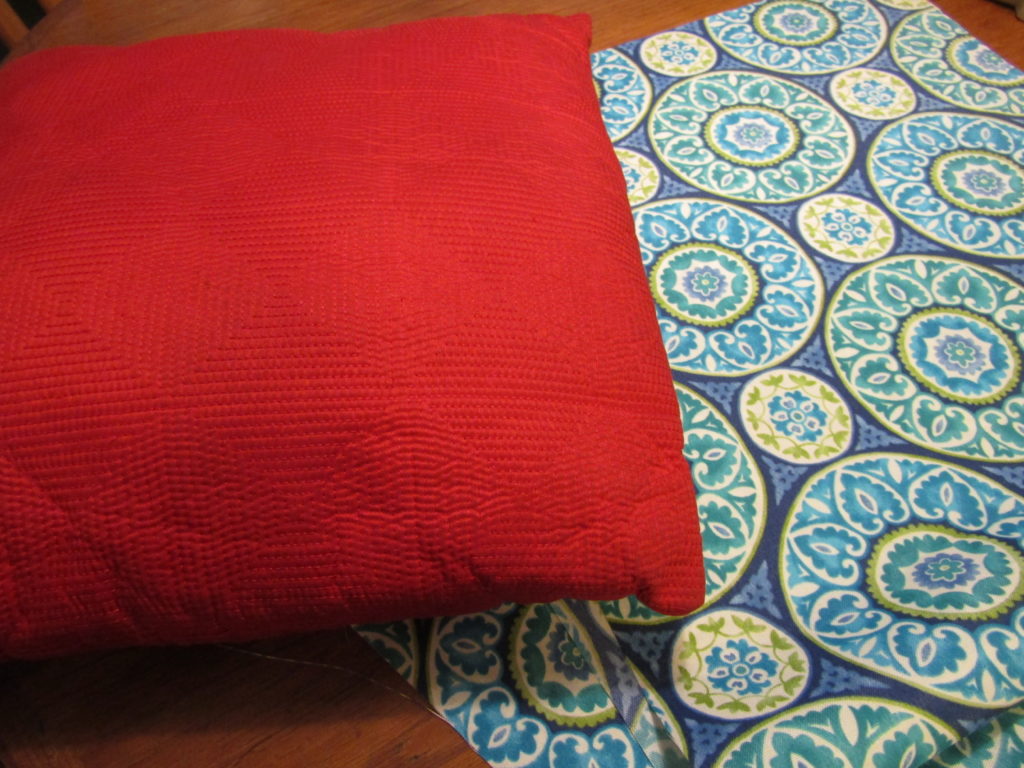
No More Red!
Measure twice, cut once!
Our dogs love pillows so the first thing I did was wash and dry my tired old pillows. Next, measure the pillows you’re covering. Mine were square and 21 inches. Double this measurement, 42 and add 1 inch to the sides and 2 inches to the length, so your fabric cut will be, 22 inches across x 44 inches in length. That is allowing a 1/2 inch seam on each side and 1 inch seams on the bottom. There are only 3 seams on this simple pillow cover so it goes together quickly.
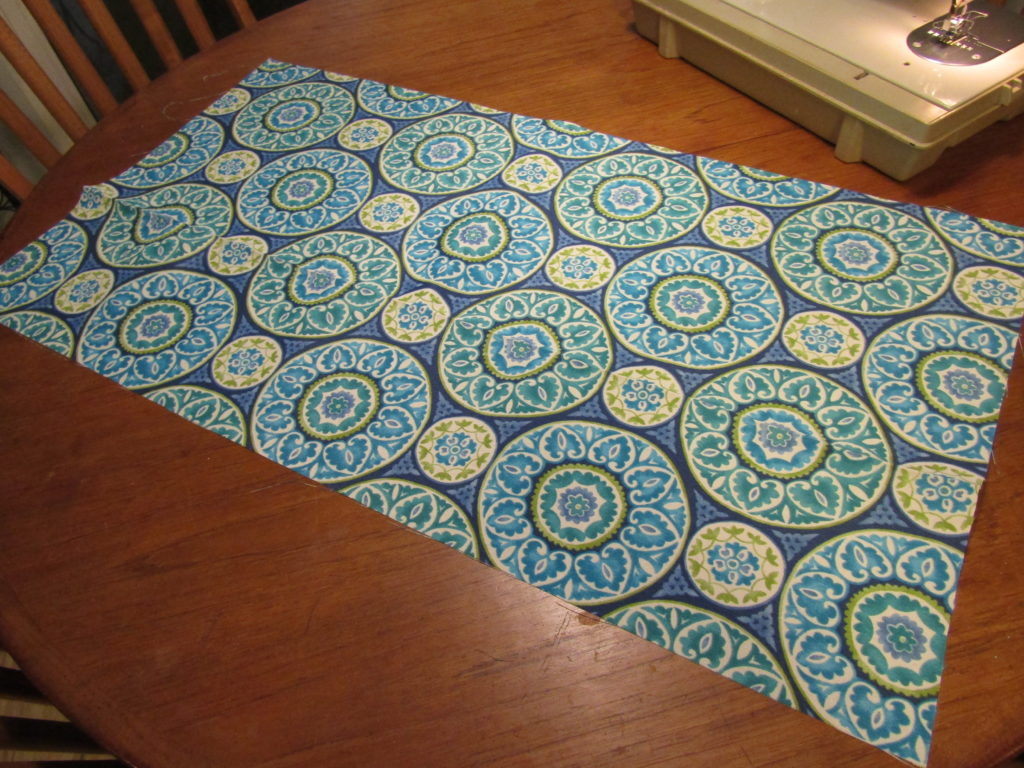
Add 1 inch to the width and 2 inches to the length.
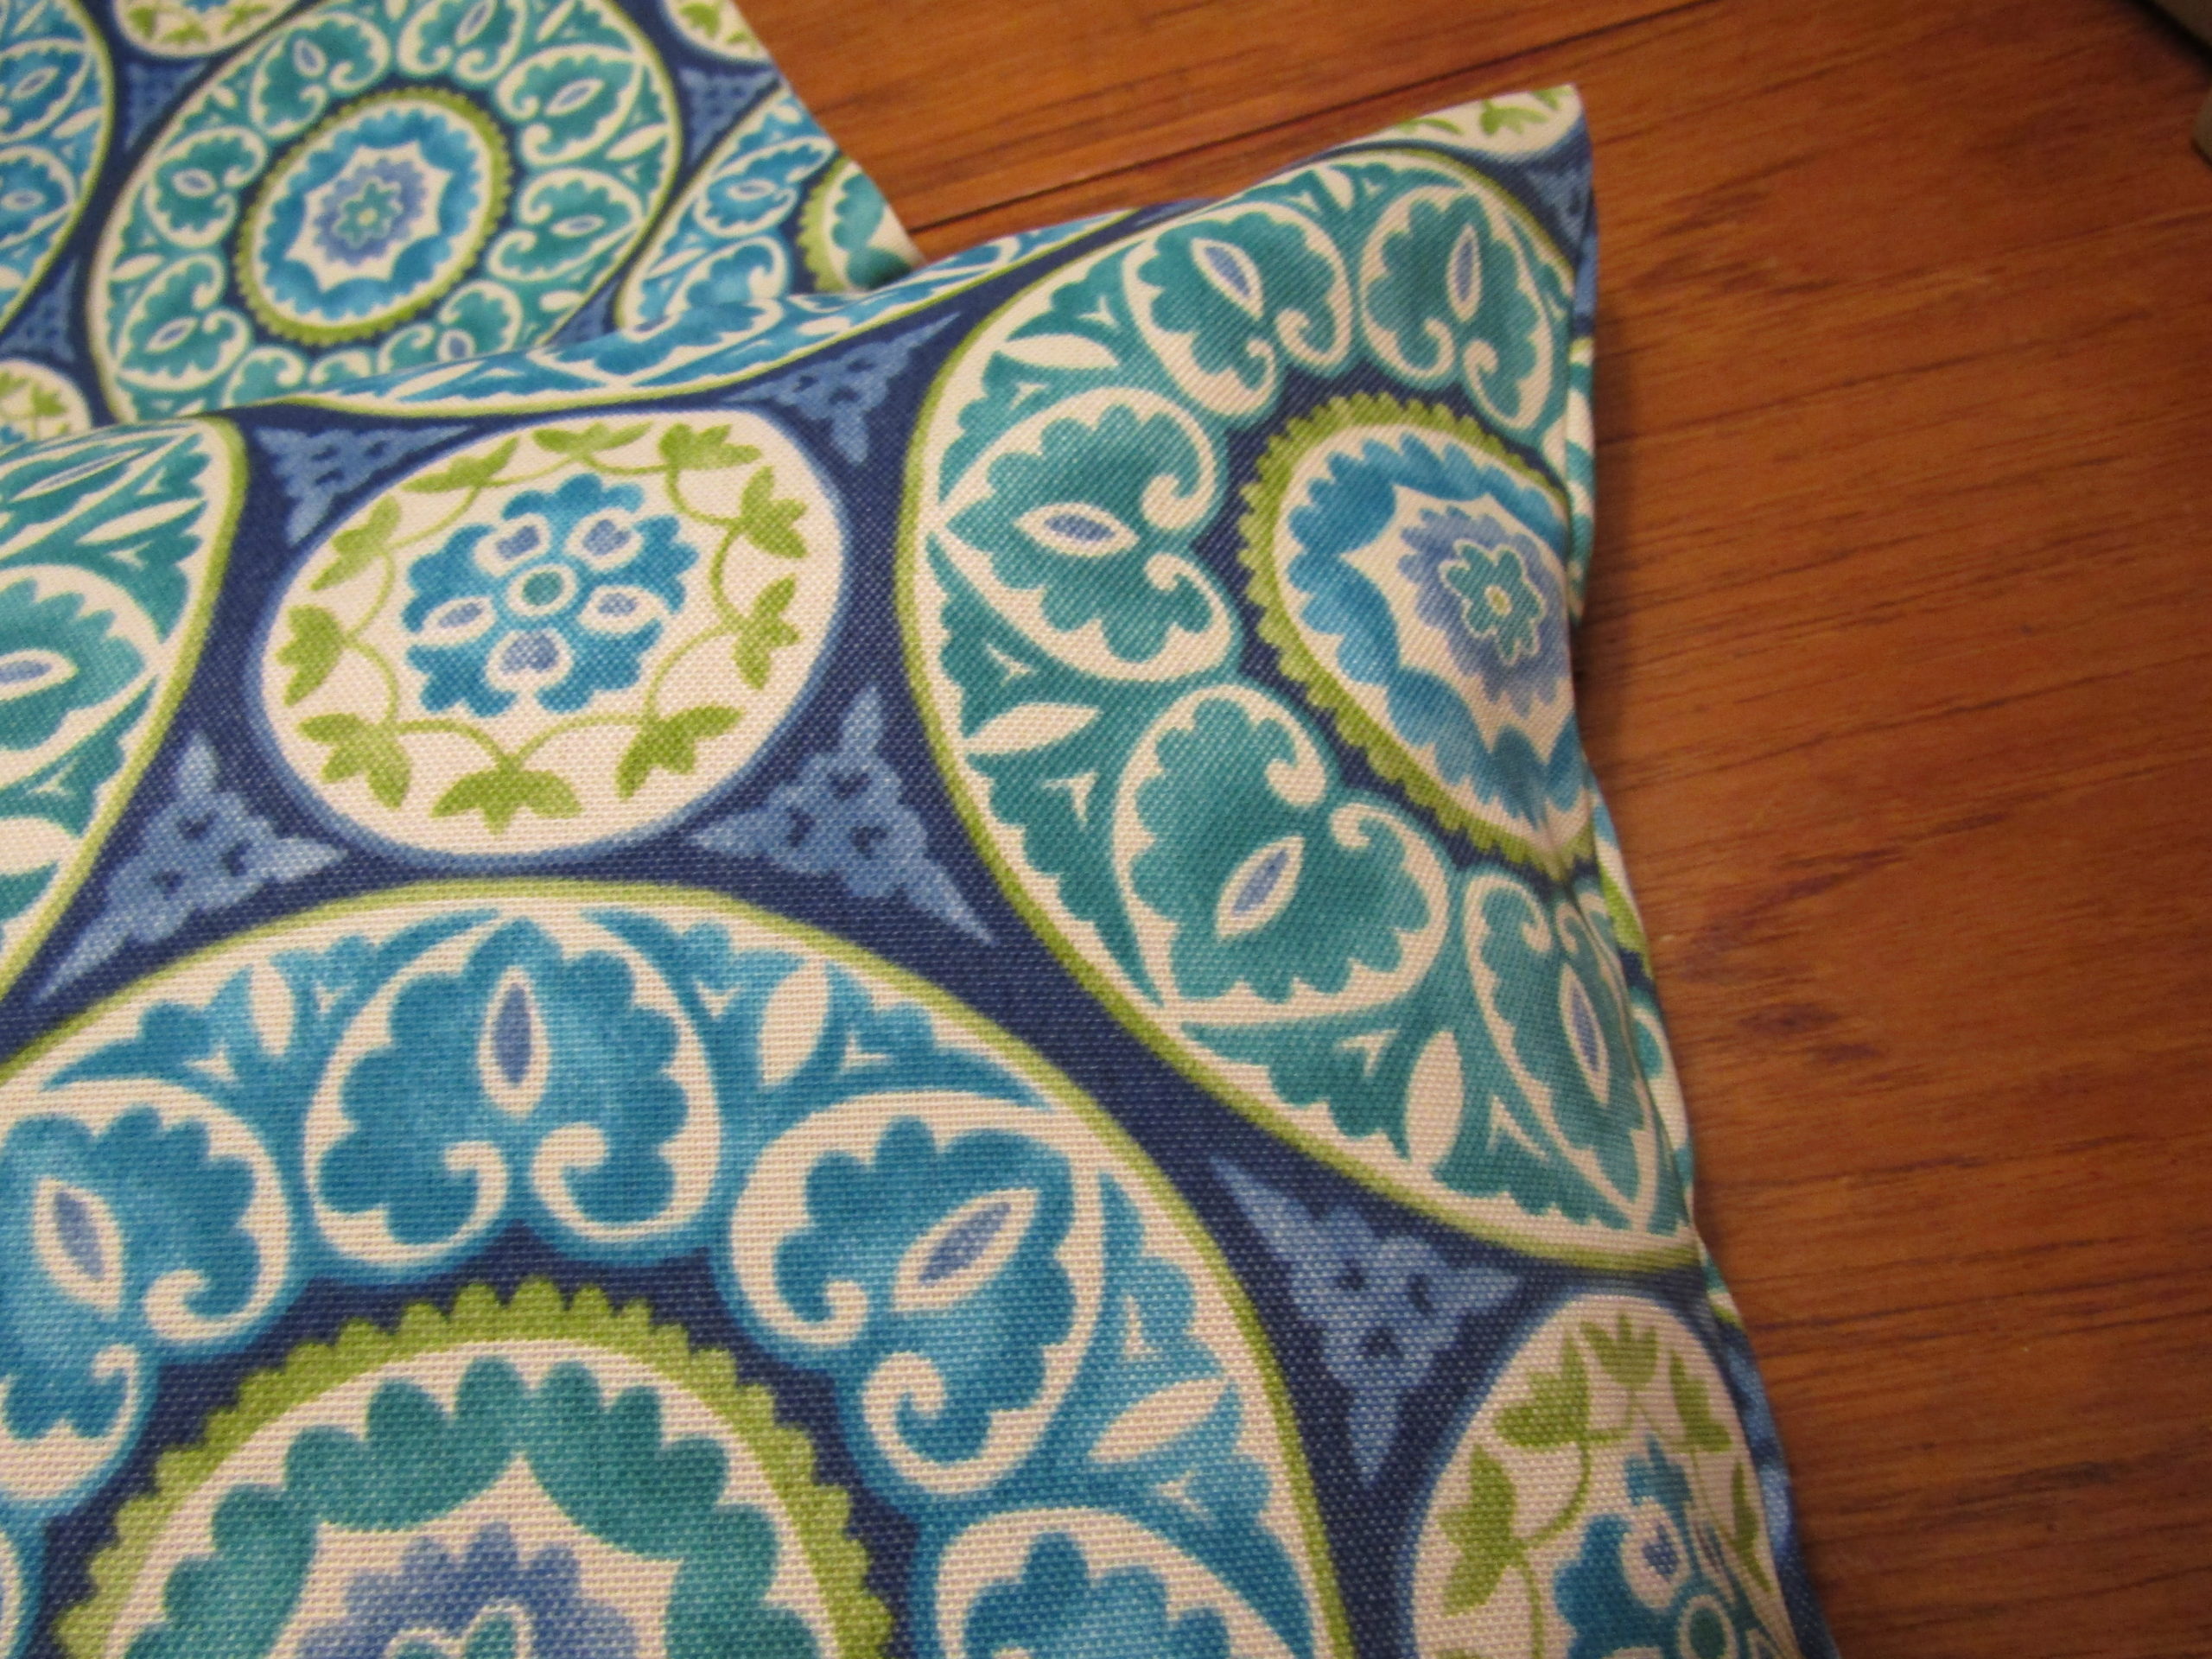
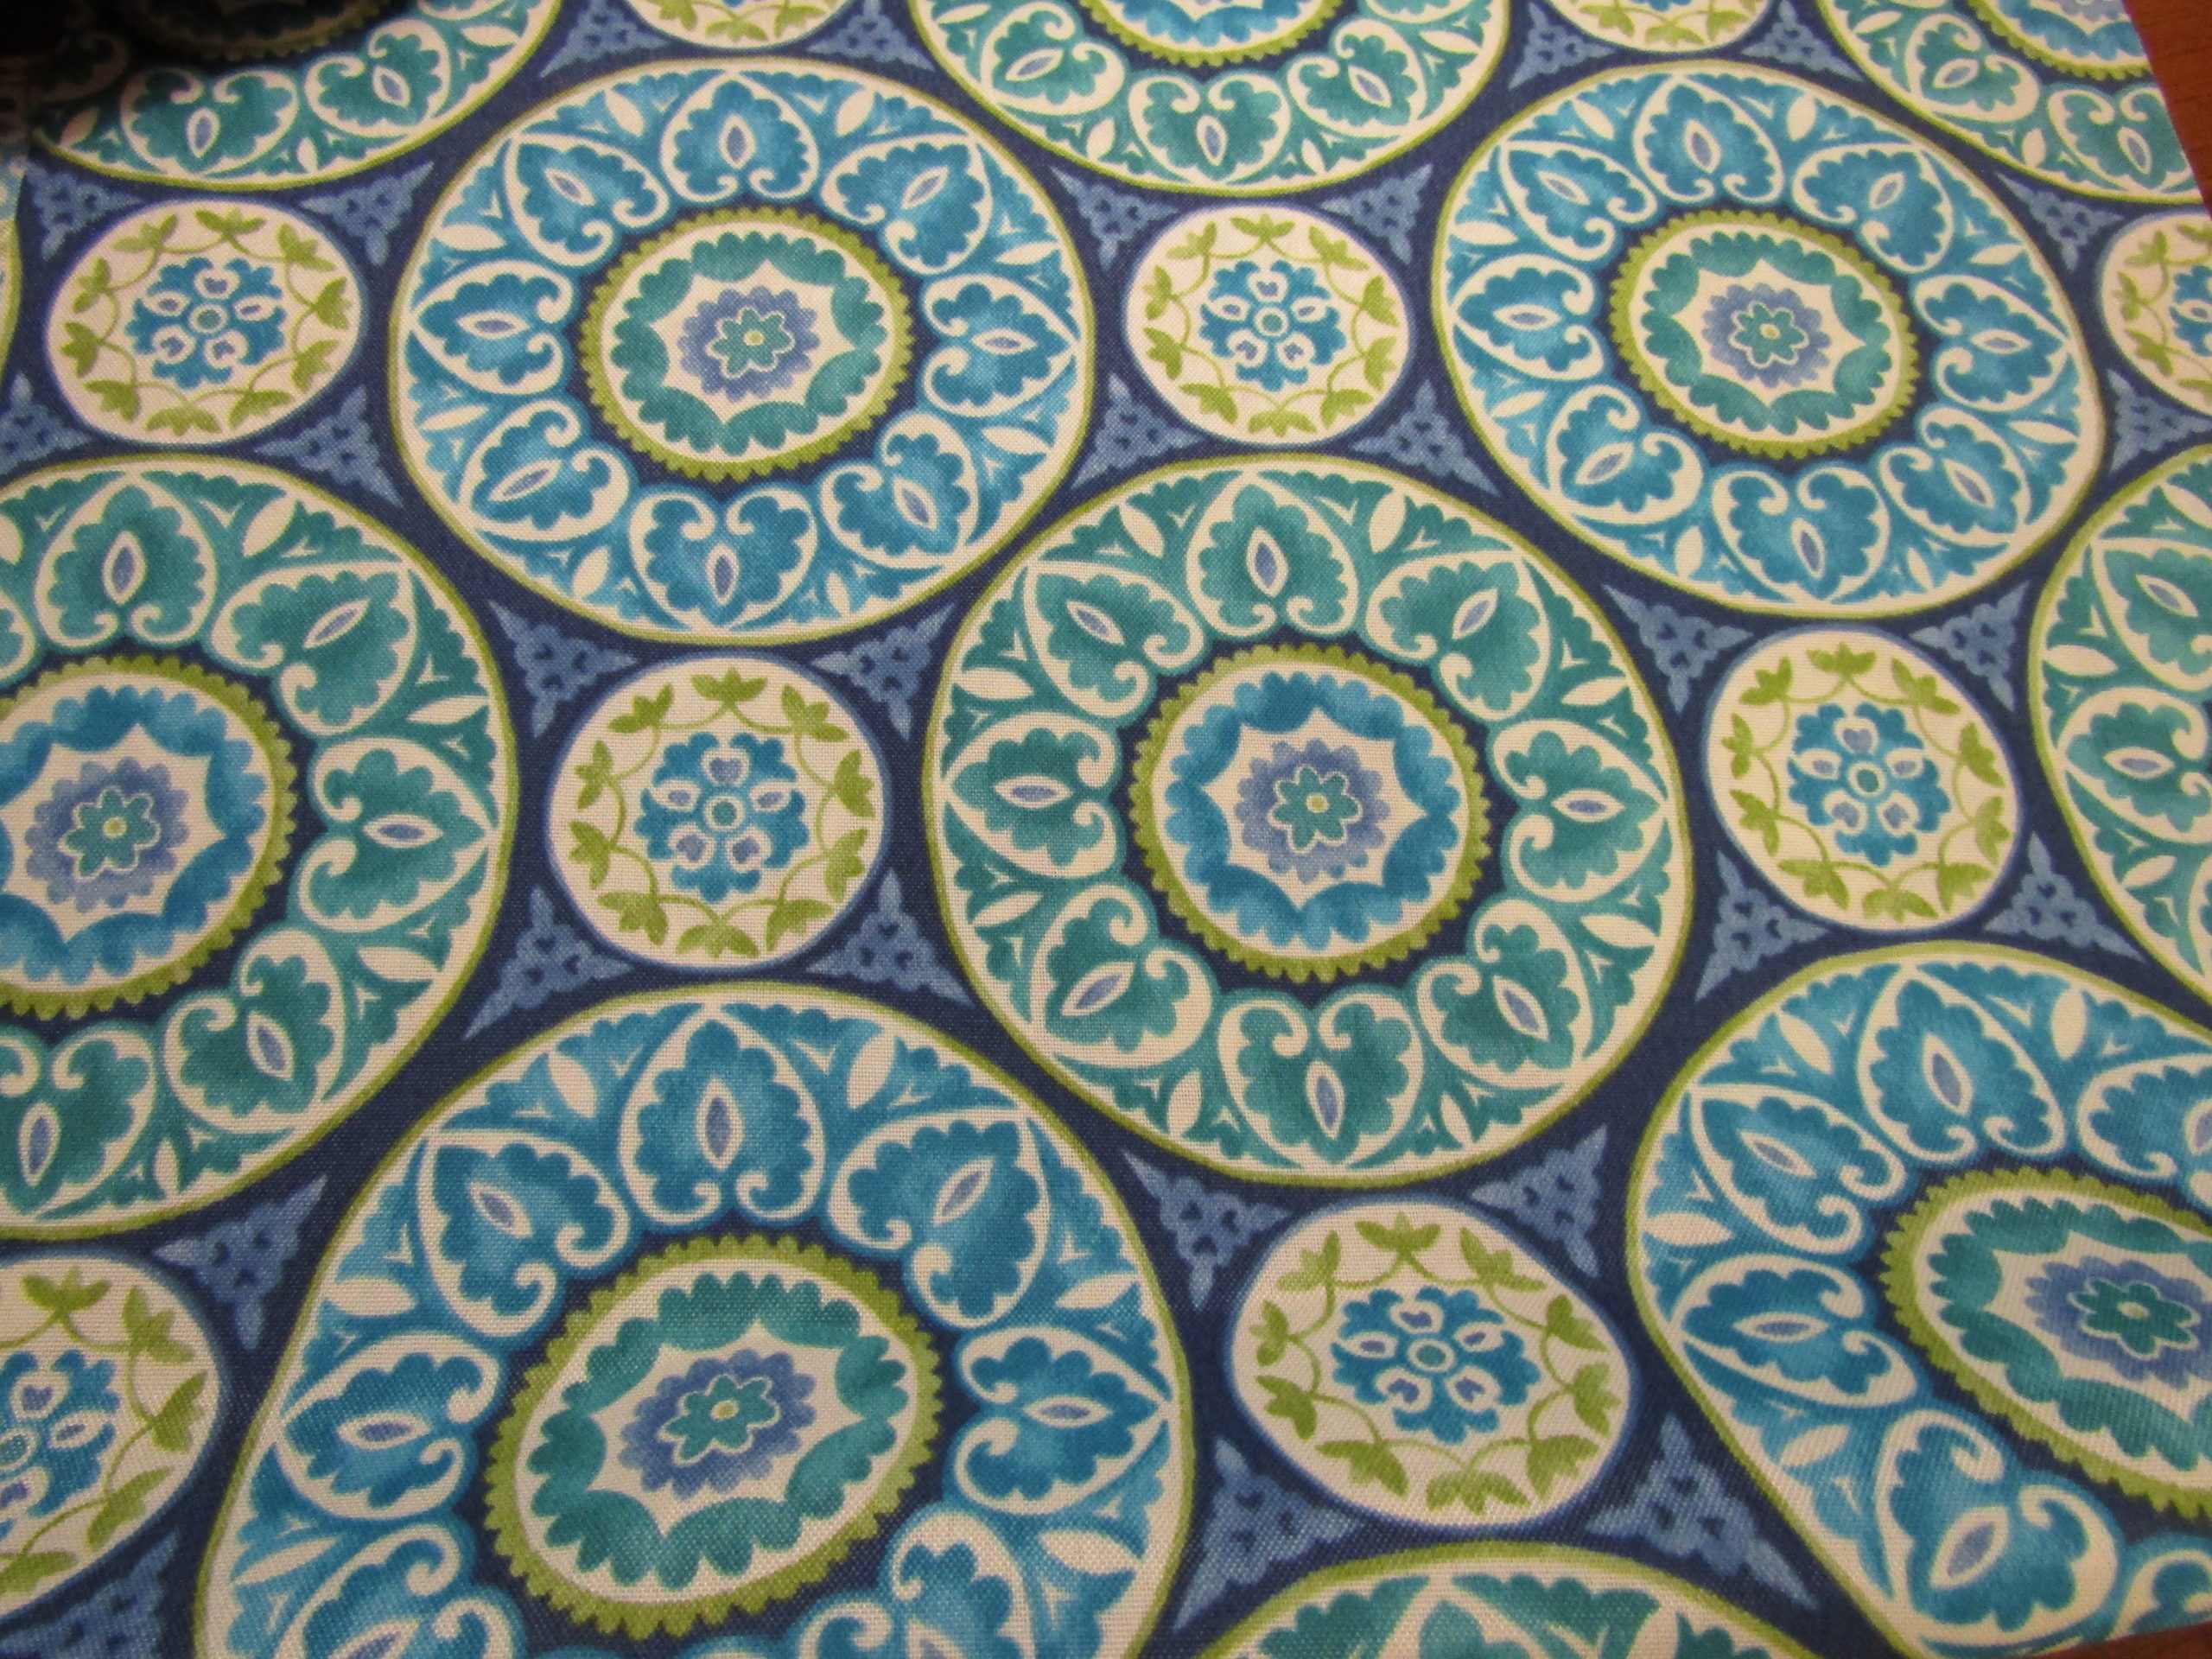
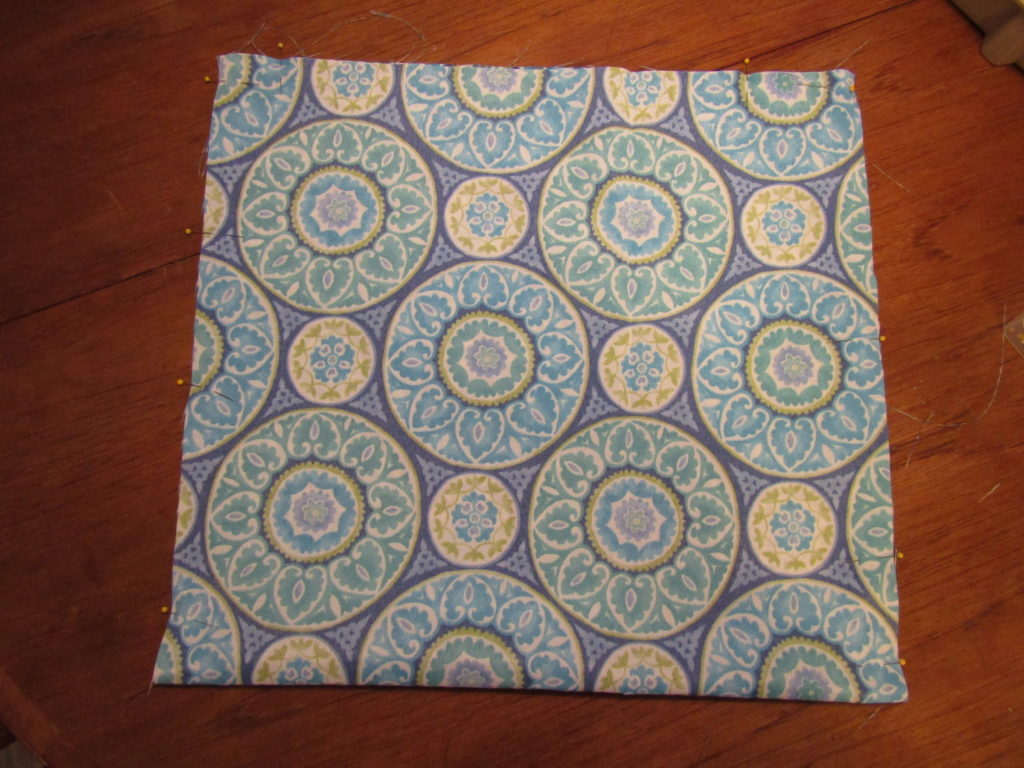
This is a no frills pillow. No trim, no zipper, just some cute fun fabric for a pop of color! Don’t you just love this fabric! It is indoor outdoor fabric that I found at Walmart. Really! I think it was just over $5.00 a yard. Deal!
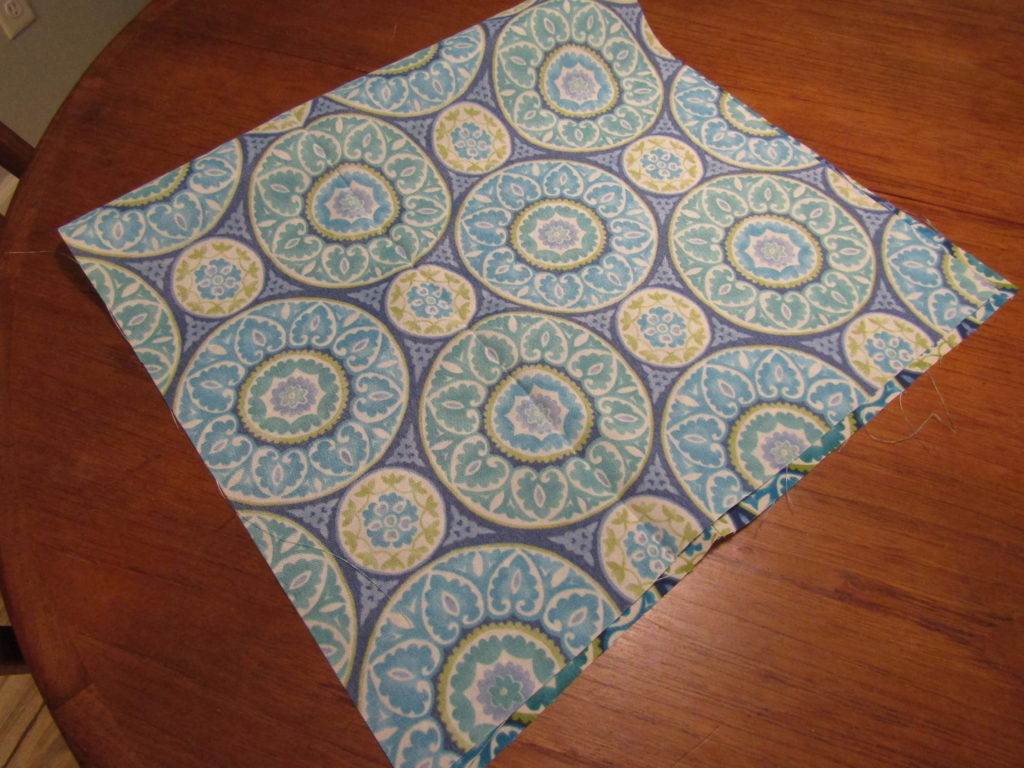
The good sides go together.
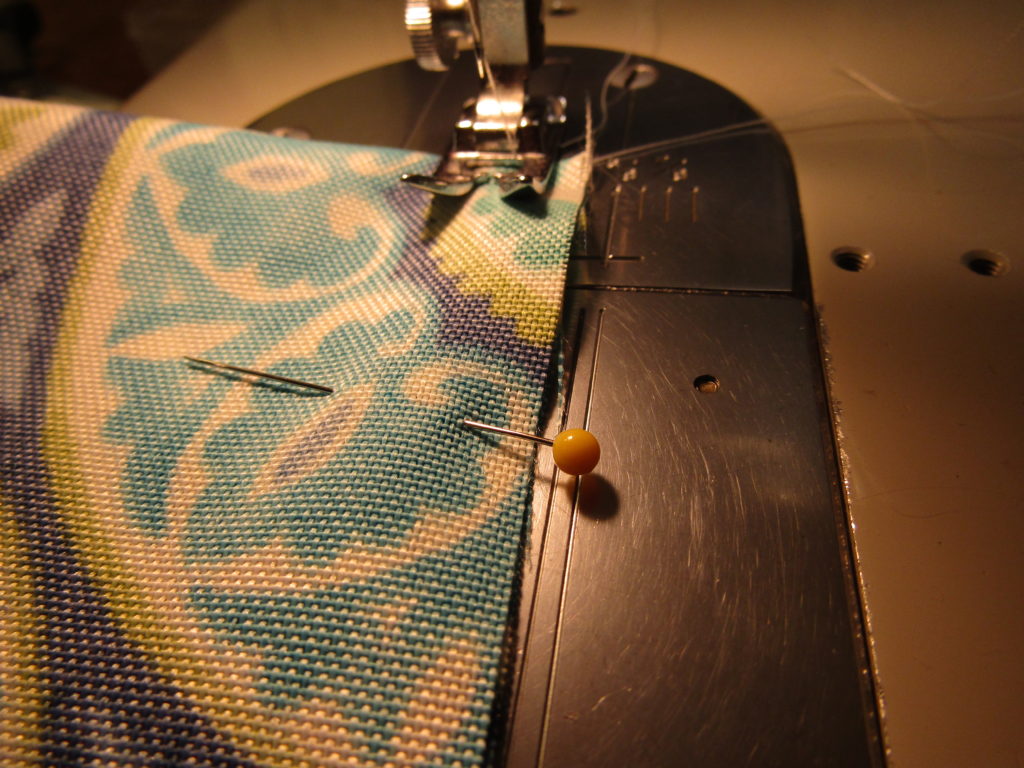
Fold your fabric, right sides together and start to pin. Make sure your seams are straight!
Keep it lined up with pins!
Most machines will stitch right over the pins!
Keep in mind, we are doing a half inch seam on the sides and a one inch seam on the bottom. The larger seam on the bottom will make it easier to work with when you are sewing the opening together. Now, I am assuming you have access to a sewing machine, but if you don’t this would also be an easy project to do by hand. It will just take a little longer, but you can still get great results.
The magic is about to begin!
Start your first seam at the fold, which will be the top of your pillow when done. Remember, this easy pillow only has 3 seams. Check that you are on the half inch mark on your machine and stitch this seam, stopping one inch from the bottom. Turn the corner but only stitch 1-2 inches in then back stitch a couple of times to strengthen the seam.You’re leaving an opening for your pillow and you want to make sure it is large enough to insert your pillow. Do the same on the other side.
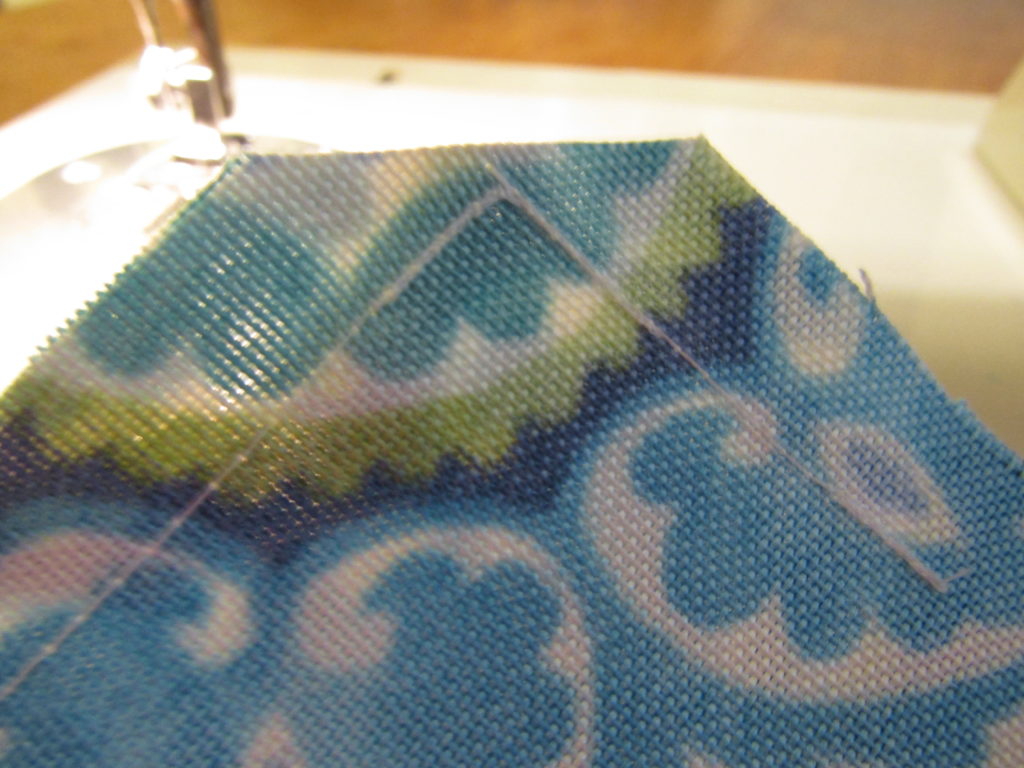
This will make a difference on your corners!
Carefully cut the extra fabric on the corners, you want a nice corner, but you do not want to cut into your seam.
Almost Done!
Ugly pillow about to be transformed!
Turn your pillow right side, or pretty side out and use a chopstick to push out the corners. Now iron your adorable pillow cover, making sure to iron the rough edges in one inch at the opening, so it is easier to sew together.
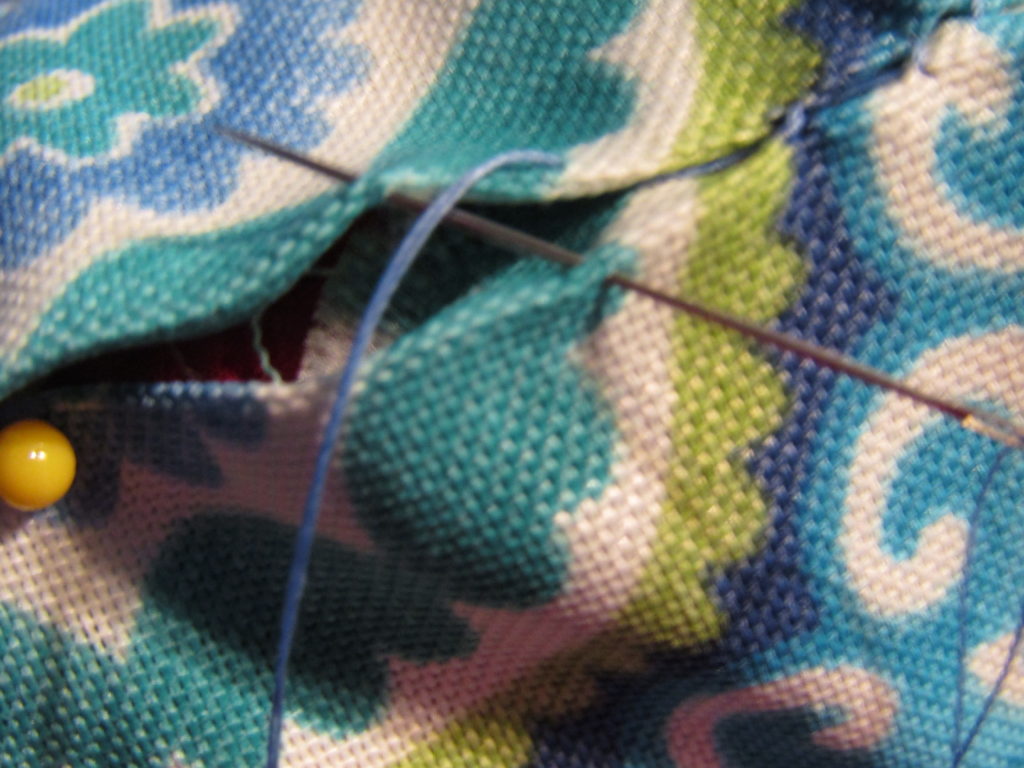
Hand stitching the opening closed.
You have a couple of choices to close the opening. I prefer hand stitching but there is nothing wrong with stitching a small seam, about a 1/4 to 1/8 inch seam on your sewing machine.

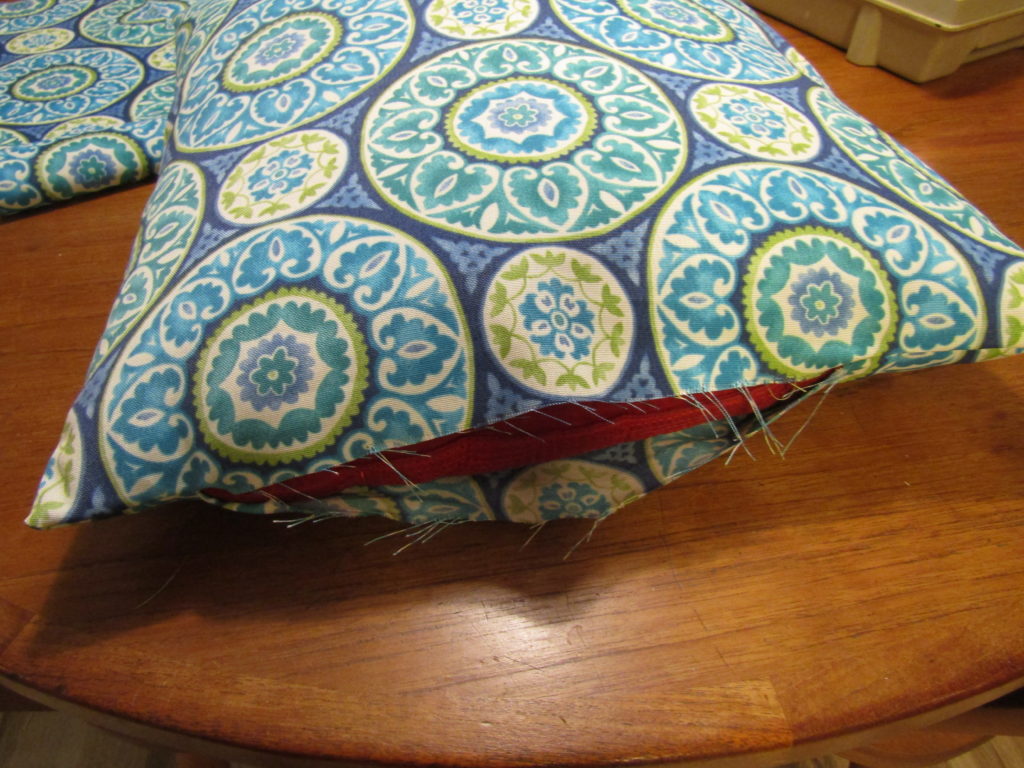
Nice corners!
As you can see, clipping off the extra fabric made a nice corner.
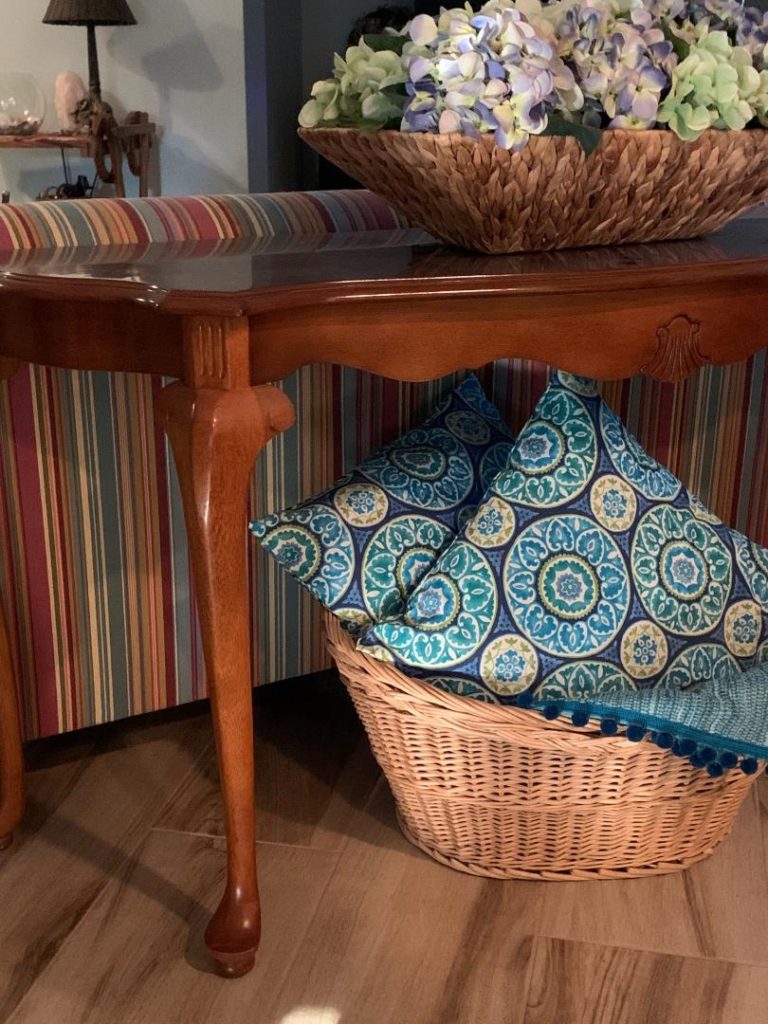
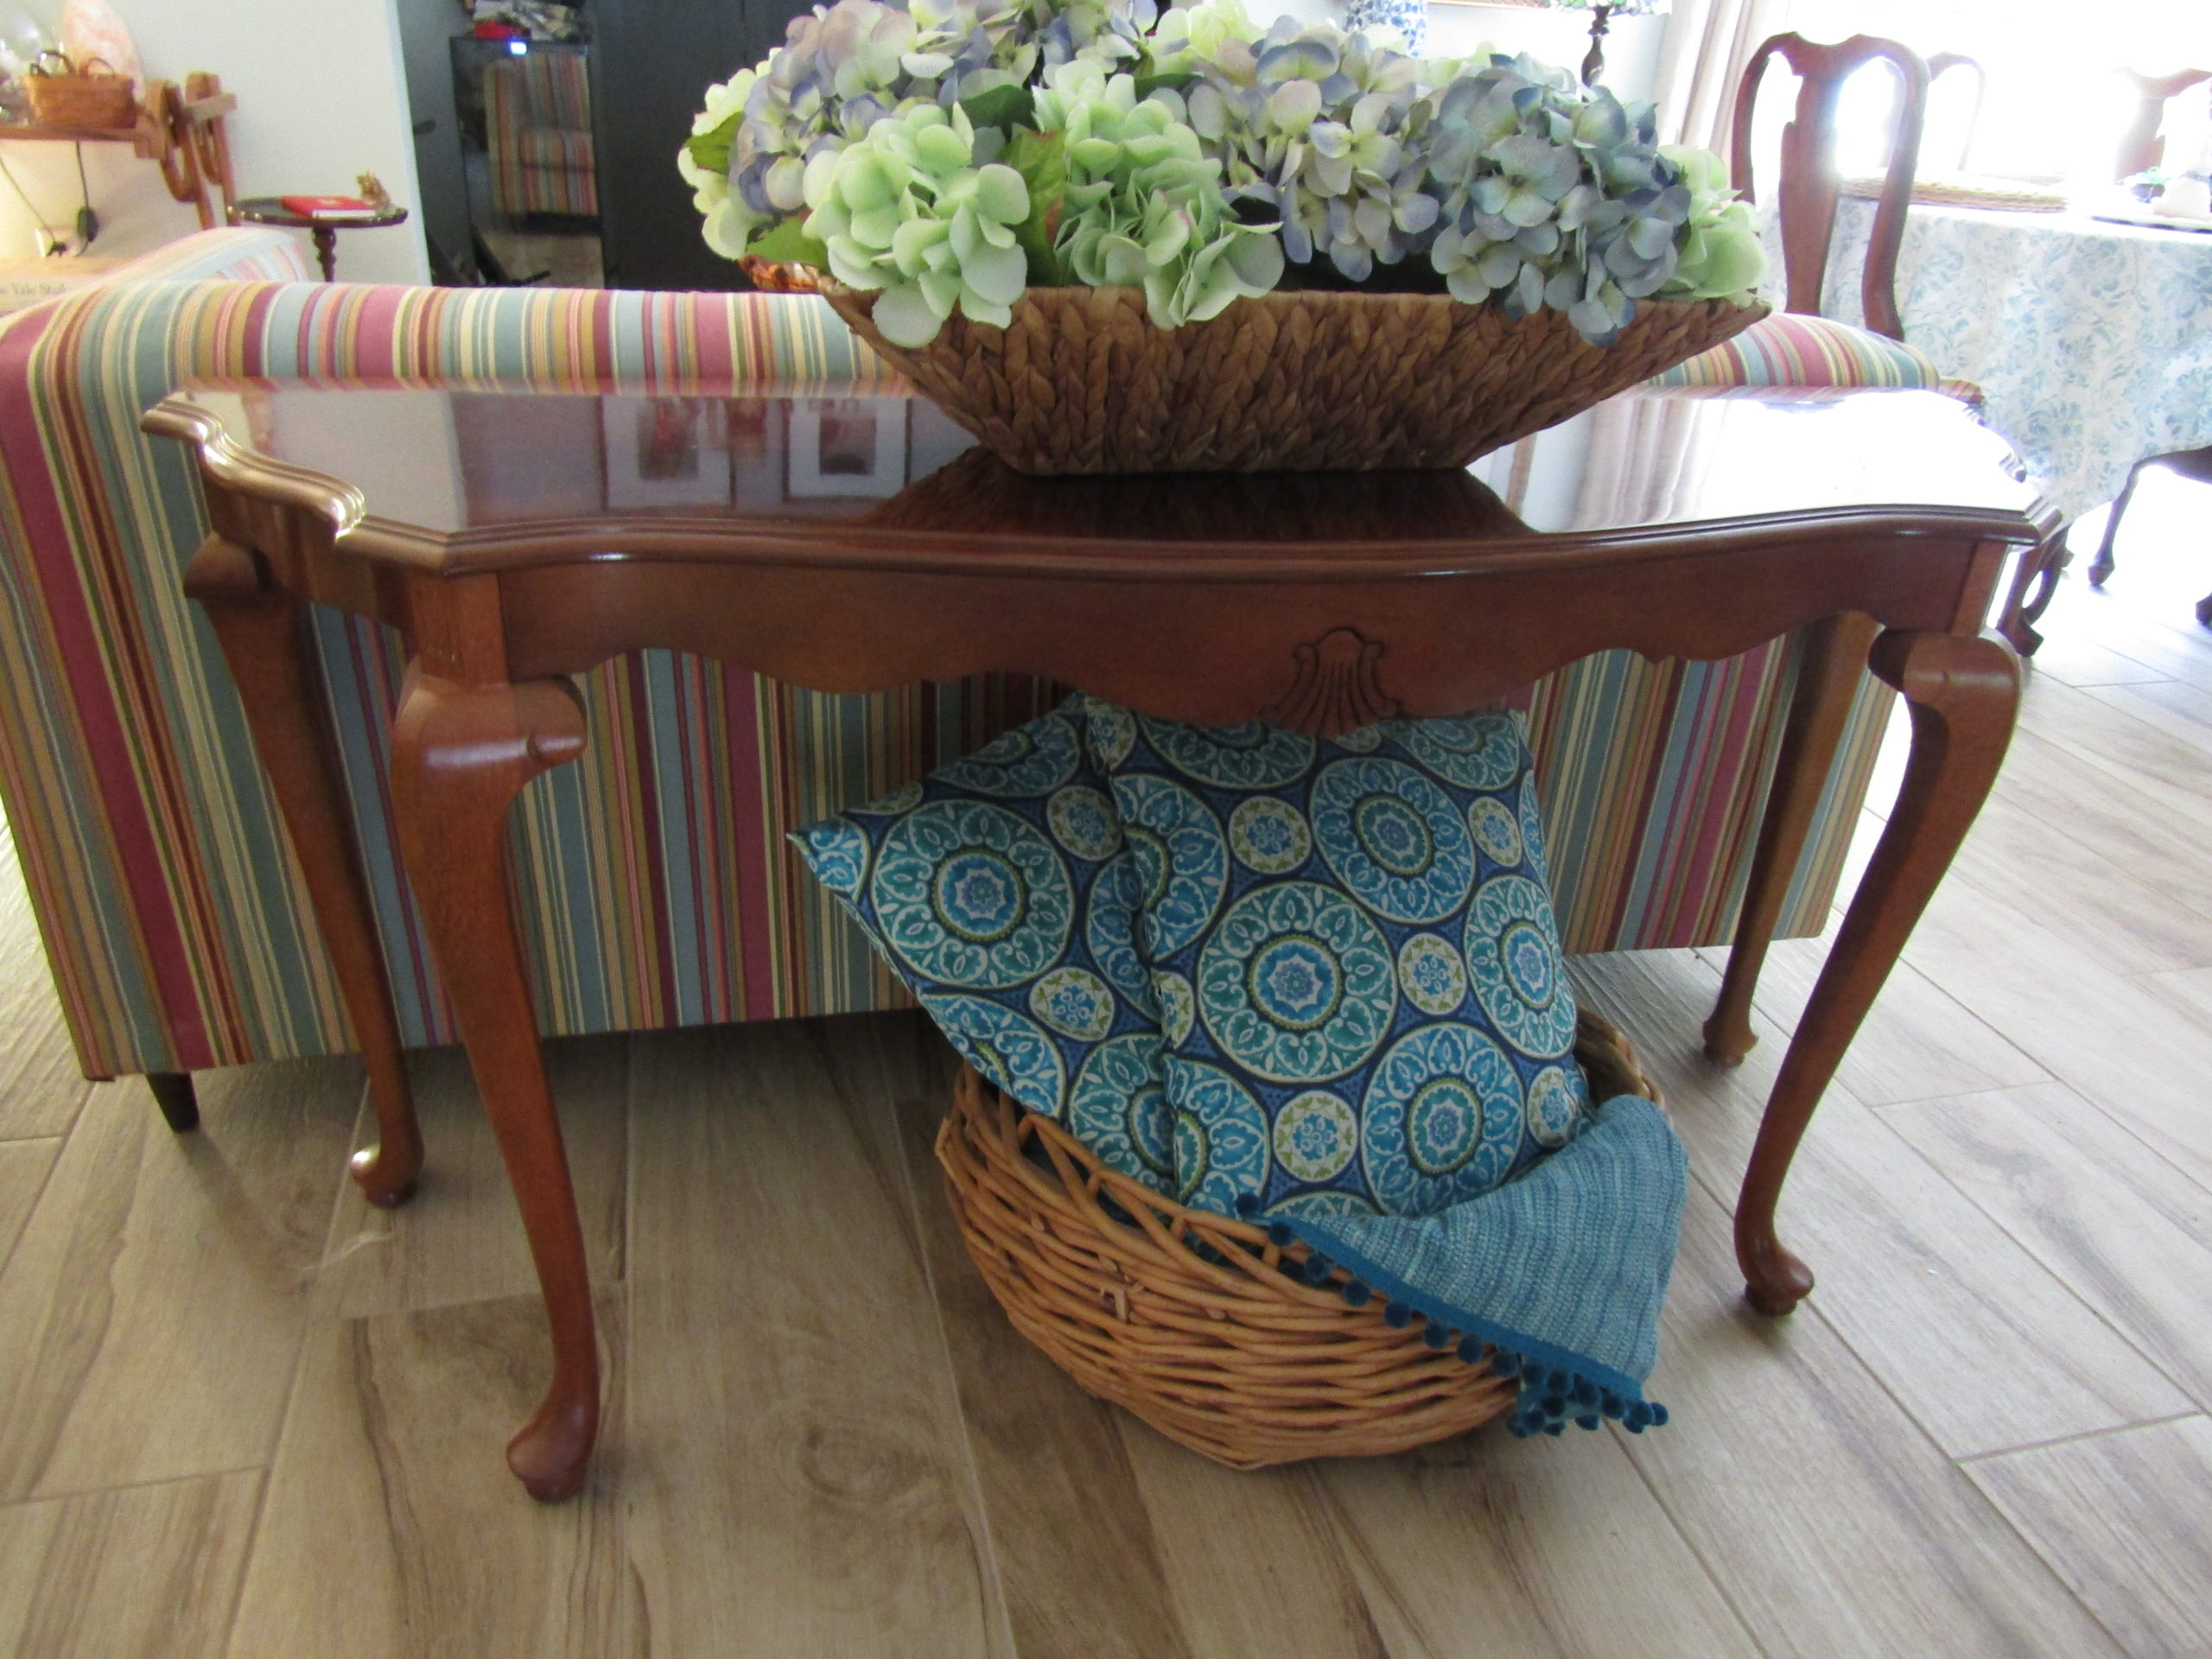
So easy and quick pillow covers!
Now add them to a cute basket or throw them on your sofa and you are done.
Thank you for stopping by. I enjoy the company!
If you get a moment, I would love to hear from you or see some of your sewing projects!


Leave a Reply